How to Use Photoshop: A Practical Beginner's Guide
Most Photoshop tutorials dump every menu and panel on you at once. This one doesn't. Instead, it walks through the things that actually matter when you're starting out: how the interface is laid out, why layers are the whole point, which tools you need to know first, and a four-phase practice path to get you from confused to competent. Everything here works in the browser version too — no subscription required.
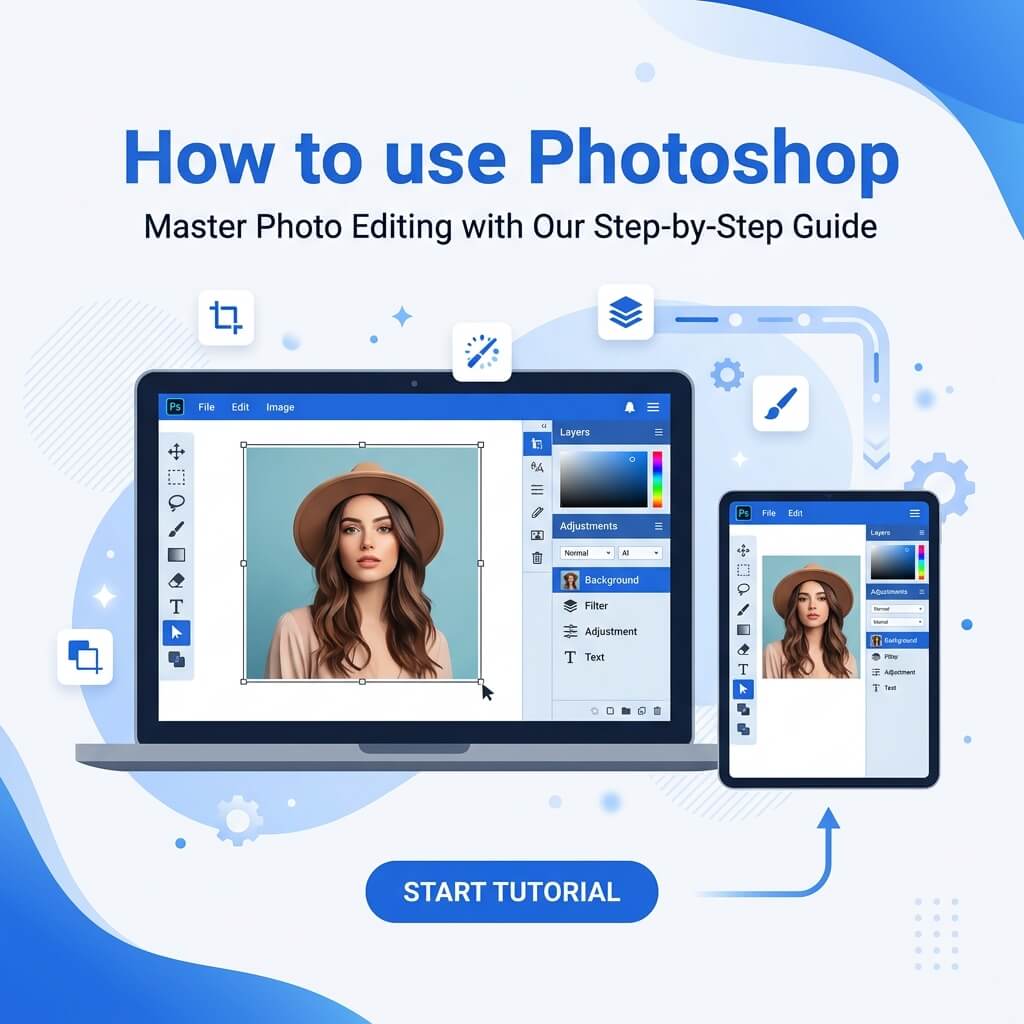
The Interface at a Glance
Before touching any tools, spend five minutes just looking at the layout. Photoshop's interface has three main zones and they're the same whether you're on the desktop app or a browser-based editor like PhotoQuill.

The Canvas (Center)
Where your image lives. You'll zoom in here constantly — use Ctrl + / Ctrl − or pinch on a trackpad. Hold Space to pan around while zoomed in.
The Toolbar (Left Side)
Every tool you'll use is here — crop, selections, brushes, text, eyedropper. Hovering over any icon shows its name and keyboard shortcut. Learn the shortcuts. They save more time than anything else.
Layers & Properties Panels (Right Side)
The Layers panel is the most important thing on screen. Everything you add — adjustments, text, shapes, images — lives here as a separate layer you can move, hide, or delete at any time. The Properties panel changes depending on what you have selected.
Layers: The One Concept You Must Get Right
Layers are how Photoshop lets you edit non-destructively. Picture a stack of transparent sheets. Each sheet holds something different — a background photo, a text overlay, a color correction. You can rearrange, hide, or delete any sheet without touching the others.
Beginners who skip this and paint directly on the background image end up stuck every time they make a mistake. Here's the right habit to build from day one:
Never Edit the Background Layer Directly
- When you open a photo, it appears as "Background" in the Layers panel — it's locked.
- Right-click it and choose Duplicate Layer, or press
Ctrl+J(Cmd+Jon Mac). Work on the copy. - For color adjustments, always use adjustment layers (the half-circle icon at the bottom of the Layers panel). These sit above your photo and can be deleted or modified any time — the original pixels are untouched.
- To flatten and export, go to File > Export As and choose your format. The layered file itself stays editable.
The Most Useful Layer Operations
| Action | Shortcut | What it does |
|---|---|---|
| Duplicate layer | Ctrl+J | Copies the active layer |
| New empty layer | Shift+Ctrl+N | Adds a blank layer above |
| Merge visible | Shift+Ctrl+E | Flattens all visible layers into one |
| Toggle visibility | Click the eye icon | Show or hide a layer |
| Group layers | Ctrl+G | Wraps selected layers in a folder |
The Tools You'll Actually Use
The toolbar has dozens of tools. As a beginner, you only need to know about six of them. Get comfortable with these before exploring the rest.
Move Tool — V
Selects and repositions layers on the canvas. With Auto Select turned on in the options bar, clicking on any part of the image automatically activates the layer underneath. Essential for working with multiple layers.
Marquee & Lasso Tools — M / L
These let you define a region to edit. The Rectangular Marquee (M) draws a box; the Lasso (L) lets you draw a freehand shape. Once a selection is active, any edit — painting, deleting, adjusting — only affects pixels inside that selection. Hold Shift to add to a selection; hold Alt/Option to subtract.
Magic Wand / Object Selection — W
Click on a color region to select everything with a similar color. Tolerance in the options bar controls how similar the colors need to be (higher = more permissive). The Object Selection tool (same key) is smarter — draw a rough box around a subject and Photoshop finds the edges automatically.
Crop Tool — C
Drag the handles to reframe your image. Set a specific aspect ratio (1:1, 16:9, etc.) in the options bar. Press Enter to confirm. Keep Delete Cropped Pixels unchecked to preserve the cropped area — you can always undo a non-destructive crop. See our detailed guide on how to crop an image in Photoshop.
Brush Tool — B
The most versatile tool in Photoshop. Use it to paint on a new layer, or — more often — to paint on a layer mask. Painting black on a mask hides pixels; painting white reveals them. This is how professional retouchers blend composites seamlessly.
Text Tool — T
Click on the canvas to add a text element. Each block of text gets its own layer automatically. Use the Character panel (Window > Character) to adjust font, size, tracking, and leading. Double-clicking a text layer's thumbnail re-opens the text for editing.
Color & Brightness Adjustments
Rather than editing pixels directly, Photoshop lets you stack adjustment layers that sit above your image. Click the half-filled circle at the bottom of the Layers panel to add one. They're non-destructive — you can change or delete them at any time, and the original photo is never modified.
- Brightness/Contrast: The simplest fix for underexposed or overexposed shots. Drag Brightness up and Contrast slightly up for a quick lift.
- Hue/Saturation: Shift the entire color palette of the image (or isolate a single color channel to shift only that). Enable Colorize to tint the whole image a single hue. Great for changing the color of an object.
- Curves: The most powerful tonal control in Photoshop. Drag the diagonal line to control shadows, midtones, and highlights independently. An S-curve (darken shadows, brighten highlights) adds contrast without blowing out the image.
- Levels: Similar to Curves but simpler. Drag the white point slider in to clip blown highlights; drag the black point in to make shadows deeper. The middle slider controls overall exposure.
A Four-Phase Learning Path
The most common mistake beginners make is trying to learn everything at once. Pick one skill, repeat it until it's effortless, then move on. Here's a structured path that actually works:
Interface & Navigation
Open five different photos and practice only navigation: zoom in, zoom out, pan, reset view. Learn Ctrl+Z (undo), Ctrl+Alt+Z (step back through history), and Ctrl+S (save). Get comfortable with the workspace before touching any actual edits.
Selections & Background Removal
Background removal is the single most requested skill in Photoshop. Practice with the Object Selection tool, then refine with the Lasso. Once you can cleanly isolate a person from a background, you have a foundation for almost every other technique. Try removing the background on ten different photos — product shots, portraits, pets — until the muscle memory kicks in.
Compositing with Layers
Take a cutout from Phase 2 and place it on a new background. Practice matching light direction, adjusting shadow softness, and using a Curves adjustment layer clipped to your subject layer to match the tones. This is where Photoshop starts to feel powerful rather than frustrating.
Color Grading & Retouching
Apply a grade to the whole scene using Curves and Color Balance adjustment layers. Learn the Clone Stamp (S) and Healing Brush (J) for removing blemishes and distractions. At this stage, you're not learning Photoshop — you're using it to finish real projects.
The Same Workflow, Free in the Browser
If you want to practice without committing to a Creative Cloud subscription, PhotoQuill runs in any modern browser — on Mac, Windows PC, iPhone, and iPad. No download, no account. The layering system, selection tools, and adjustment layers work exactly as described above.
Open your file
Go to the PhotoQuill editor and drag your image onto the canvas, or use File > Open. Files are processed locally in your browser — nothing is uploaded to a server.
Duplicate the layer
In the Layers panel on the right, right-click the Background layer and choose Duplicate. Lock the original by clicking the lock icon. Work only on the copy.
Make your edits
Use the toolbar on the left to select, crop, paint, or add text. Add a Hue/Saturation adjustment layer for color changes. Every change is recorded in the History panel — step back with Ctrl+Z at any point.
Export
When you're done, go to File > Export and choose PNG, JPG, WebP, or PSD. The exported file is generated in your browser and saved directly to your device. No watermarks.