How to Use Generative Fill in Photoshop (And the Free Web Alternative)
It is the feature that single-handedly changed the modern design workflow. If you want to know how to use generative fill photoshop tools to magically add surreal elements, cleanly extend cropped backgrounds, or remove unwanted tourists from your vacation photos, you are in the right place. We will walk you through the exact Adobe workflow, explain the technical requirements, and show you how to get access to similar AI generative power without paying for a monthly subscription.
The Adobe Generative Fill Workflow
Using Generative Fill in the official Adobe software requires two critical things: a paid Creative Cloud subscription and a constant internet connection, as the actual pixel rendering happens on Adobe's Firefly cloud servers.
Here is how to use it step-by-step:
- Make a Selection: Grab the Lasso tool (shortcut: L) and draw a loose border around the object you want to remove, or highlight an empty space you want to fill.
- The Contextual Taskbar: A floating menu will automatically appear near your selection. Click the button labeled "Generative Fill".
- Writing the Prompt: A text box will appear. If you want to add an object, type a descriptive prompt (e.g., "A yellow labrador parked on the street"). If you want to remove an object and let the AI patch the background naturally, leave the prompt box completely blank.
- Generate: Click Generate. The software will pause while it communicates with the cloud, and will return three distinct variations in the Properties panel for you to choose from.
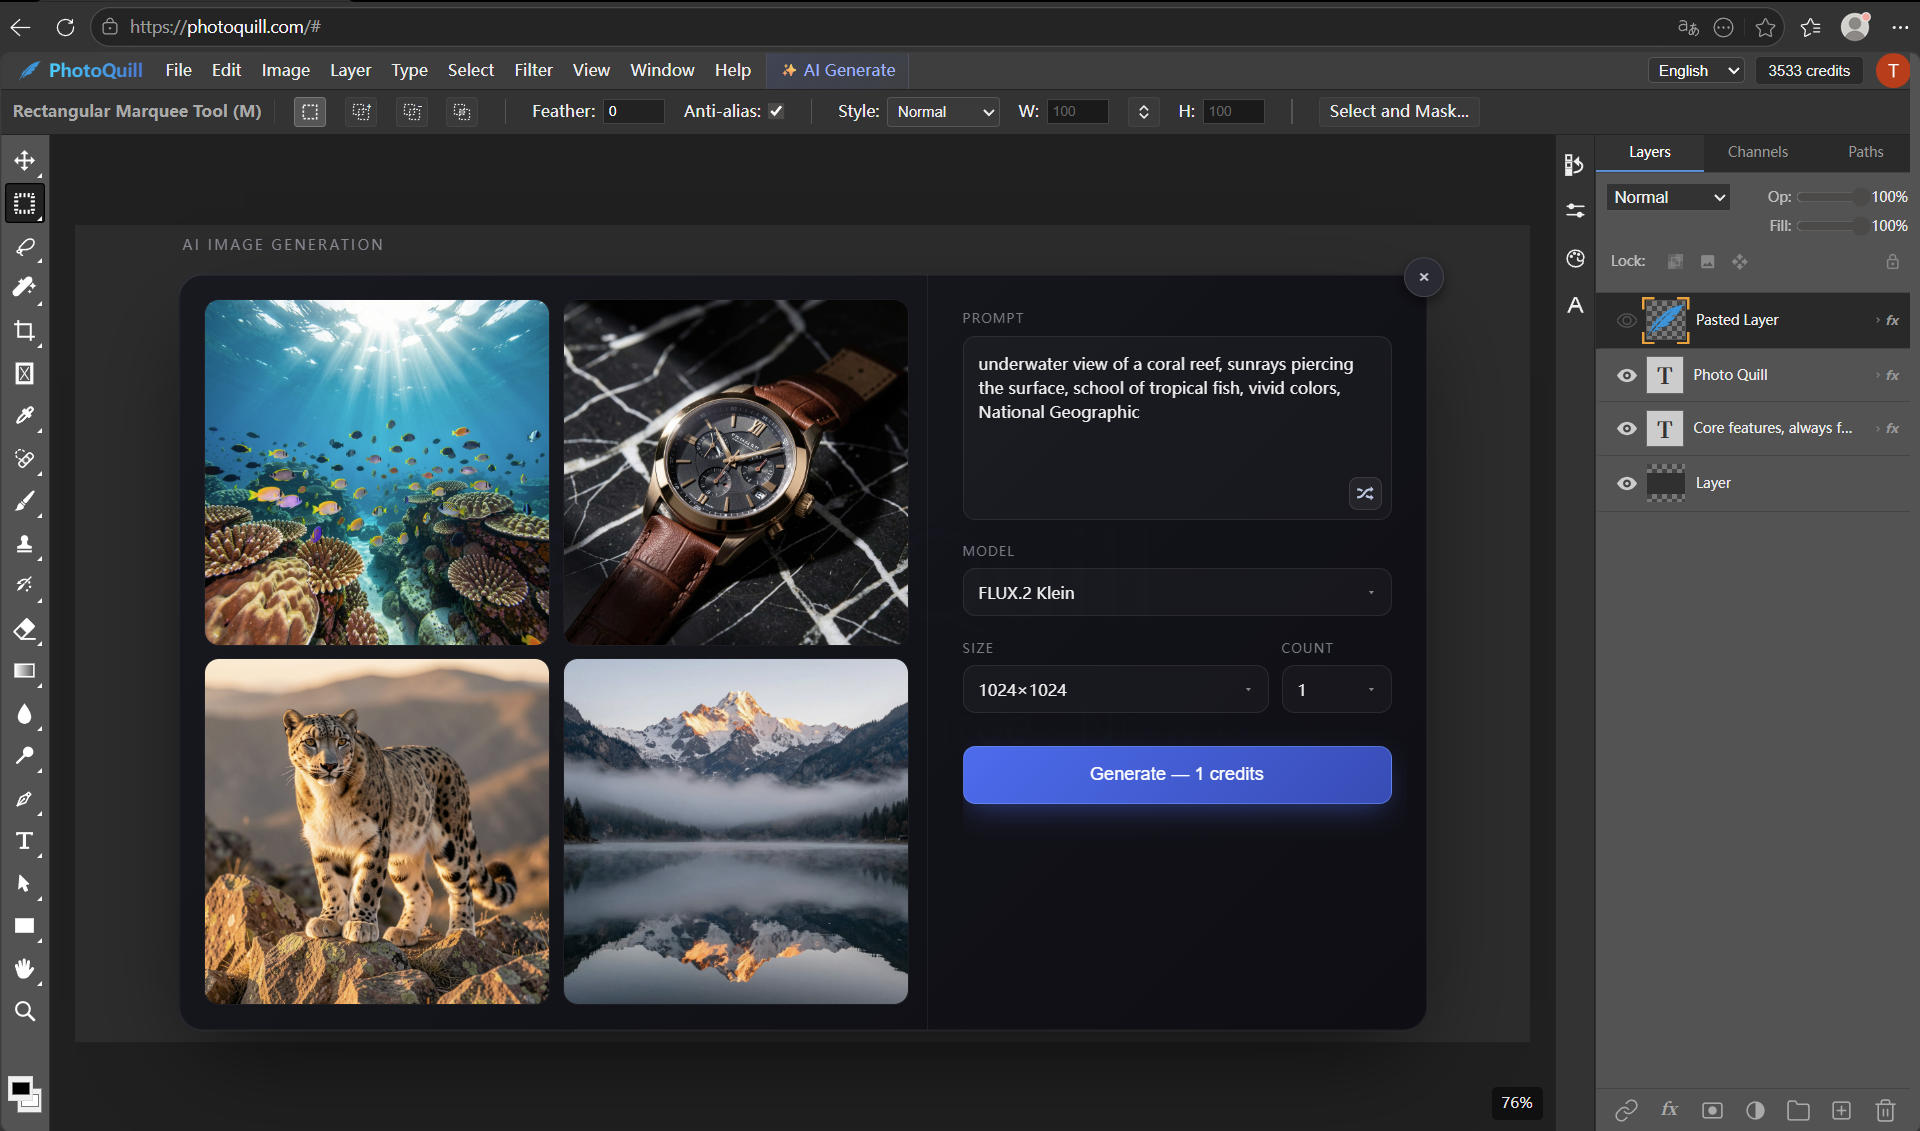
Accessing AI Generative Power for Free
Not everyone can afford Adobe's recurring fees, and using cracked versions completely breaks the AI features since they inherently block the required server connections to bypass license checks. That is where PhotoQuill steps in. It is a highly advanced, browser-based editor that brings AI generation directly to your free workflow.
Instant Browser Launch
Open the PhotoQuill Editor. There is no software to install, which means it works perfectly on Chromebooks, MacBooks, and Windows PCs alike. Your professional workspace loads instantly, powered by local WebGPU acceleration.
Select and Generate
Just like the industry standard, use our professional selection tools (Lasso, Marquee, or Magic Wand) to isolate an area of your image. Utilize the built-in AI tools in the top toolbar to remove backgrounds, erase objects, or enhance the image using your generous daily free AI quota.
Non-Destructive Layer Editing
PhotoQuill boasts a complete, robust layer system. Your AI edits and standard adjustments are placed on separate layers. This allows you to use blending modes, opacity sliders, and layer masks to perfectly composite the final image—giving you complete control over the AI's output without ever leaving the browser.