How to Use AI in Photoshop (And the Best Free Alternative)
Artificial Intelligence has fundamentally shifted the landscape of digital design. If you are searching for how to use ai in photoshop, you are likely looking to speed up your workflow with tools like Generative Fill, AI background removal, and neural filters. In this comprehensive guide, we will break down exactly how these tools operate within Adobe's ecosystem, the hidden costs involved, and introduce you to a robust, completely free browser-based alternative that offers the same AI superpowers without the hefty subscription.
Understanding the Photoshop AI Workflow
Adobe's integration of AI relies heavily on their Firefly generative models. These features are baked directly into the latest versions of the Creative Cloud suite. Here is the standard workflow if you are already a paying subscriber:
- Selection: Use a tool like the Lasso (L) or Object Selection to highlight an area on your canvas.
- Contextual Taskbar: Once a selection is made, a floating taskbar appears containing the "Generative Fill" button.
- Prompting: Click the button and type a descriptive text prompt (e.g., "A vintage red sports car"). Leave it blank if you want the AI to simply remove an object and seamlessly blend the background.
- Generation: The software sends your image data and prompt to Adobe's cloud servers. It returns three variations for you to choose from.
While this process is undeniably powerful, it comes with significant friction points. It requires gigabytes of local installation space, a computer with sufficient RAM to run the base software smoothly, a constant internet connection, and most importantly, a recurring monthly fee that many freelancers and casual users find prohibitive.
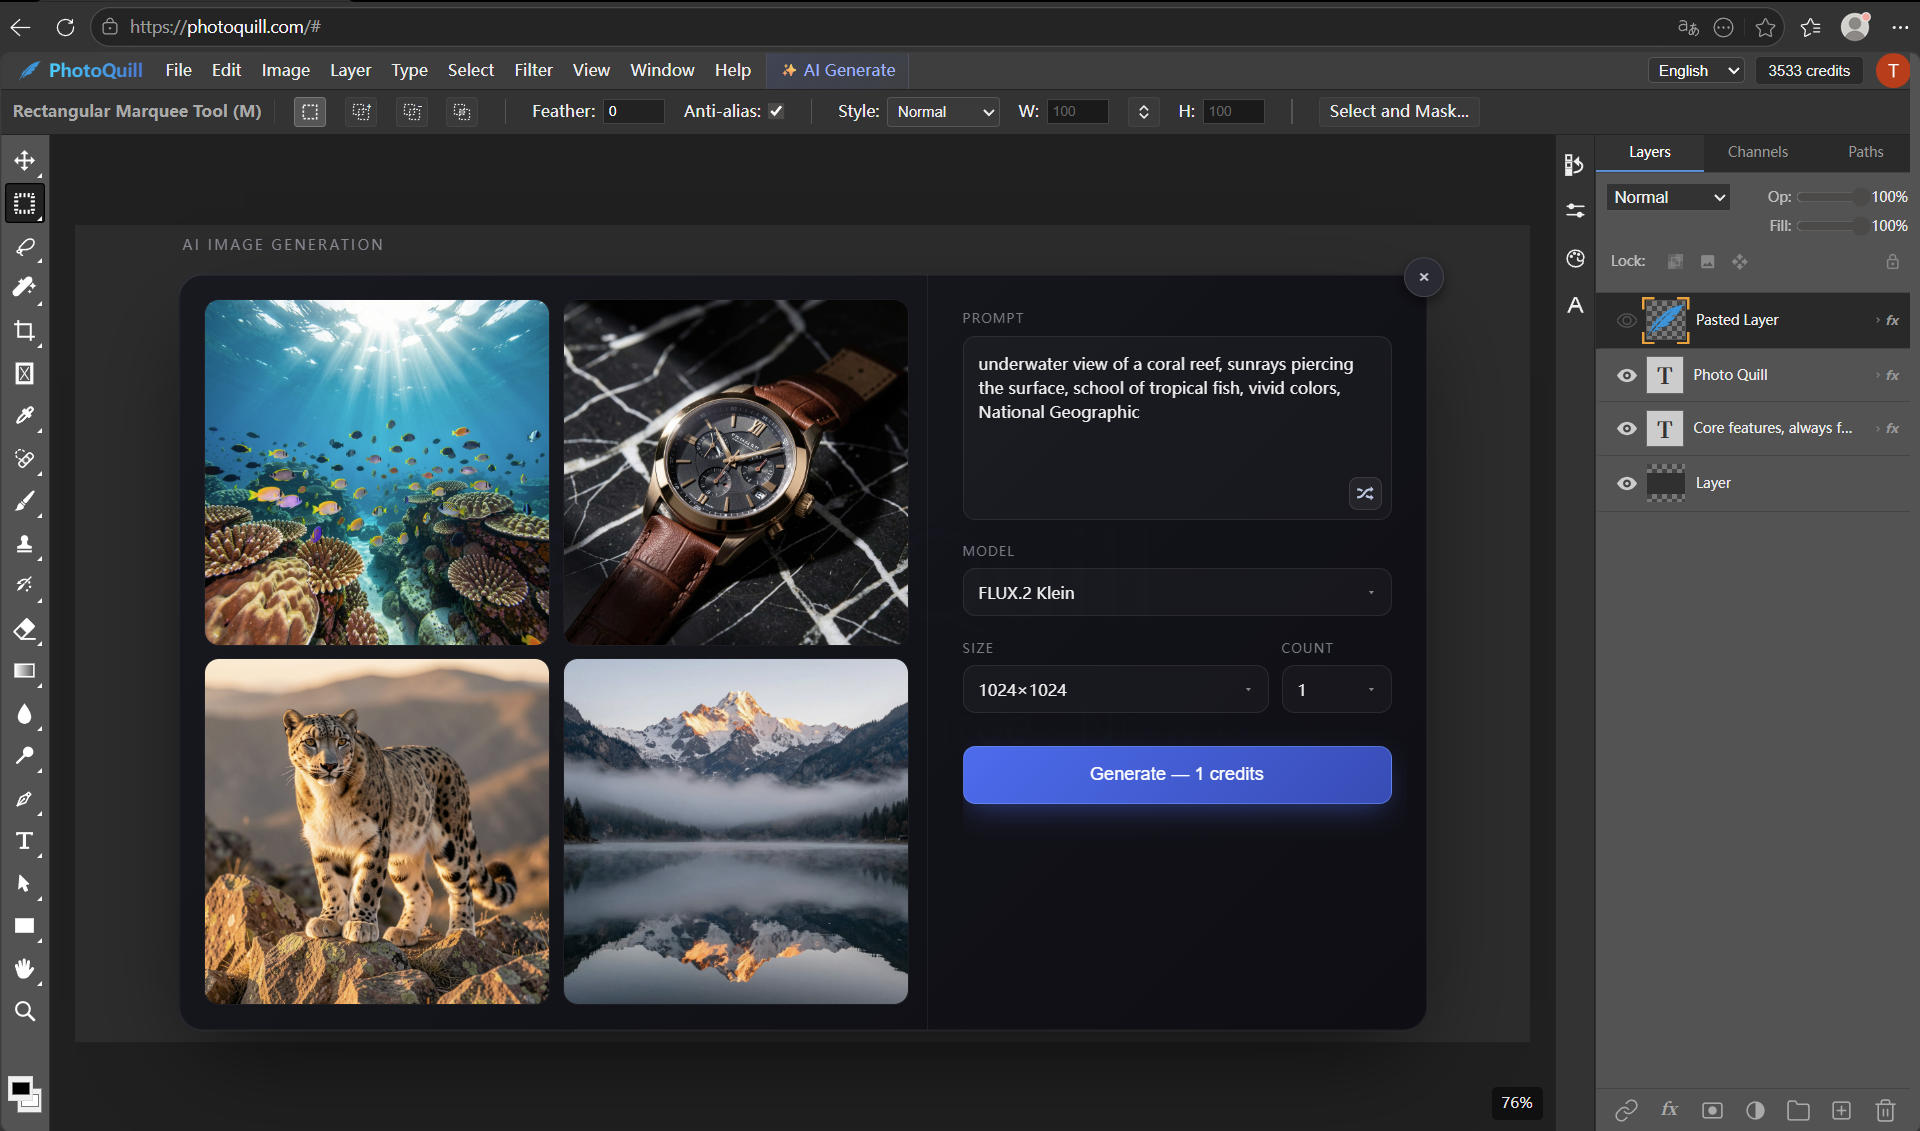
The Modern, Free Alternative: PhotoQuill
Why pay exorbitant monthly fees just to generate a few pixels or remove a background? PhotoQuill is disrupting the industry by bringing professional, layer-based photo editing right into your web browser. Powered by WebGPU for desktop-level local performance, it includes generous daily AI quotas for all users—completely free.
Zero Friction Access
Forget the 2GB installers and the 20-minute setup times. Open the PhotoQuill Editor instantly in Chrome, Edge, or Brave. You can drag and drop your existing PSD files right onto the canvas, and they will load instantly with all layers, masks, and blending modes completely intact.
Generous Free AI Quotas
Once your image is loaded, make a selection using our professional marquee or lasso tools. Activate our built-in AI suite to remove complex backgrounds, up-scale a blurry image to 4K, or generate entirely new elements. PhotoQuill provides daily free allowances that easily cover the needs of the average designer's daily workflow.
Local WebGPU Performance
Here is the technical magic: while the heavy AI generation happens securely on high-end cloud servers, all your standard editing—brush strokes, layer blending, and masking—happens locally on your own graphics card using advanced WebGPU rendering. This ensures a buttery-smooth interface with zero lag, drastically outperforming older canvas-based web tools.