How to Change the Color of Something in Photoshop
Need to turn a red car blue, swap a shirt from white to navy, or recolor a product for a client mockup? Changing the color of a specific object in Photoshop is one of the most common editing tasks — and one of the easiest to get wrong. This tutorial walks through three methods that actually work: a Hue/Saturation adjustment layer for clean non-destructive recoloring, the Replace Color command for quick one-off swaps, and a Color Range selection for precision work on tricky subjects. At the end, you'll see the same workflow in PhotoQuill so you can do it for free in the browser.
Method 1: Hue/Saturation Adjustment Layer (Best Overall)
This is the go-to method for most professional retouchers. It's non-destructive, fully editable, and preserves the original texture, shadows, and highlights of the object. If you want to change the color of something in Photoshop and keep full control, start here.
Select the object, then shift its color
- Pick the Object Selection tool (
W) and draw a rough rectangle or lasso around the object you want to recolor. Photoshop snaps the selection to the object edges automatically. - If the auto-selection missed areas, hold
Shiftand draw again to add, or holdAlt/Optionto subtract. - With the selection active, go to the Layers panel, click the half-filled circle icon (Create new fill or adjustment layer), and choose Hue/Saturation. The selection becomes a layer mask.
- In the Properties panel, check Colorize if you want to apply a completely new hue (useful for changing white/gray objects to a vivid color). Leave it unchecked if you just want to shift the existing color.
- Drag the Hue slider to your target color. Adjust Saturation to control intensity and Lightness sparingly.
- Zoom in and paint black on the layer mask with a soft brush to restore original color in any areas that spilled over (like skin near a shirt collar).
Method 2: Replace Color Command (Fastest for Simple Swaps)
The Replace Color dialog combines selection and recoloring into a single window. It's faster than setting up an adjustment layer, but the trade-off is that it's destructive — the change bakes directly into the pixels. Best for quick, non-critical edits.
Click the color, adjust the range, swap it
- First, duplicate your layer (
Ctrl+J/Cmd+J) so you have a safe backup. - Go to Image > Adjustments > Replace Color.
- In the dialog, click the eyedropper on the color you want to change directly in the canvas. A preview mask appears in the dialog.
- Use the + eyedropper to add missed shades (shadows, highlights of the same object), and the − eyedropper to exclude areas you don't want affected.
- Adjust Fuzziness (like tolerance) to expand or tighten the selected color range.
- In the Replacement section at the bottom, drag Hue to the new color, adjust Saturation and Lightness, and confirm.
Method 3: Color Range Selection (Best for Complex or Multi-Tone Objects)
When the object has many shades of the same hue — a gradient fabric, a sunset sky reflected on a car — the Color Range selector gives you the most precise control over exactly which pixels get recolored.
Build a precision selection, then recolor non-destructively
- Go to Select > Color Range.
- In the dialog, click the eyedropper on the color you want to target in the image preview.
- Hold
Shiftand click additional shades to expand the selection. The white areas in the preview represent selected pixels. - Adjust Fuzziness to fine-tune. Higher values grab more variation; lower values are more selective.
- Click OK. Marching ants appear around the selected color range.
- Now add a Hue/Saturation adjustment layer (same as Method 1). The Color Range selection becomes the mask, giving you non-destructive, editable control over only the targeted color.
Tricky Cases: White, Black, and Neutral Objects
Standard Hue shifts don't work well on white, black, or gray objects because there's almost no color data to shift. Here's what to do instead:
- White objects: Select the object, add a Solid Color fill layer, pick your target color, then set the layer blending mode to Multiply. The white picks up the new color while preserving fabric folds and shadows.
- Black objects: Same approach, but set the blending mode to Screen or Color Dodge. You may need to lower opacity significantly to avoid washing out details.
- Gray objects: Use a Hue/Saturation layer with Colorize checked. Gray has just enough tonal range for the Colorize mode to inject a new hue convincingly.
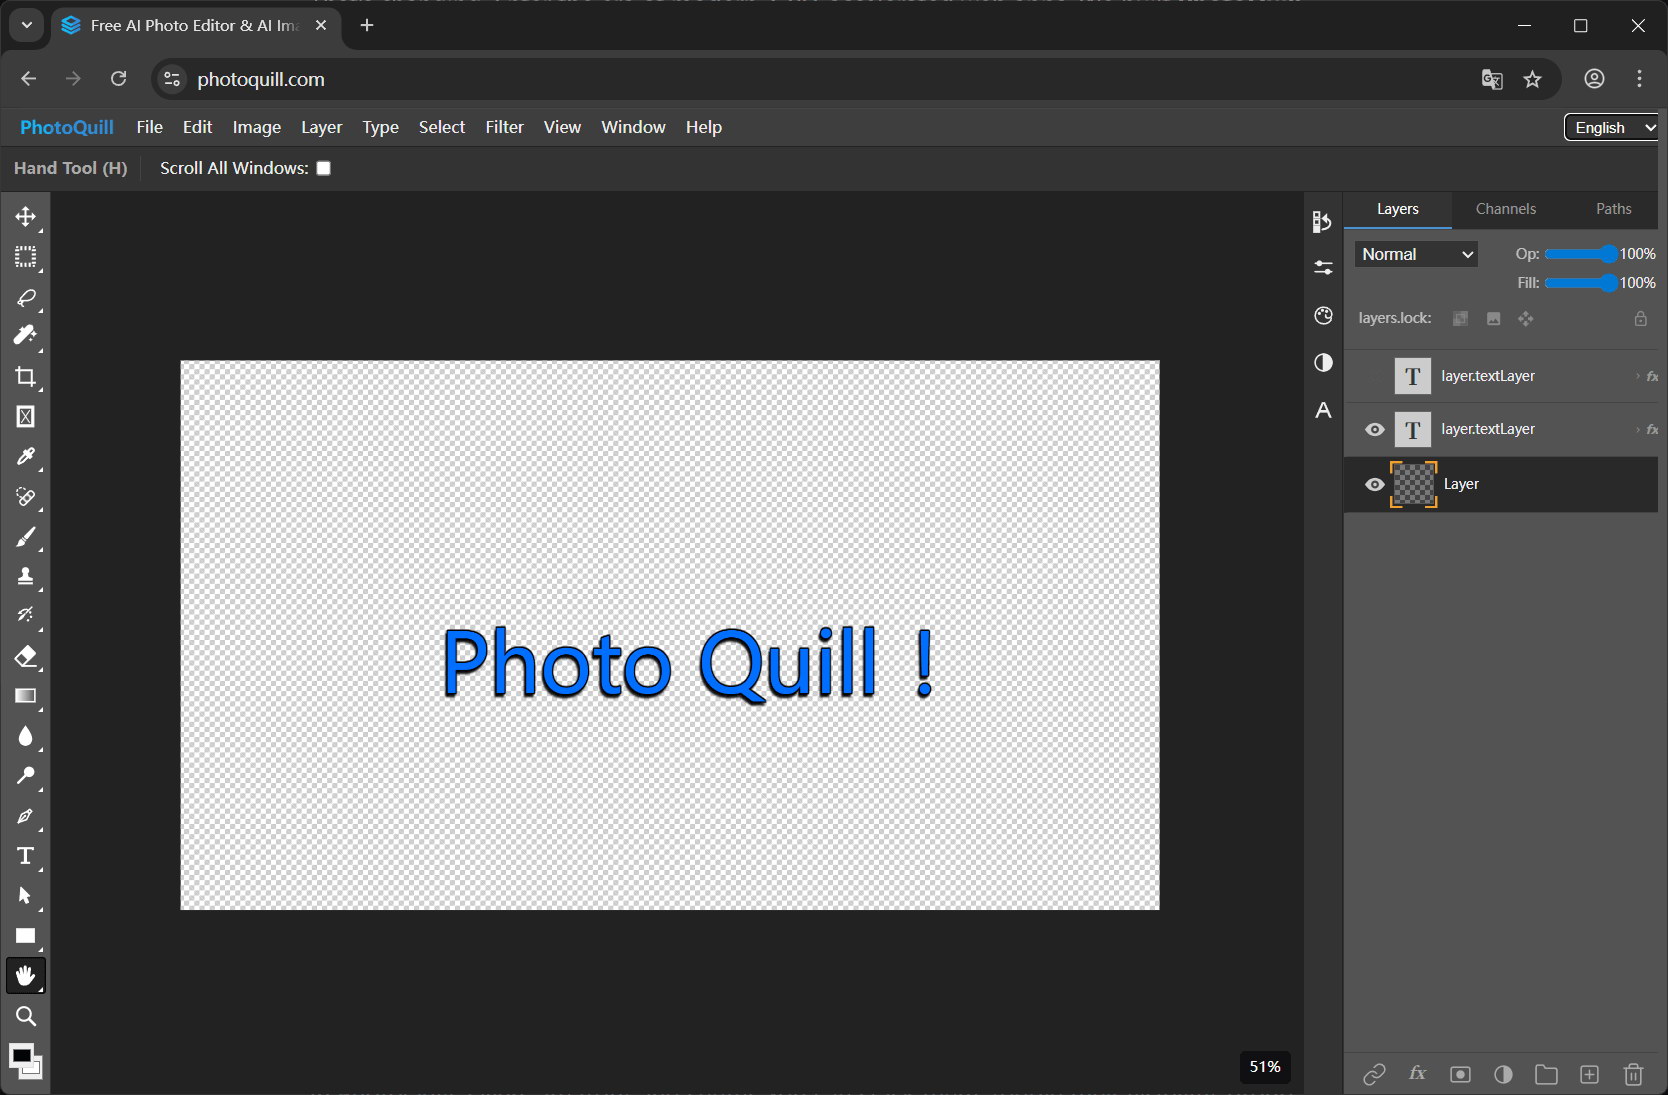
The Same Workflow, Free in the Browser with PhotoQuill
If you don't have Photoshop or want to skip the subscription, PhotoQuill provides the same selection tools, adjustment layers, and blending modes — entirely in the browser, with no signup. Here's how the workflow translates.
Open your photo
Go to the PhotoQuill editor and drag your image onto the canvas. Files are parsed locally in your browser via WebGPU. Nothing is uploaded.
Select the object you want to recolor
Use the Magic Wand or Lasso tool to select the target object. Adjust tolerance to capture all the shades in the object. Hold Shift to add missed areas.
Add a Hue/Saturation adjustment layer
With the selection active, add a Hue/Saturation adjustment layer. The selection becomes the layer mask automatically. Drag the Hue slider to your new color. Enable Colorize for white or neutral objects.
Refine the mask and export
Zoom in and paint black/white on the mask to clean up edges. Then export to PNG, JPG, WebP, or PSD with no watermark.