How to Edit Photos Like a Pro: Complete Beginner's Guide
Opening photo editing software for the first time can be overwhelming. This guide breaks down how to edit photos step-by-step using the same 4-step workflow that professional photographers use — with or without a paid subscription.
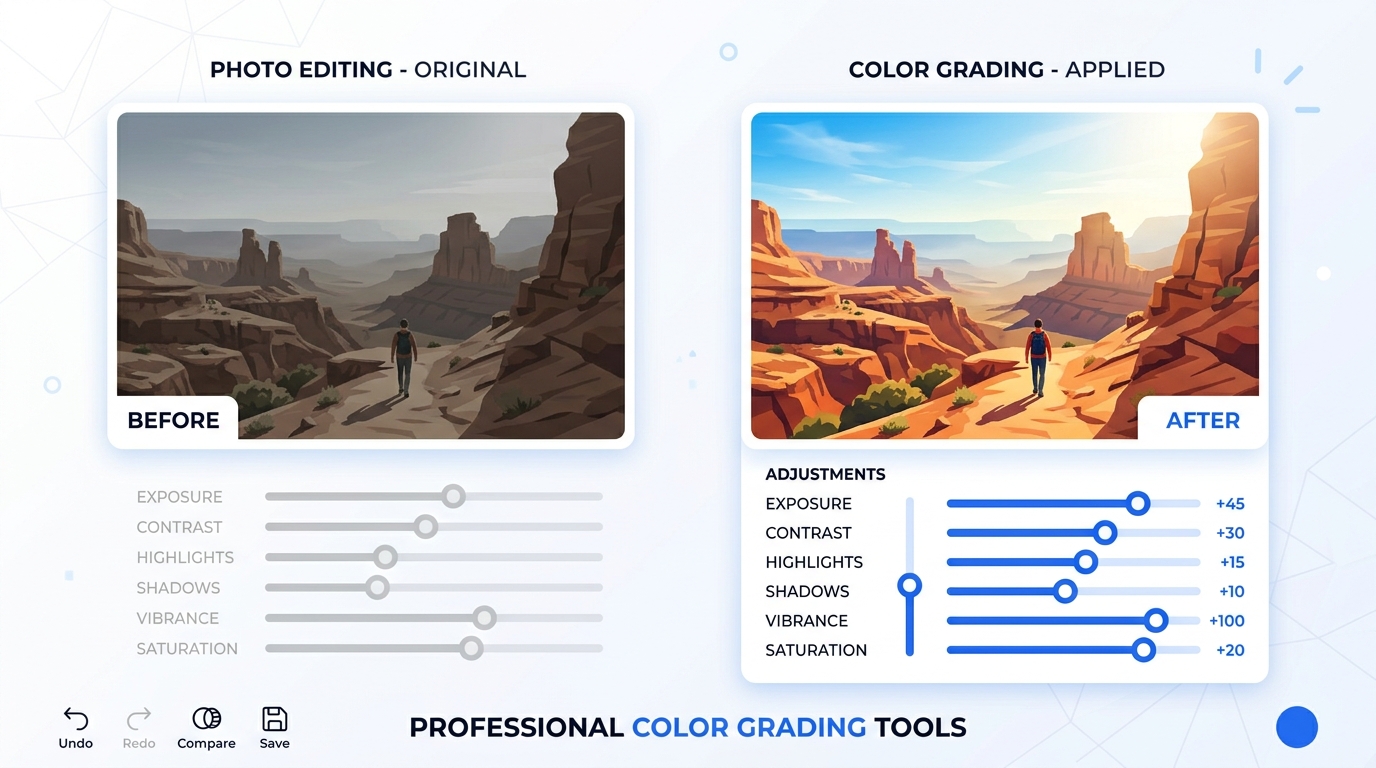
Whether you use Photoshop, Lightroom, or a free browser-based tool like PhotoQuill, the core principles of how to edit photos are the same. Learning the fundamentals will make you a better editor in any software.
The most important concept is non-destructive editing: never permanently change the original pixels of your photo. Instead, apply all changes using Layers, so every edit can be adjusted or removed at any time. Once this clicks, everything else becomes easy.
The Professional 4-Step Photo Editing Workflow
Crop and Straighten First
Always crop before doing anything else. Why? Because you should not waste time color-correcting parts of the image you are going to cut out anyway.
- Press C to select the Crop tool.
- Straighten the horizon: In the crop toolbar, look for the "Straighten" or "Level" option. Draw a line along the horizon and the canvas rotates to level it.
- Rule of Thirds: Most software shows a 3×3 grid when cropping. Place your main subject on an intersection point for a more dynamic composition.
- Press Enter to commit the crop.
Fix Exposure and Contrast (Levels / Curves)
A flat, muddy photo usually lacks contrast. To fix this, add an adjustment layer — a special layer that modifies what is below it non-destructively.
In the Layers panel, click the adjustment layer icon and choose Levels or Curves:
- Blacks (left slider): Drag inward until the darkest area is true black. This adds punch and richness to the image.
- Whites (right slider): Drag inward until the brightest area is crisp white. This avoids washed-out looks.
- Midtones (center slider): Drag left to brighten the overall subject exposure; drag right to darken.
If using Curves, create an S-curve (pull the shadows down slightly and the highlights up) to add contrast while keeping detail in both extremes.
Color Correction (White Balance & Vibrance)
Color correction fixes the white balance — the overall color temperature of the image. Indoor shots are often too yellow/warm; overcast outdoor shots can be too blue/cool.
Add a Color Balance or Hue/Saturation adjustment layer:
- Too warm (yellowish): Push the sliders slightly toward Blue and Cyan.
- Too cool (bluish): Push toward Yellow and Red.
- Use Vibrance, not Saturation: Vibrance is "smart" — it boosts dull colors but protects skin tones from going orange. Saturation boosts everything uniformly, which often looks unnatural on portraits.
Retouch Distractions
The final step is removing anything that pulls the viewer's eye away from your subject — a blemish on a portrait, a piece of trash in a landscape, or a dust spot from your camera lens.
- First, create a new empty layer on top of your image.
- Select the Spot Healing Brush (J) — for small blemishes, this is all you need. Make the brush slightly larger than the spot and click.
- For larger areas, use the Clone Stamp (S). Hold Alt/Option and click a clean area of the image to sample it, then paint over the distraction.
- In the tool options bar, set Sample to "All Layers" so the tool reads the pixels from all layers below.
The Most Important Habit: Always Edit with Layers
Never edit directly on the Background layer. The moment you open a photo, duplicate the layer (Ctrl/Cmd + J) or use adjustment layers for every change. This means you always have the original to fall back on — no matter what.
Professional photographers and retouchers often have 15–30 layers in a single file. Each represents one decision that can be independently adjusted or removed at any time.
Common Beginner Mistakes to Avoid
- Over-saturation: Pushing Saturation too far creates garish, artificial-looking "deep fried" images. Trust Vibrance instead.
- Editing the Background directly: Any permanent change to the Background layer cannot be undone after you close the file.
- Skipping the crop: Composition matters as much as color. A well-cropped photo with average color grading looks better than a perfectly graded but poorly framed one.
- Sharpening too early: Sharpening (Filter > Sharpen > Unsharp Mask) should be the very last step before exporting. Sharpening in the middle of your workflow creates harsh, compounding artifacts.
Practice Right Now — It's Free
PhotoQuill is professional-grade photo editing software that runs entirely in your browser. Layers, Curves, Healing Brush — everything from this guide is available for free.
Start Editing NowFrequently Asked Questions
How do I edit photos for free?
Use free, browser-based photo editing software like PhotoQuill. It offers professional tools — layers, curves, healing brushes, and color adjustments — without any cost or subscription. Simply open your browser, go to PhotoQuill.com, and drag in your photo.
What is the best way to learn photo editing?
The best foundation is learning non-destructive editing with Layers. By placing adjustments on separate layers above your original image, you can modify or delete them at any time without permanently changing the original photo. Once layers click, everything else in photo editing becomes much easier.
What should I edit first in a photo?
Always crop first, then fix exposure, then correct color, and finally retouch. This order saves time because you avoid processing areas you will crop out, and exposure must be correct before you can accurately judge color.