How to Edit a PNG File Online (Free & Fast)
Editing a PNG without destroying its transparent background is a common challenge. In this guide, you'll learn how to edit a PNG file correctly — in your browser, for free, in under 5 minutes.
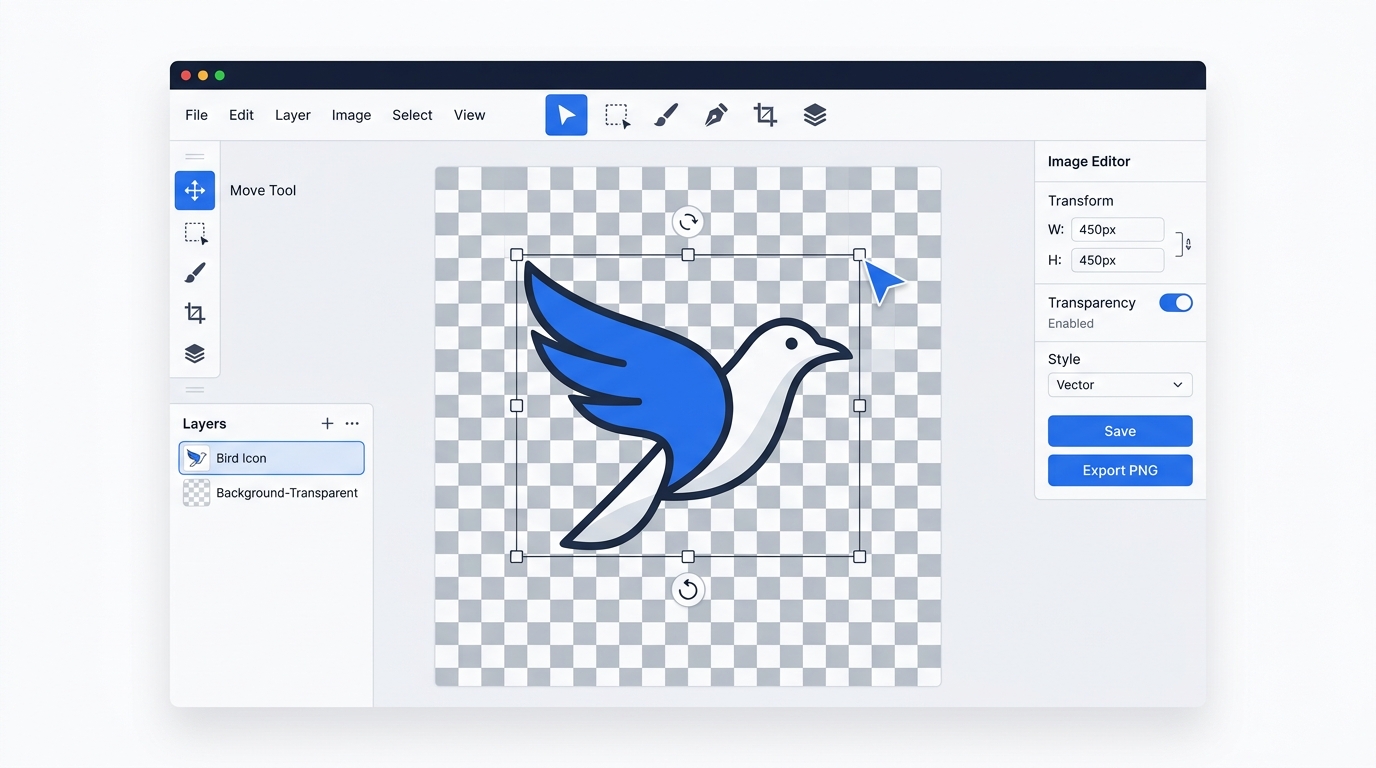
PNG (Portable Network Graphics) files are popular because they support transparency — an Alpha channel that makes the background invisible. This makes them essential for logos, icons, stickers, and web graphics.
The problem? Open a PNG in basic tools like Microsoft Paint or the default Windows Photos app, and the transparent area turns solid white or black. To properly edit a PNG file, you need photo editing software that actually understands transparency.
Good news: you don't need to download anything. PhotoQuill is a free browser-based photo editor that handles PNG transparency perfectly — no account, no subscription.
Step-by-Step: How to Edit a PNG File
Open the PNG in PhotoQuill
Go to PhotoQuill.com and drag your PNG file directly onto the canvas — or use File > Open from the top menu. You'll immediately see the transparent areas displayed as a gray-and-white checkerboard pattern. That checkerboard is the correct way to display transparency.
If you see a solid white or black background instead of the checkerboard, your file may not actually have transparency. In that case, see the FAQ below for how to make a PNG background transparent.
Create a New Layer Before Editing
Before making any changes, click the New Layer button in the Layers panel on the right side. This is the single most important habit in photo editing: never paint directly on the original.
With a separate layer, any mistakes can be deleted without touching the original PNG. You can also toggle layer visibility to compare before and after.
Make Your Edits
Common tasks when editing PNG files:
- Erase parts of the image: Select the Eraser tool (E). Painting over any area will make it transparent — shown as the checkerboard.
- Add text: Select the Text tool (T), click on the canvas, and type. The text appears on its own layer above the PNG, preserving the transparency below.
- Change colors: Use Image > Adjustments > Hue/Saturation to shift colors without affecting the Alpha channel.
- Combine PNGs: Use File > Open & Place to bring in a background image, then drag it below your PNG layer in the Layers panel.
Export as PNG — Not JPG
This is the most critical step. Go to File > Export As > PNG. Never save an image with transparency as a JPG — the JPEG format does not support Alpha channels, and all transparent areas will be permanently filled with white.
When you export as PNG, your transparency is preserved exactly as you edited it.
Why Can't I Just Use Microsoft Paint?
Microsoft Paint does not support the PNG Alpha channel. When you open a transparent PNG in Paint, the transparent areas are immediately filled with white — and once you save, that change is permanent. The same is true for Windows Photos and most basic image viewers.
To edit a PNG without destroying the transparency, you need dedicated photo editing software with proper layer and Alpha channel support. PhotoQuill is the easiest free option, since it runs instantly in any browser.
Edit Your PNG Now
Open a PNG file in PhotoQuill and see the checkerboard transparency in action. No download or account needed.
Open EditorFrequently Asked Questions
Why does my PNG have a white or black background when I open it?
This happens when you open a PNG in a program that doesn't support transparency — such as Microsoft Paint or the Windows Photos app. These programs render transparent areas as white or black. Use PhotoQuill to correctly display transparency as a checkerboard pattern.
How do I make a PNG background transparent?
Open the PNG in PhotoQuill. If the background is a solid color, use the Magic Wand tool (W) to click the background and select it, then press the Delete key. The background becomes transparent (shown as the checkerboard). Export the result as PNG to preserve that transparency.
Can I edit a PNG without losing quality?
Yes. PNG is a lossless format — re-saving a PNG does not reduce quality the way JPEG does. Each time you save a JPEG it re-compresses the image (causing gradual quality loss). With PNG, you can save and re-open without any degradation.