How to Generate and Edit Images with GPT-Image-2.5
OpenAI GPT-Image-2.5 introduces native 4K image synthesis and prompt-guided semantic image editing. Here is how to create high-resolution digital art and modify existing photos directly in your browser.
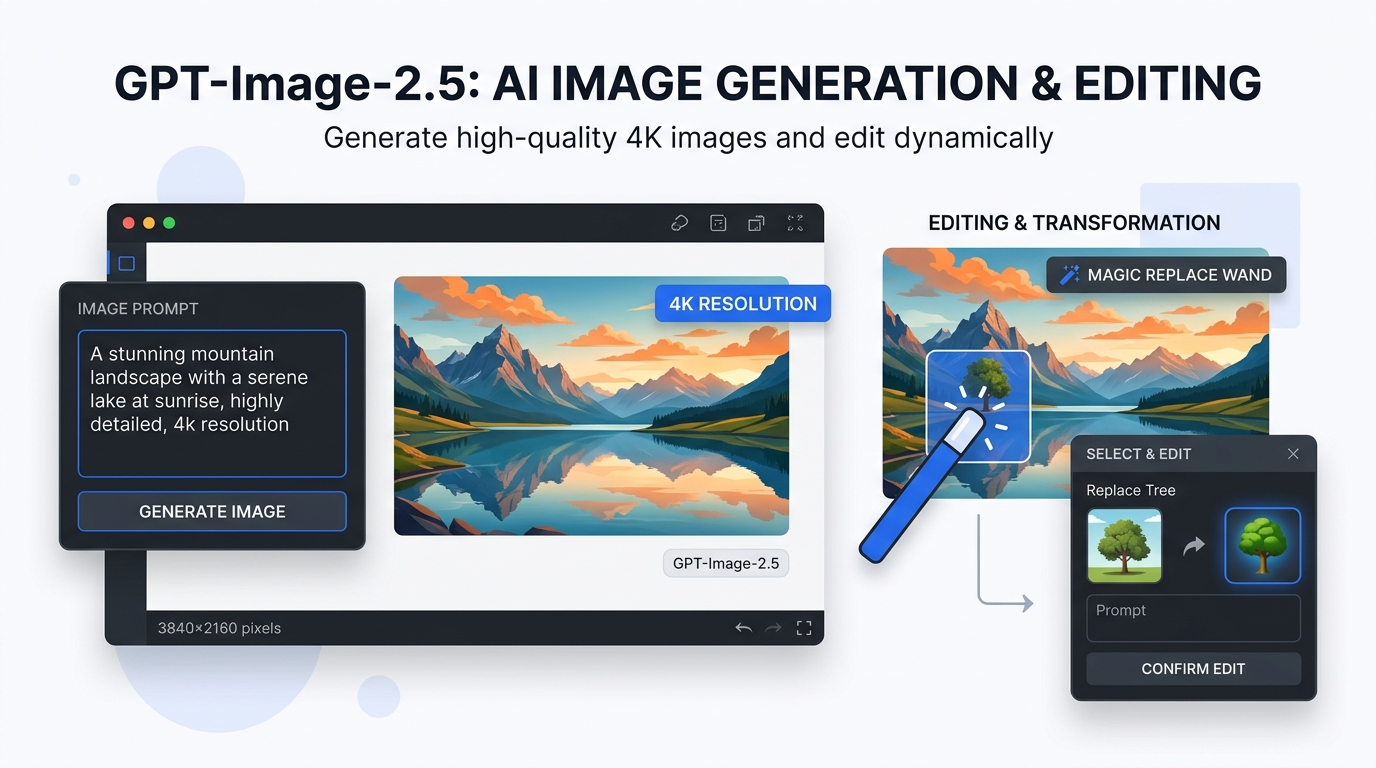
Understanding GPT-Image-2.5: Native 4K Synthesis and Dual Profiles
GPT-Image-2.5 is OpenAI's flagship image generation model integrated into PhotoQuill's creative environment. Unlike older diffusion architectures that output standard 1024×1024 squares and rely on external upscalers, GPT-Image-2.5 renders native 3840×2160 pixels directly across the sensor field. This approach preserves edge clarity on high-frequency details such as human hair, fine architecture lines, and background typography.
Inside PhotoQuill, the model is split into two specialized visual engines to match specific production intents:
- GPT-Image-2.5 (Flare): Emphasizes high micro-contrast, studio lighting control, neutral skin tones, and pinpoint focal planes. Ideal for product photography, editorial mockups, and corporate UI graphics.
- GPT-Image-2.5 (Sunburst): Calibrated for dramatic volumetric illumination, atmospheric haze, warm rim lights, and golden-hour cinematic aesthetics. Best suited for landscape art, fantasy compositions, and emotional narrative scenes.
Both profiles run directly through PhotoQuill's accelerated pipeline, storing generated results locally in browser IndexedDB cache so you never lose artwork during creative sessions.
Generating Artwork from Prompts into Layered Projects
Text-to-image creation in PhotoQuill bridges standalone AI generation and multi-layer photo editing. When a generation completes, you are not forced to download a flat PNG file and re-import it. Instead, you can choose between opening a clean project or inserting the output into an ongoing composition.
Layer Injection vs. New Project
Selecting New Project configures a canvas matching your exact render dimensions (such as 3840×2160) with color management enabled. Selecting Add as Layer places the generated graphic into your active project above your selected layer, allowing you to combine it with layer blend modes, layer masks, and adjustment layers.
Review the resolution and credit tiers available for generation:
| Target Dimension | Aspect Ratio | Credit Cost | Recommended Production Use |
|---|---|---|---|
| 1024 × 1024 | 1:1 Square | 20 cr | Social avatars, rapid concept exploration, icon designs |
| 2048 × 2048 | 1:1 Square HD | 30 cr | High-density portfolio displays, medium print prints |
| 3840 × 2160 | 16:9 4K UHD | 50 cr | Full desktop wallpapers, video matte paintings, hero banners |
For fine boundary isolation on characters or products produced by GPT-Image-2.5, pair the result with precise background removal techniques to extract crisp foreground transparent elements.
Editing Existing Photos with GPT-Image-2.5 AI Replace
Traditional image manipulation requires tedious selection lassos, feathering calculations, and clone stamping to swap clothing, adjust backgrounds, or restyle lighting. With the gpt-image-2.5-edit engine in PhotoQuill's AI Replace module, you modify pictures through natural language directives.
AI Replace accepts your existing photograph or canvas layer along with an instructional prompt. Rather than wiping out the entire image, the model identifies contextual regions mentioned in your text and synthesizes replacements that match the perspective, shadow angles, and focal blur of the original scene.
If your editing goal involves removing isolated unwanted objects without modifying surroundings, you can also compare this approach with dedicated object replacement and inpainting workflows.
Step-by-Step: How to Generate and Edit with GPT-Image-2.5
Open the AI Generation Suite
Launch PhotoQuill in your web browser. Click the glowing AI Generate button located on the right side of the top menu bar (next to Help). This opens the generation dashboard overlay.
Choose Model Variant and Canvas Dimensions
Click the Model dropdown and scroll to the OpenAI category. Select GPT-Image-2.5 (Flare) for clean product shots or GPT-Image-2.5 (Sunburst) for rich lighting. In the size selector, choose 1024×1024, 2048×2048, or 3840×2160 (4K).
Write Your Prompt and Render
In the prompt textarea, write a clear descriptive prompt detailing subjects, materials, color palette, and camera lens angle. Click the dark pill-shaped Generate button. Your generation will stream and render into the gallery.
Send to Active Workspace
Hover over the completed thumbnail in the gallery. Click New Project to launch an independent document, or click Add as Layer to inject the rendering directly into your current editing workspace as a smart raster layer.
Modify Photos via AI Replace
To alter an existing photo, switch to the AI Suite editor tab. In the left vertical tool strip, click the AI Replace icon (circular arrows). Select GPT-Image-2.5 (30 cr) from the Model dropdown, enter your modification instructions into the prompt box, and click Generate to execute your transformation.