How to Feather Edges in Photoshop: Smooth Selections
Nothing screams amateur photo editing faster than a harsh, jagged cutout slapped onto a new background. Natural camera lenses never produce infinitely sharp, 1-pixel edges—optical physics dictates a slight gradient blur between in-focus subjects and the ambient environment. In Photoshop and PhotoQuill, feathering softens harsh selection borders into organic, photographic transitions. Here is the complete guide to mastering feather radius across selections and masks.
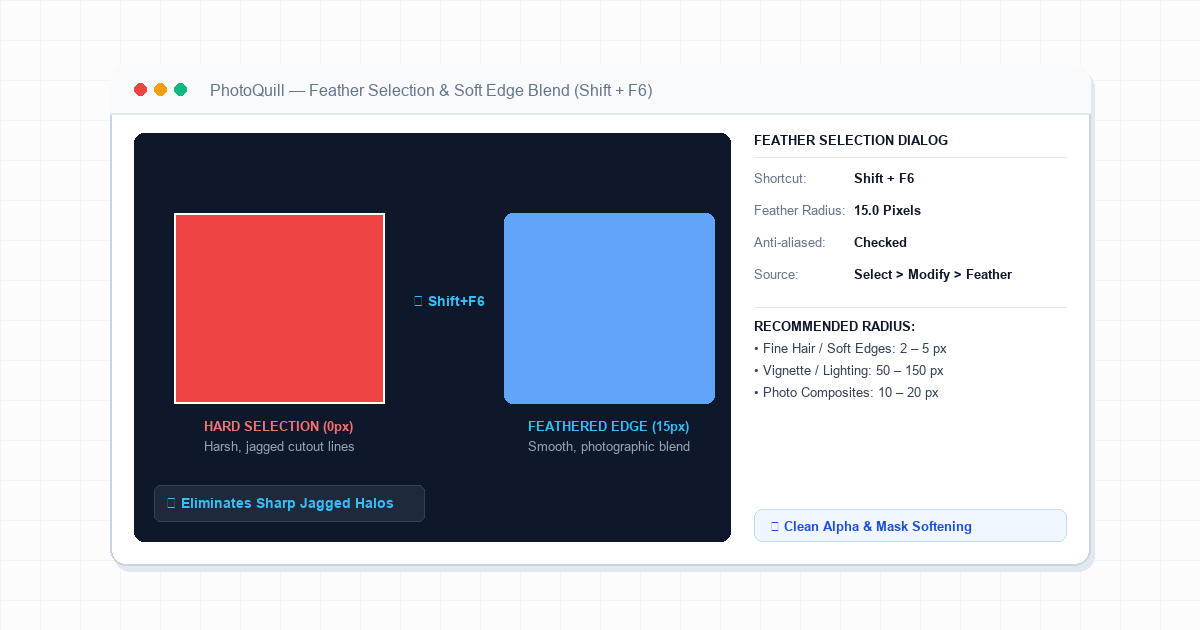
How Feathering Works: Hard Cutouts vs. Alpha Gradients
When you create a raw selection using standard tools, Photoshop establishes a strict binary cutoff: pixels inside the marching ants are 100% opaque, and pixels outside are 0% opaque. Pasting this cutout onto a new background reveals jagged "staircase" pixel artifacts and unnatural white halos.
Feathering introduces a gentle opacity ramp spanning outward from the selection perimeter:
- Hard Edge (Feather 0px): Instant 100% to 0% opacity jump within a single pixel width. Unforgiving on curved contours and hair.
- Subtle Lens Anti-Aliasing (Feather 1–3px): Softens pixel staircasing to match genuine camera focus depth. Ideal for product composites and portraits.
- Atmospheric Glow / Vignette (Feather 30–150px): Creates wide, hazy transitions for lighting beams, vignette spotlights, and dreamlike soft focus blends.
For cutting out complex objects prior to softening, explore our detailed walkthrough on how to remove backgrounds in Photoshop.
| Image Resolution | Fine Hair / Skin | Product / Object Edges | Vignette / Lighting Shading |
|---|---|---|---|
| Web Graphic (1080p) | 1.0 – 2.0 px | 0.5 – 1.5 px | 40 – 80 px |
| Print / 4K (24MP) | 2.5 – 5.0 px | 1.5 – 3.0 px | 120 – 250 px |
| Large Billboard (45MP+) | 4.0 – 8.0 px | 3.0 – 6.0 px | 250 – 500 px |
Three Distinct Ways to Feather in Photoshop
Depending on whether you are working with live selections, permanent layers, or re-editable masks, choose from three standard methods:
The Universal Shift+F6 Dialog
With an active selection on your canvas (indicated by marching ants), press Shift+F6 on your keyboard. Enter your target pixel radius in the dialog and press Enter.
The selection boundary slightly rounds off its corners to reflect the new feathered blur radius. Press Ctrl+J to duplicate the softly blended subject to a clean layer.
Live Feather Slider on Layer Masks
Never bake destructive feathering into pixels if you can avoid it. Instead, apply a hard selection directly to a Layer Mask.
Select the mask thumbnail in the Layers panel, open the Properties panel, and adjust the Feather slider in real time. You can slide the radius up or down at any future point without losing original pixel boundaries.
Setting Feather Before Drawing
When selecting the Lasso Tool (L) or Marquee Tool (M), locate the Feather input box in the top options bar before drawing your selection.
Entering a value (e.g., 10px) ensures every selection drawn automatically applies the soften radius. To compare hard vector edges with feathered cutouts, check our guide on making clipping masks in Photoshop.
Troubleshooting: The "No Pixels Are More Than 50% Selected" Warning
Every Photoshop user encounters this famous warning dialog sooner or later. It happens when you specify a large feather radius on a small selection area. For instance, applying a 100px feather to a 50px circle spreads the opacity so widely that every individual pixel falls below the 50% opacity threshold.
Photoshop only renders marching ants lines around pixels that are at least 50% selected. When none qualify, it displays the warning and hides the ants line—but your selection is still active. You can proceed with deleting or filling, and the soft blur will execute as intended.
If you prefer adding clean, hard borders to cutouts or text rather than soft fades, explore our companion tutorial on how to outline text and elements in Photoshop.
Step-by-Step: How to Feather Edges in PhotoQuill
PhotoQuill supports universal Photoshop shortcuts and feather radius controls directly inside your web browser. Follow these steps:
Draw Your Initial Selection
Pick the Lasso Tool (L), Polygonal Lasso, or Marquee Tool (M) from the left toolbar, and draw an outline around your target object.
Open Feather Dialog with Shift+F6
Press Shift+F6 on your keyboard, or click Select > Modify > Feather... from the top navigation bar.
Input Your Pixel Blur Radius
In the Feather Selection popup box, type your desired value (e.g., 3.0 px for clean portraits, or 25 px for soft photo vignette borders) and click OK.
Copy or Mask the Softened Subject
Press Ctrl+J (Command+J on Mac) to copy the feathered selection to an isolated layer, leaving your original photo background untouched.
Export Without Jagged Edges
Click File > Export PNG to download your cleanly extracted subject with smooth transparent alpha gradients.