How to Add a Vignette in Photoshop (3 Natural Ways)
A well-crafted vignette guides the viewer's eye straight to your focal point by darkening extraneous background clutter. While camera lenses naturally produce subtle light falloff at wide apertures, adding an intentional digital vignette creates intimacy in portraits, cinematic drama in landscapes, and polished framing for social graphics. Here are three non-destructive methods to craft organic vignettes in Photoshop and PhotoQuill without muddy corner shadows.
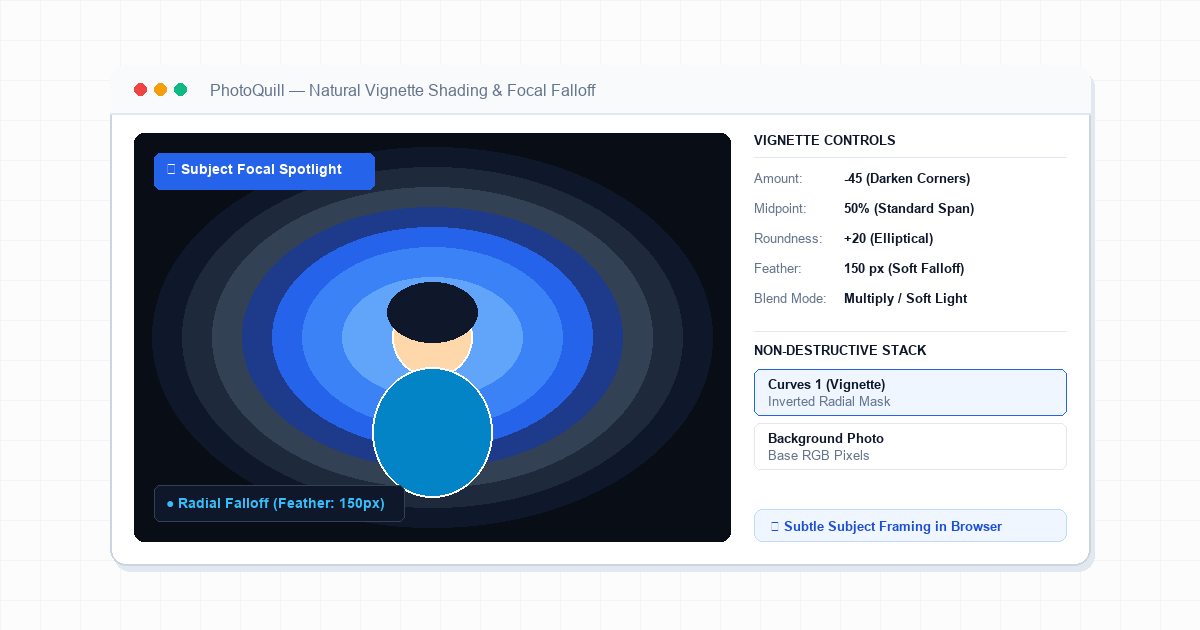
The Anatomy of a Professional Vignette: Falloff, Shape, & Exposure
Amateur photo edits often ruin compositions with heavy, charcoal-black rings around the corners. A professional vignette is subtle: viewers should feel the directional focus without immediately noticing that the perimeter has been manipulated.
Natural optical vignettes operate through three variables:
- Exposure Falloff (Amount): The degree of darkening. Dropping exposure by 0.5 to 1.2 stops creates natural focus, whereas dropping 3 stops turns corners into muddy black paint.
- Feather Radius (Transition): The softness of the boundary. On a 24-megapixel camera file, a feather radius between 120px and 300px prevents harsh oval demarcation lines.
- Focal Off-Centering: Subjects rarely stand dead-center. The best vignettes shift their center point directly over the subject's face rather than locking to the geometric canvas middle.
To complement darkened perimeter edges with creamy out-of-focus areas, review our guide to blurring photo backgrounds in Photoshop.
| Method | Speed | Customization | Best For |
|---|---|---|---|
| Curves Adjustment Layer (Recommended) | Fast | Highest (adjust color, curves, and feather) | Portraits, studio commercial photography, and RAW workflows |
| Radial Gradient Overlay | Instant | Moderate (scalable with vector layers) | Posters, YouTube thumbnails, and marketing banners |
| Lens Correction Filter | Instant | Fixed symmetric controls | Quick optical lens aberration correction |
3 Methods for Creating Natural Vignettes
Choose the workflow that matches your editing style and precision requirements:
Non-Destructive Tonal Curves & Mask Feather
Go to Layer > New Adjustment Layer > Curves.... Pull the midtone curve down slightly to establish your corner brightness. Select the mask thumbnail, press M for the Elliptical Marquee Tool, and draw an oval over your subject.
Press Alt+Backspace (Option+Delete on Mac) with black as your foreground color to carve a hole in the mask. Open the mask properties and slide Feather to 150px. You can double-click the curve at any time to adjust intensity without touching pixels.
The Quick Gradient Tool Approach
Create a new blank layer on top of your artwork. Press G to pick the Gradient Tool, select a black-to-transparent radial gradient, and click the "Reverse" checkbox in the options bar.
Drag from your subject outward to the far corner. Change the layer blend mode from Normal to Soft Light or Multiply, then dial Opacity down to 40% for subtle integration. Learn more about layer interactions in our tutorial on blending layers in Photoshop.
Cinematic Tinted Vignettes
Click Layer > New Fill Layer > Solid Color... and choose a deep midnight navy or espresso brown rather than pitch black. Invert the layer mask with Ctrl+I.
Paint with a large, soft white brush (hardness 0%, size 800px) along the outer edges. Set the blend mode to Multiply at 25% opacity. This imparts cinematic color harmony alongside framing darkness.
Finishing Touch: Sharp Subject Contrasted Against Soft Vignettes
A vignette creates visual contrast between bright, detailed focal points and subdued borders. To maximize this optical illusion, sharpen key subject details—such as eyes, product labels, or hair textures—while leaving the outer perimeter slightly darker.
Before exporting, check your image across light and dark display backgrounds. An effective vignette appears natural on both white social feeds and dark mode galleries. For crisp subject definition, explore our complete guide on sharpening images in Photoshop.
Step-by-Step: How to Add a Vignette in PhotoQuill
PhotoQuill provides full GPU-accelerated adjustment layers and radial masking directly in your web browser. Follow these exact steps:
Open Your Photo in PhotoQuill
Drag your image file directly into the workspace or click File > Open to load your picture onto the canvas.
Add a Curves Adjustment Layer
Click Layer > New Adjustment Layer > Curves... from the top navigation bar. In the dialog, click the center of the curve line and drag downward to darken the image.
Select Subject Focal Area
Select the Elliptical Marquee Tool (M) from the left toolbar. Click and drag an ellipse covering your main subject where natural light should remain.
Punch Hole in Mask with Black Fill
Confirm the Curves mask thumbnail is selected in the right-side Layers panel. Press Alt+Backspace (Option+Delete on Mac) to fill the ellipse with black, restoring original brightness over your subject.
Apply Feather for Smooth Falloff
Deselect with Ctrl+D. Select Filter > Blur > Gaussian Blur... with the mask selected, or increase the Mask Feather setting to 140 px. Export your final image via File > Export JPG.