How to Remove Background in Photoshop
Removing the background from an image is the first step to creating professional composites or mockups. We'll cover two approaches: the traditional manual selection method, and a modern AI-powered workflow for instant, perfect edges.
Method 1: Manual Selection (Magic Wand & Lasso)
The traditional way involves manually selecting the pixels you want to hide. This works best when there is a strong color contrast between your subject and the background. The edges might not be perfectly smooth, but it gives you direct control.
Select, Delete, and Replace
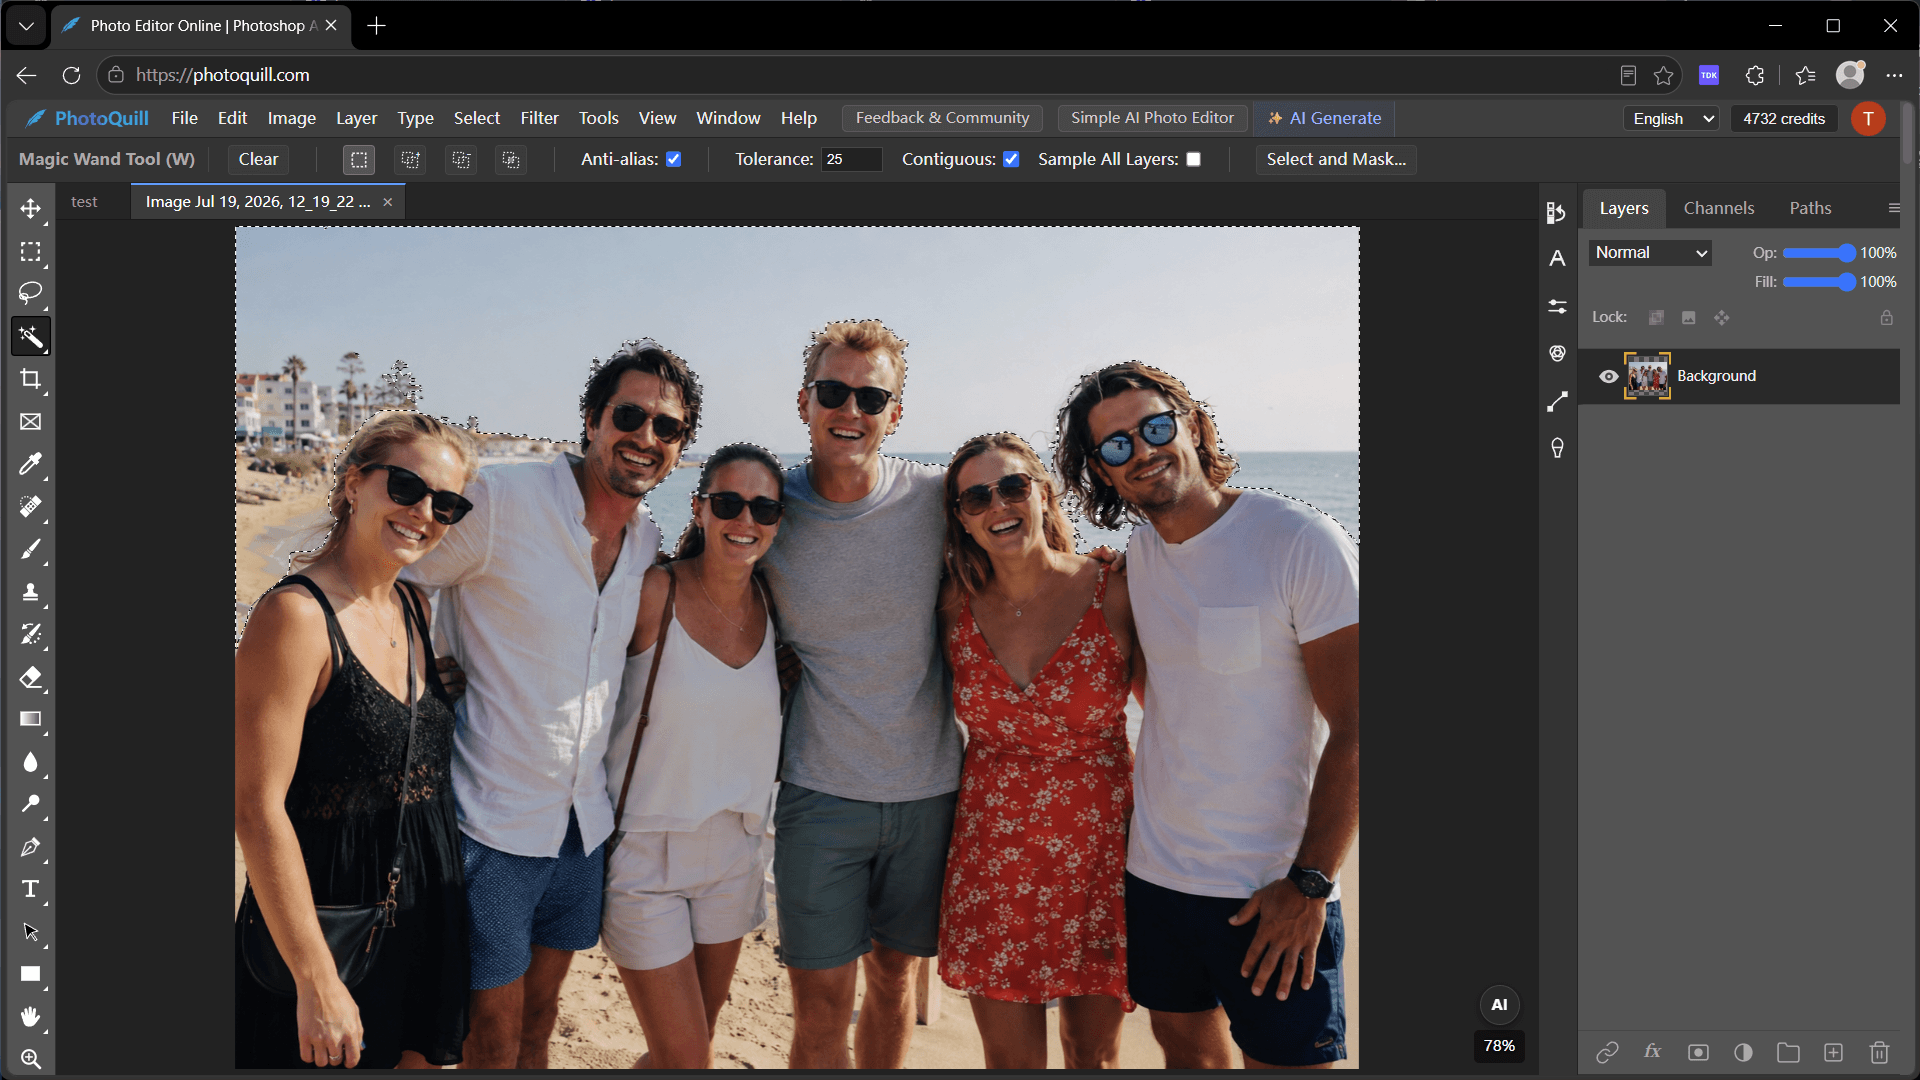
- Select the Magic Wand tool from the toolbar. Click on the solid areas of your background to create an initial selection.
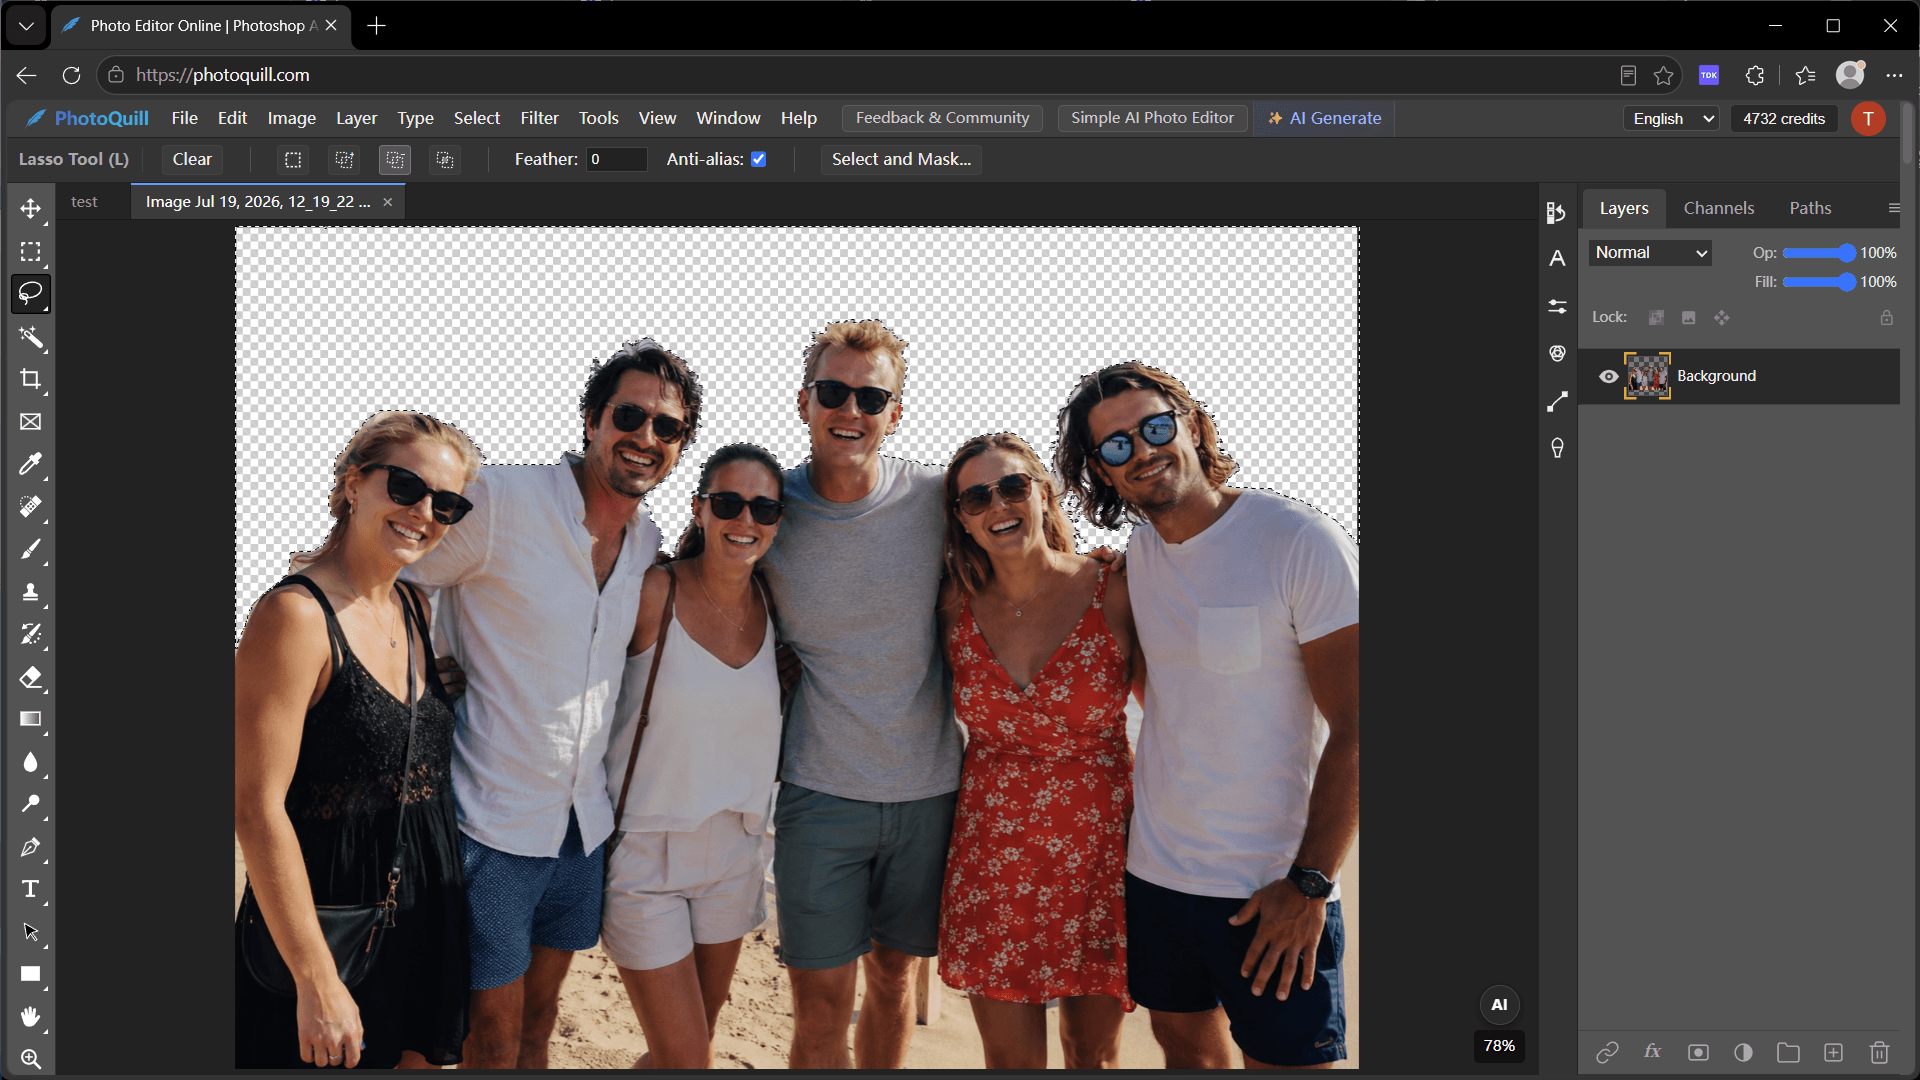
- Switch to the Lasso tool (
L). HoldShiftto circle and add missed background areas to your selection, or holdAlt/Optionto remove parts of your subject that were accidentally selected. - With the background selected, add a Layer Mask to hide it non-destructively, or press
Deleteon your keyboard to permanently remove those pixels. - Copy your isolated subject (
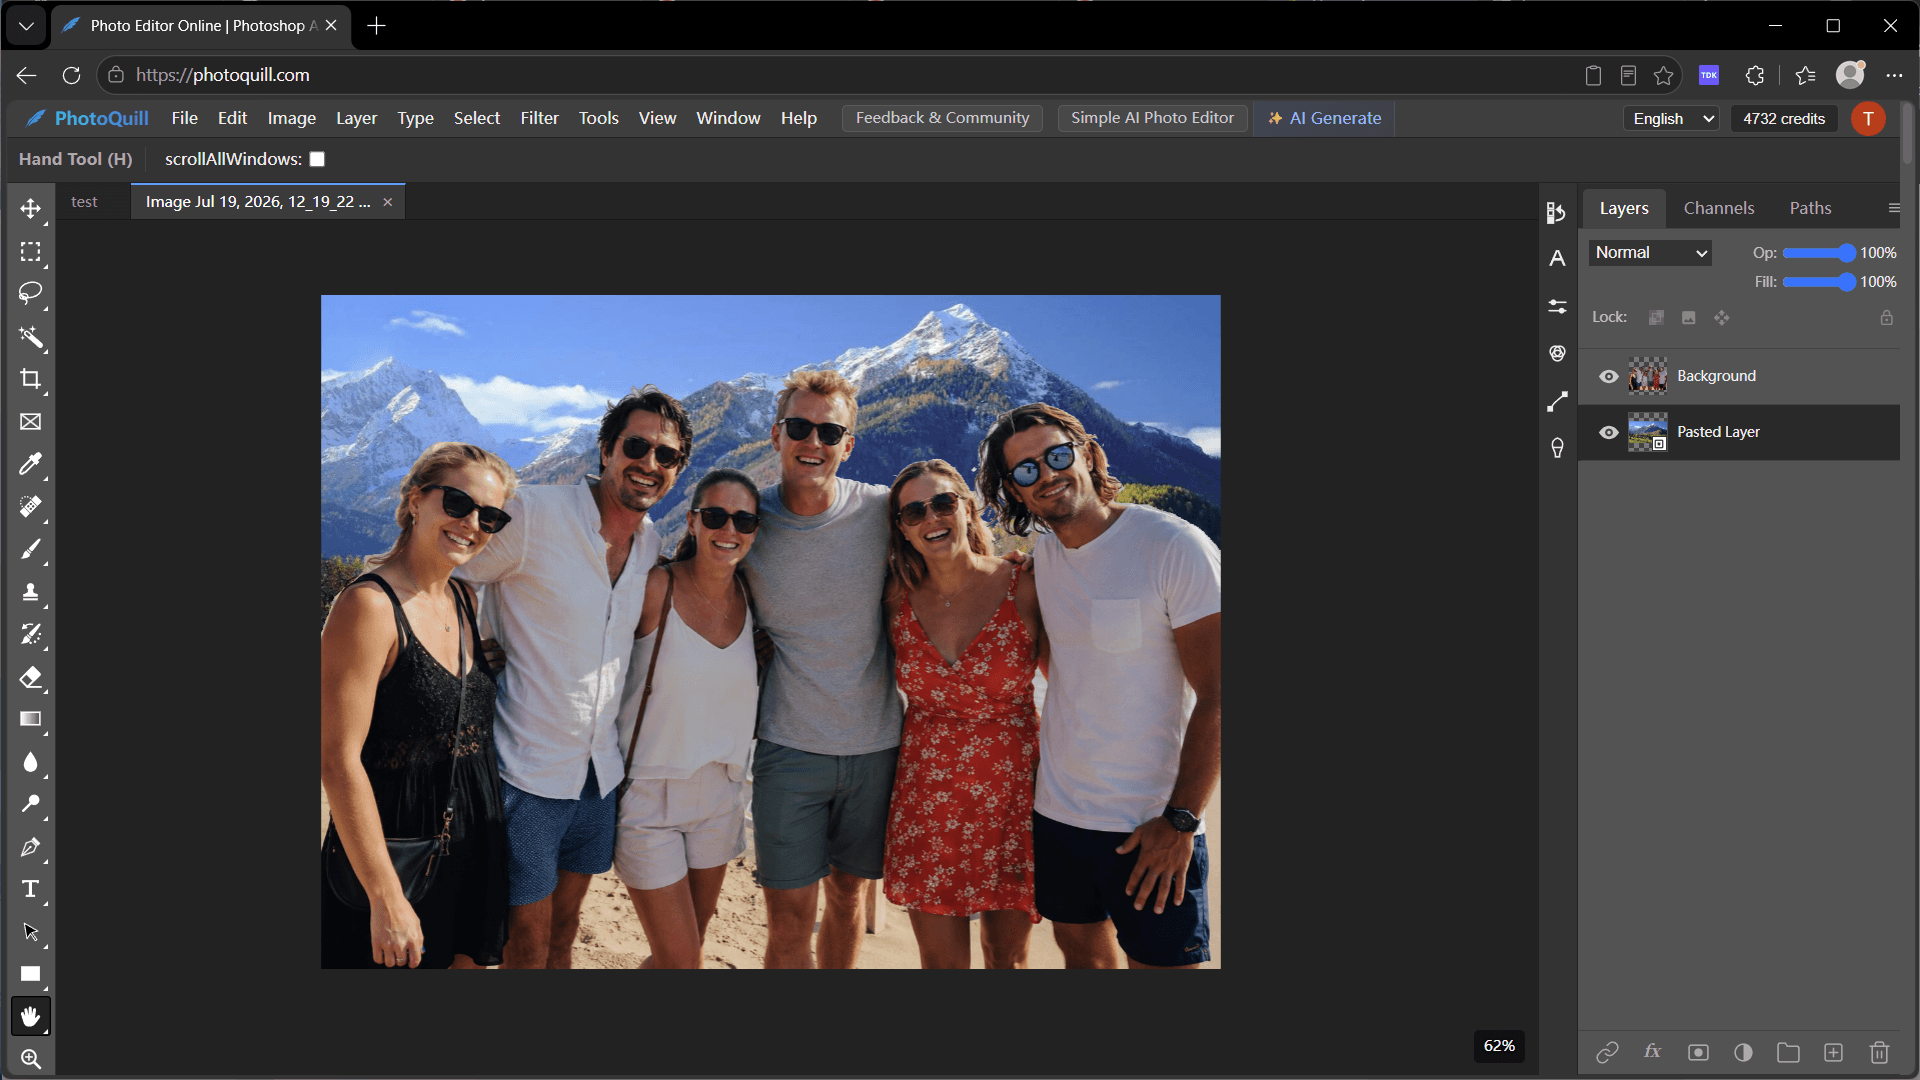
Ctrl+C). Open the PhotoQuill editor in your browser and paste it (Ctrl+V). - Go to File > Import to bring in your new background image.
- In the Layers panel, drag the new background layer below your subject layer. Use the transform controls to adjust the background size to fit.
Method 2: AI Background Replacement (Perfect Edges)
If you are struggling with complex edges like hair or fur, manual tools will leave jagged artifacts. The modern solution uses AI to not only remove the background but instantly generate a new one.
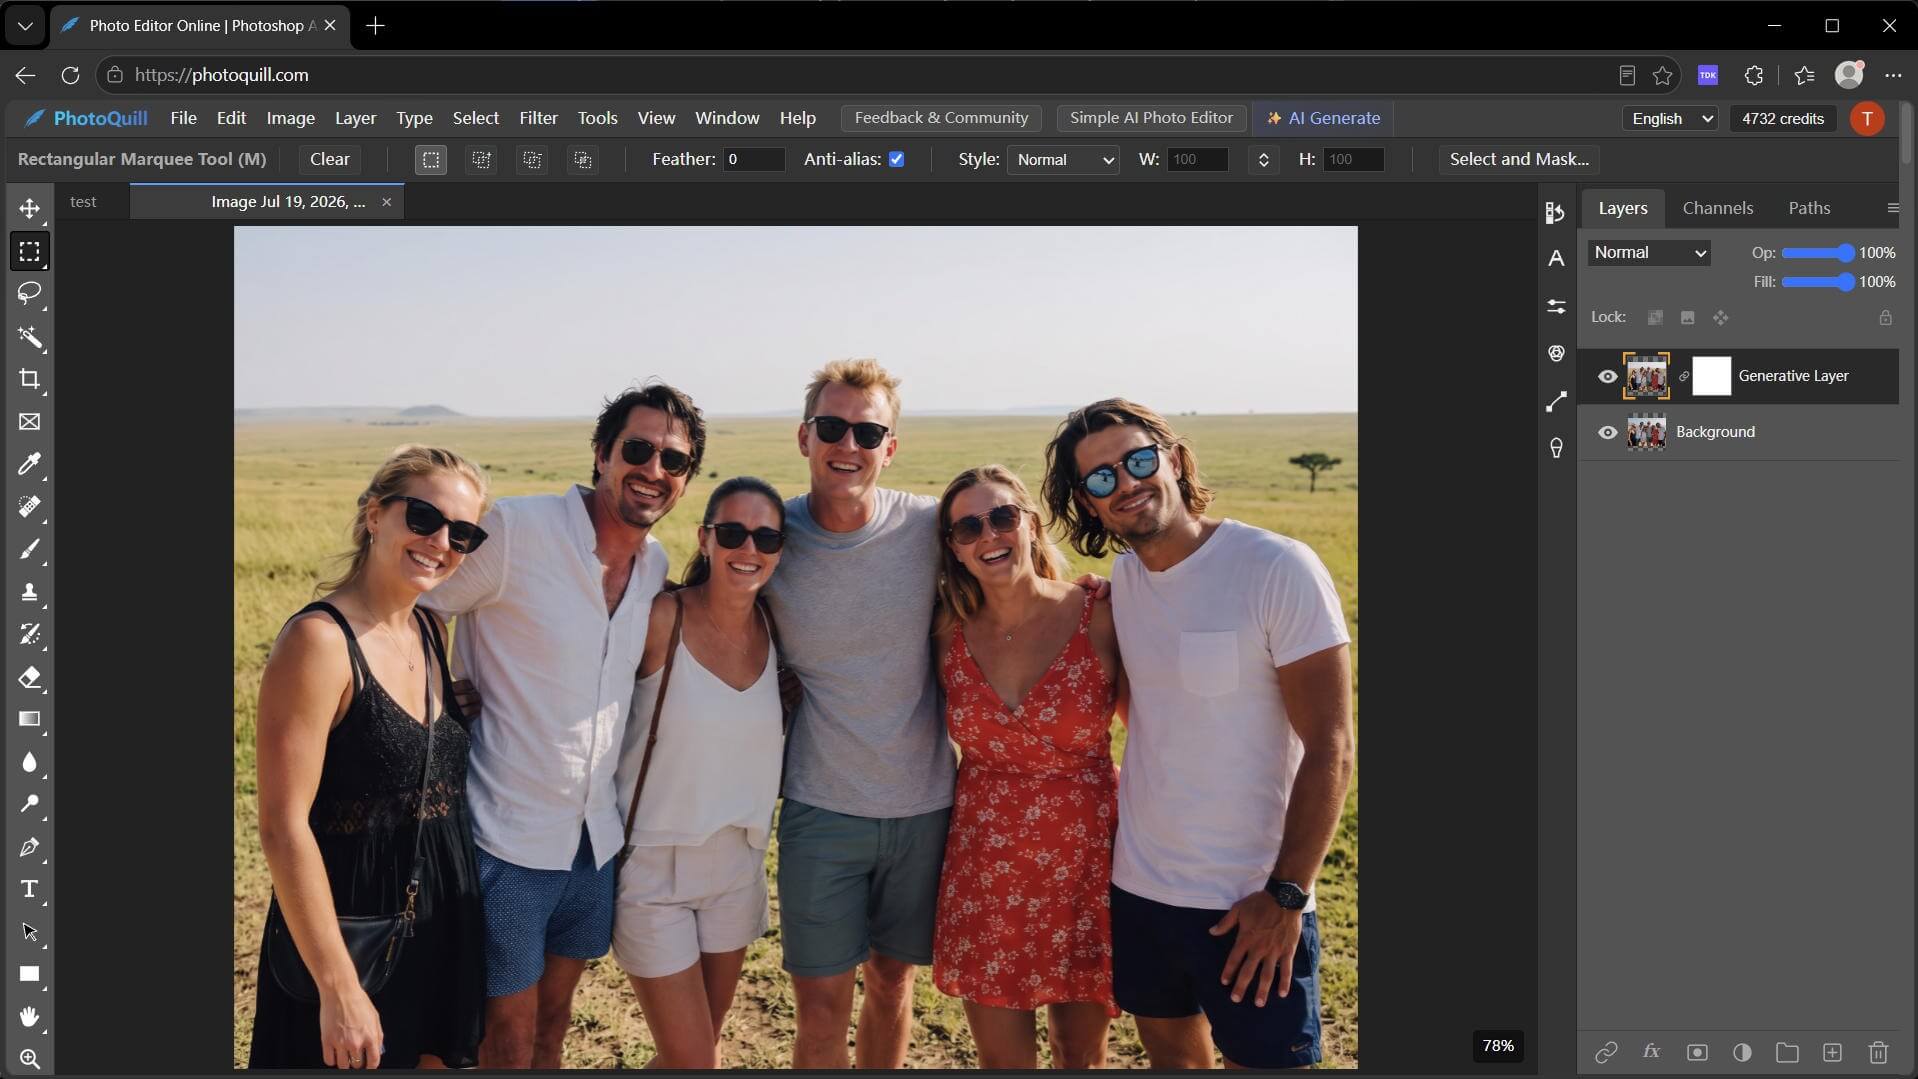
Generate a New Environment Instantly
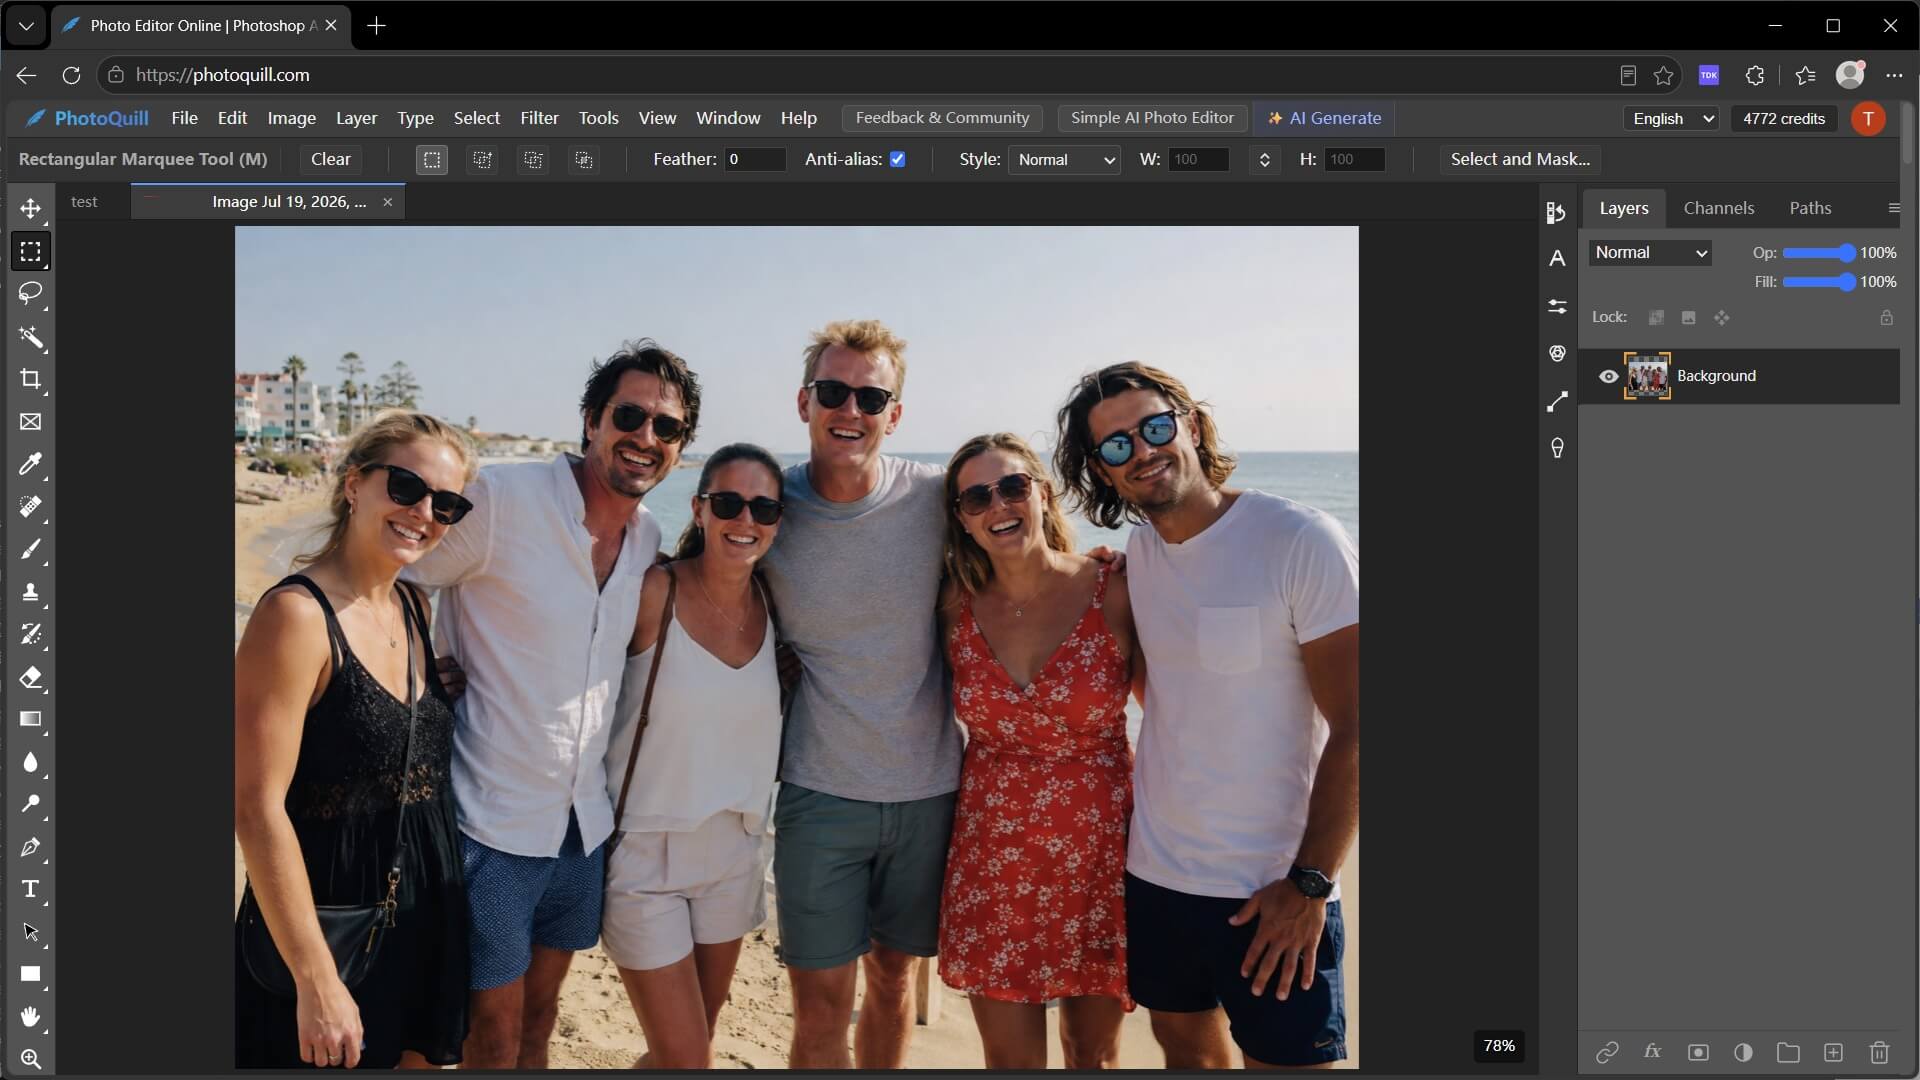
- Press
Ctrl+A(Windows) orCmd+A(Mac) to select the entire image canvas. - The AI Modification Panel will automatically pop up near your selection.
- In the text prompt box, type exactly what you want the new background to be. For example, type "sunny sky" or "green grassland".
- Click Generate. The AI detects your main subject automatically, removes the original background, and renders the new environment behind it.
The Same Workflow, Free in the Browser
Don't want to pay for a heavy desktop application? You can achieve both workflows directly in your browser using PhotoQuill — free photo editing software that rivals desktop tools. It supports all standard shortcuts and layer management features.