How to Rotate an Image in Photoshop
Rotating an image changes its orientation or straightens tilted horizons. Learn how to rotate entire project canvases, individual layers, and custom degree angles in Photoshop and PhotoQuill.
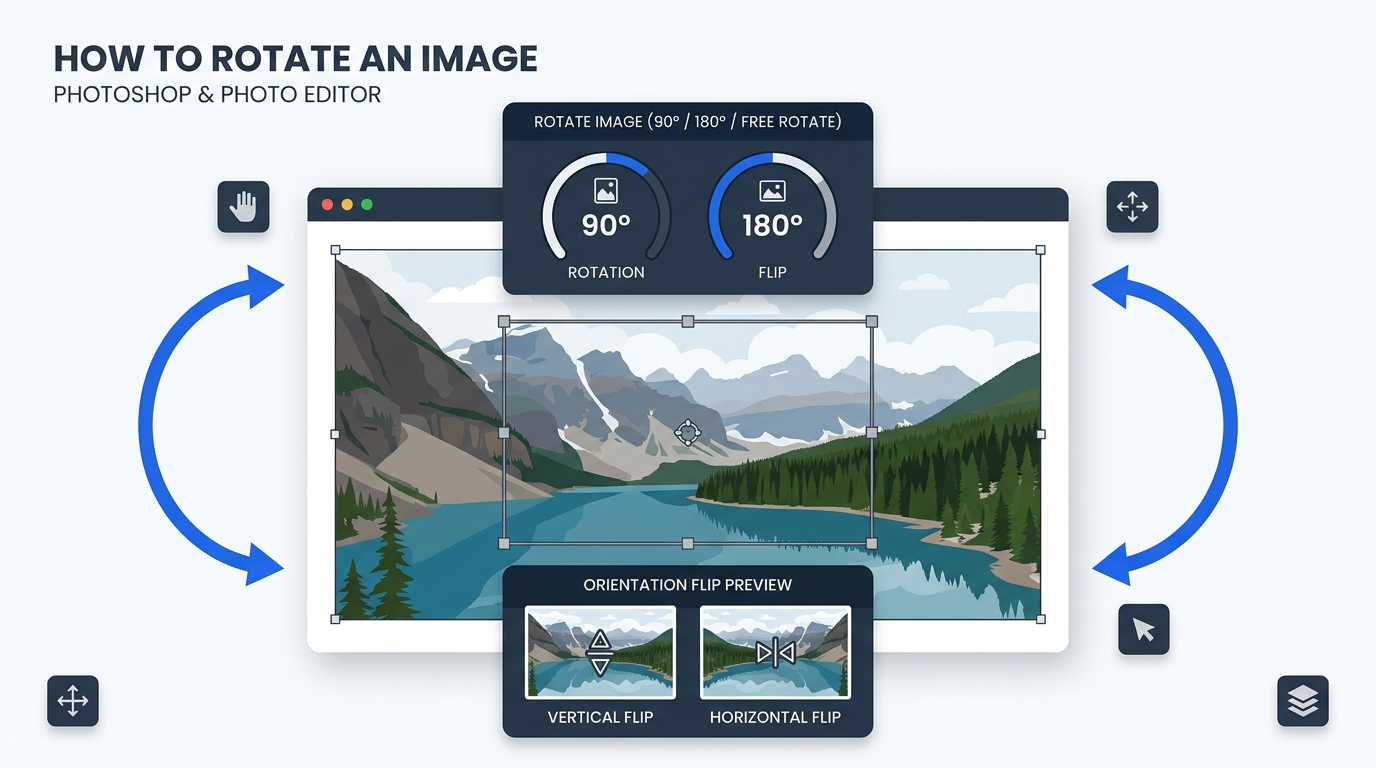
Rotating the Entire Canvas vs. Individual Layers
When photos are taken vertically on smartphones or DSLRs, orientation sensor metadata can sometimes misinterpret portrait mode, resulting in images opening sideways. Correcting orientation requires choosing whether you want to re-orient the whole document or adjust one visual layer within a larger layout.
Photoshop and PhotoQuill provide two distinct mechanisms for rotation:
- Image Rotation (Canvas-wide): Located under
Image > Image Rotation. This physically swaps canvas width and height for 90-degree rotations, rotating all raster layers, text layers, vector masks, and history states together. - Layer Rotation (Free Transform): Triggered by pressing
Ctrl+T(orCmd+Ton Mac). This rotates only the currently selected layer while the canvas boundaries and other background layers remain stationary. For mirroring instead of rotating, consult our image flipping guide.
Selecting the wrong method is a frequent source of frustration: rotating a single layer when you intended to orient the entire file leaves unpainted checkerboard transparency around the frame.
Preset Angles and Custom Arbitrary Rotation
Standard camera orientation fixes rely on preset 90-degree or 180-degree turns. However, when shooting handheld photography, horizons are often tilted by 1 to 3 degrees. Fixing this requires precise arbitrary rotation.
Common Rotation Options in PhotoQuill
| Menu Command | Rotation Angle | Canvas Dimensions | Typical Scenario |
|---|---|---|---|
| 180° | Half-circle inversion | Unchanged (W × H) | Upside-down camera imports or upside-down scans |
| 90° Clockwise (CW) | Quarter turn right | Swapped (H × W) | Smartphone portrait photos opening horizontally |
| 90° Counter Clockwise (CCW) | Quarter turn left | Swapped (H × W) | Left-tilted vertical photo corrections |
| Arbitrary... | Custom input (e.g. 1.8°) | Expands to contain corners | Straightening tilted beach horizons and architecture |
When executing an Arbitrary rotation, Photoshop recalculates canvas dimensions to ensure none of your rotated corners are clipped outside document bounds.
Straightening Crooked Horizons with the Crop Tool
Rotating an arbitrary degree often creates blank wedge gaps along the edges of the canvas. The cleanest workflow for leveling photos without manual canvas expansion is the Straighten Tool integrated inside the Crop tool.
Press C to select the Crop Tool. On the top options toolbar, click the Straighten ruler icon. Click on one side of a visible horizontal reference line (such as the ocean horizon or a building ledge) and drag the cursor to the other side. When you release your mouse, Photoshop automatically calculates the exact angular compensation, rotates the photo, and crops off the empty corners in a single operation. Learn more about boundary optimization in our crop image tutorial.
Step-by-Step: How to Rotate an Image in PhotoQuill
Open Your Image in PhotoQuill
Launch PhotoQuill in any modern web browser. Press Ctrl+O or drag your sideways photograph directly onto the canvas workspace.
Access Image Rotation Menu
Click on Image in the top menu bar, then hover your cursor over Image Rotation in the dropdown menu.
Select Orientation Preset
Choose 90° Clockwise if the top of your photo is pointing toward the right, or 90° Counter Clockwise if it points toward the left. The canvas immediately orients correctly.
Rotate Individual Layers with Free Transform
If you only need to rotate a specific layer, click that layer in the Layers panel and press Ctrl+T (Cmd+T on Mac). Move your mouse cursor just outside any corner handle until it becomes a curved arrow, then drag to rotate.
Commit Changes and Export
Press Enter to apply any active layer transformation. Save your rotated file in loss-free format via File > Save as PSD or export a clean JPG through File > Export JPG.