How to Add Picture on Picture in Photoshop
Creating picture-in-picture composites lets you showcase multiple photo angles, product close-ups, and layered portrait collages. Here is how to insert and style photo overlays in Photoshop and PhotoQuill.
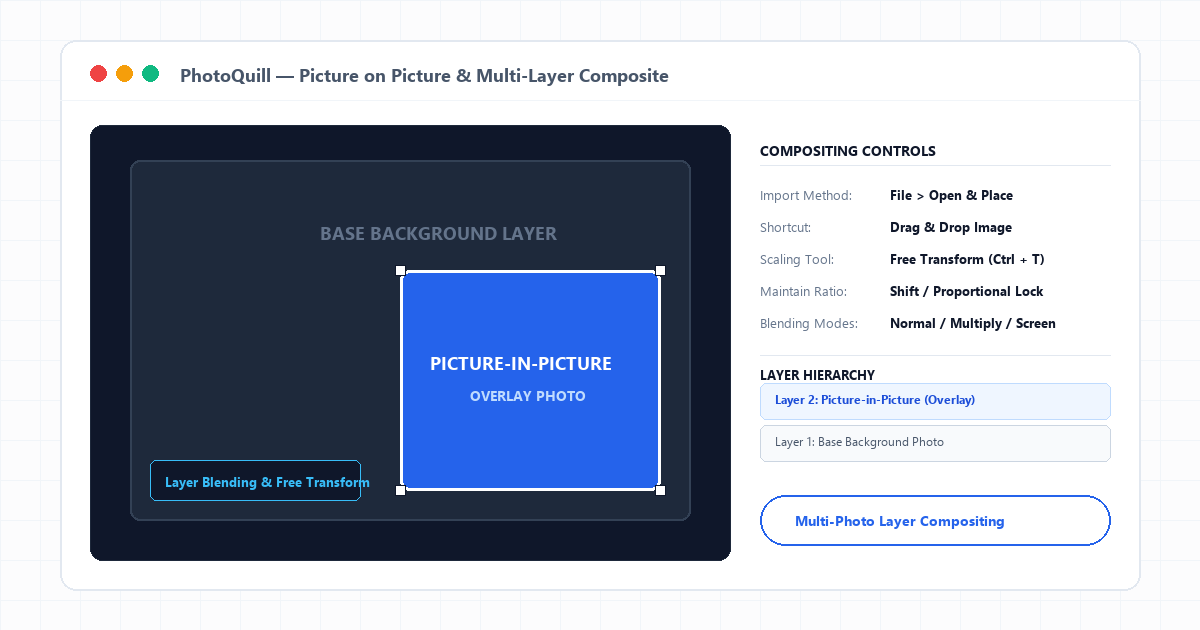
Layer Hierarchy and Independent Picture Stacking
Digital photo composites rely on vertical layer stacks. When you place a second photograph on top of an existing background, Photoshop keeps both files on separate layers rather than baking them into a single immovable sheet.
This separation provides significant design flexibility:
- Independent Positioning: You can reposition the overlay graphic anywhere on canvas using the Move Tool (V) without tearing holes in the base background.
- Scale and Rotation: The top image can be resized, angled, and transformed freely without affecting canvas resolution.
- Adjustable Blending: You can lower layer opacity, adjust color balance, or combine layers with blend modes like Screen, Soft Light, or Multiply. If you ever need to combine them permanently, review our guide on how to merge layers in Photoshop.
Three Methods to Place One Photo onto Another
Depending on your desktop operating system and preferred workflow, there are three seamless methods to import an overlay image.
Placement Options in PhotoQuill
| Method | Action Path | Layer Result | Best Use Case |
|---|---|---|---|
| Drag and Drop | Drag file from desktop straight to canvas | Smart Raster Overlay Layer | Fastest everyday workflow |
| Open & Place | Top menu File > Open & Place |
Embedded Layer with transform box | Precise file browser selection |
| Clipboard Paste | Ctrl + C from web, then Ctrl + V |
New Floating Layer | Quick web screenshots and reference graphics |
When placed, PhotoQuill automatically displays Free Transform corner handles, allowing you to establish scale immediately before pressing Enter to commit.
Separating Overlays with Borders and Drop Shadows
Without styling, an overlay photo placed over a busy background often looks flat and unpolished. Adding a clean border and subtle cast shadow creates depth, making the top picture stand out like an authentic photographic print lying on top of a table.
Double-click the overlay layer in the Layers panel to open Layer Styles:
- Stroke (Border): Select Inside position, set color to pure white (
#FFFFFF), and choose an outline thickness between 4px and 8px depending on canvas resolution. - Drop Shadow: Set angle to 120 degrees, opacity to 25%, distance to 8px, and size (blur) to 16px. To master shadow parameters in depth, consult our Photoshop drop shadow tutorial.
Step-by-Step: How to Add Picture on Picture in PhotoQuill
Open Your Primary Background Photo
Go to PhotoQuill in your web browser. Press Ctrl+O to open your main base image file.
Place the Second Photo
Go to File > Open & Place... from the top menu bar, or simply drag and drop the second image file directly onto the open canvas workspace.
Scale and Reposition the Overlay
Drag the corner handles inward to shrink the picture-in-picture overlay to your preferred size. Click and drag within the center of the bounding box to move it into a corner.
Add Layer Style Stroke and Shadow
Double-click the top layer in the right-side Layers panel. Check Stroke to apply a crisp 4px white outline, and check Drop Shadow to lift the photo off the background.
Commit and Export
Press Enter to commit your transformation. Export your composite image via File > Export JPG or save your layered file with File > Save as PSD.