How to Change Background Color Using Photoshop
Changing a background color sounds simple until the first attempt bleeds into the subject's hair or leaves jagged halos around the edges. This guide walks through the three approaches Photoshop pros actually use: the fast Magic Wand for plain backdrops, the reliable Select Subject + Solid Color Fill combo for busier scenes, and a Hue/Saturation shift when you want to recolor the background without losing texture. At the end, you'll see the same workflow mirrored in PhotoQuill so you can do all of it for free in the browser.
Method 1: The Magic Wand (Best for Plain Backgrounds)
The Magic Wand is still the quickest Photoshop tool when the background is a single color, a studio backdrop, or a clean sky. Instead of tracing the subject, you click on the background directly.
Select the background, then fill it
- Press
Wto grab the Magic Wand. If the Object Selection tool appears instead, right-click the icon and choose Magic Wand. - In the top options bar, set Tolerance to about
20to40. Lower values pick a tighter color range; higher values grab more variation. - Uncheck Contiguous if the background shows through small gaps between fingers or hair.
- Click once anywhere on the background. Hold
Shiftand click again to add missed areas, or holdAlt(Windows) /Option(Mac) to subtract over-selected regions. - With the background selected, open Layer > New Fill Layer > Solid Color and pick your new color. Photoshop turns the active selection into a layer mask automatically.
Method 2: Select Subject + Solid Color Fill Layer
For portraits, wildlife, or anything in front of a complex scene, it's faster to let Photoshop find the subject and then flip the selection. This uses Adobe's machine-learning subject detector under the hood.
Auto-select the subject, invert, then fill
- Go to Select > Subject. Marching ants appear around the person or main object.
- Press
Ctrl+Shift+I(Cmd+Shift+Ion Mac) to invert the selection. Now the background is active. - At the bottom of the Layers panel, click the half-filled circle icon (Create new fill or adjustment layer) and choose Solid Color.
- In the color picker, choose your new background color and confirm. The active selection becomes the fill layer's mask, so the subject stays untouched and you can edit the color any time by double-clicking the thumbnail.
- If the mask looks hard around hair, click the mask and open Select and Mask to feather edges and run the Refine Edge brush along fine strands.
Method 3: Hue/Saturation for Recoloring Without Losing Texture
Sometimes you don't want a flat new color. You want the same background but in a different shade — a blue studio backdrop turned teal, a red wall turned purple — with all the original shadows, highlights, and texture preserved. That's what Hue/Saturation is for.
Shift the color without repainting it
- Select the background first using either Method 1 (Magic Wand) or Method 2 (Select Subject + Invert).
- With the selection active, click the adjustment layer icon in the Layers panel and choose Hue/Saturation. The selection is applied as a mask on the adjustment layer.
- In the Properties panel, drag the Hue slider left or right. The background hue shifts while textures, shadows, and lighting stay intact.
- Adjust Saturation if the new color looks too punchy, and Lightness sparingly (too much quickly flattens the image).
- For a more targeted shift, open the dropdown at the top of the Properties panel and pick a color range like Blues to only remap that range.
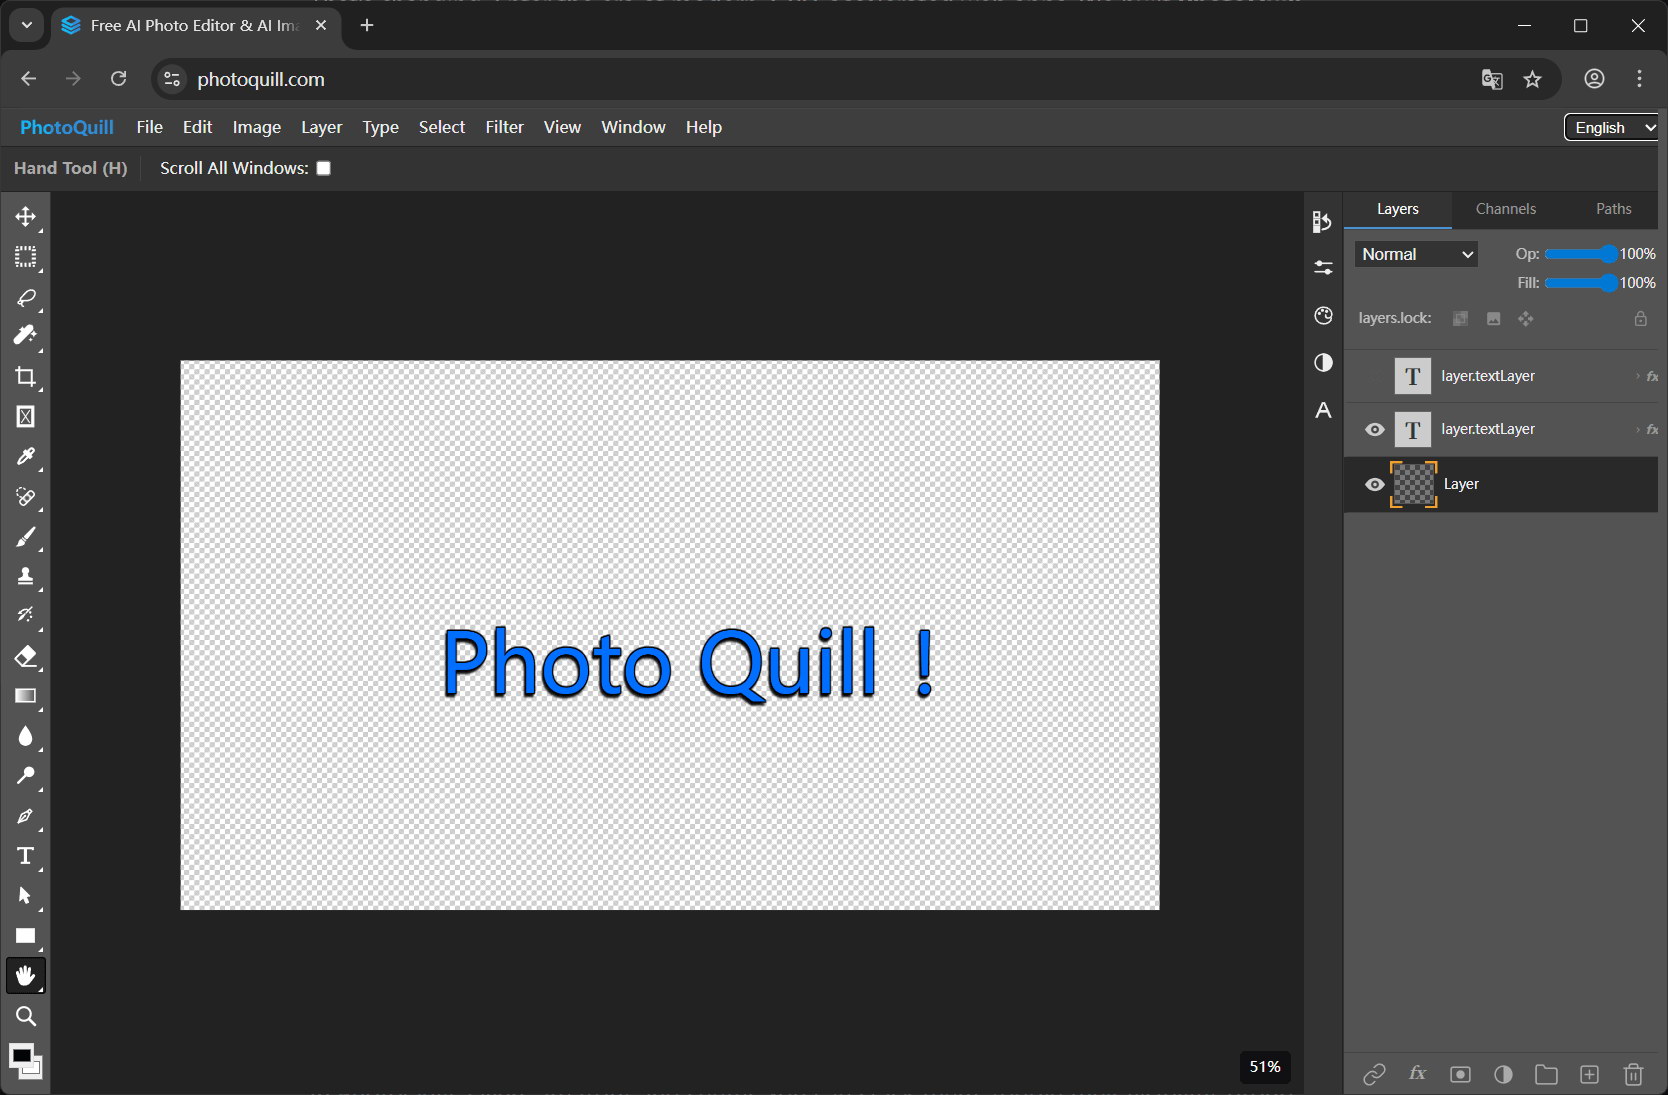
The Same Workflow, Free in the Browser with PhotoQuill
If you don't have Photoshop installed, PhotoQuill provides the same selection tools, layer masks, and adjustment layers — entirely in the browser, with no signup. The three methods above translate directly.
Open your photo
Go to the PhotoQuill editor and drag your image onto the canvas. Files are parsed locally in your browser via WebGPU. Nothing is uploaded.
Pick the selection tool that matches your photo
For plain backgrounds, grab the Magic Wand. Adjust the tolerance slider and click the background. For busy scenes, use Select Subject to auto-detect the foreground, then invert with Ctrl+Shift+I.
Add a fill or adjustment layer
With the background selected, add a Solid Color fill for a new flat color, or a Hue/Saturation adjustment layer to shift the hue while keeping the original texture. The active selection becomes the layer mask automatically, same as Photoshop.
Refine the edge and export
If hair or soft edges look rough, open the mask refinement controls and run the edge brush along those areas. Then export to PNG, JPG, WebP, or PSD with no watermark.