How to Convert a PDF File to PNG: High Resolution and Lossless Guide
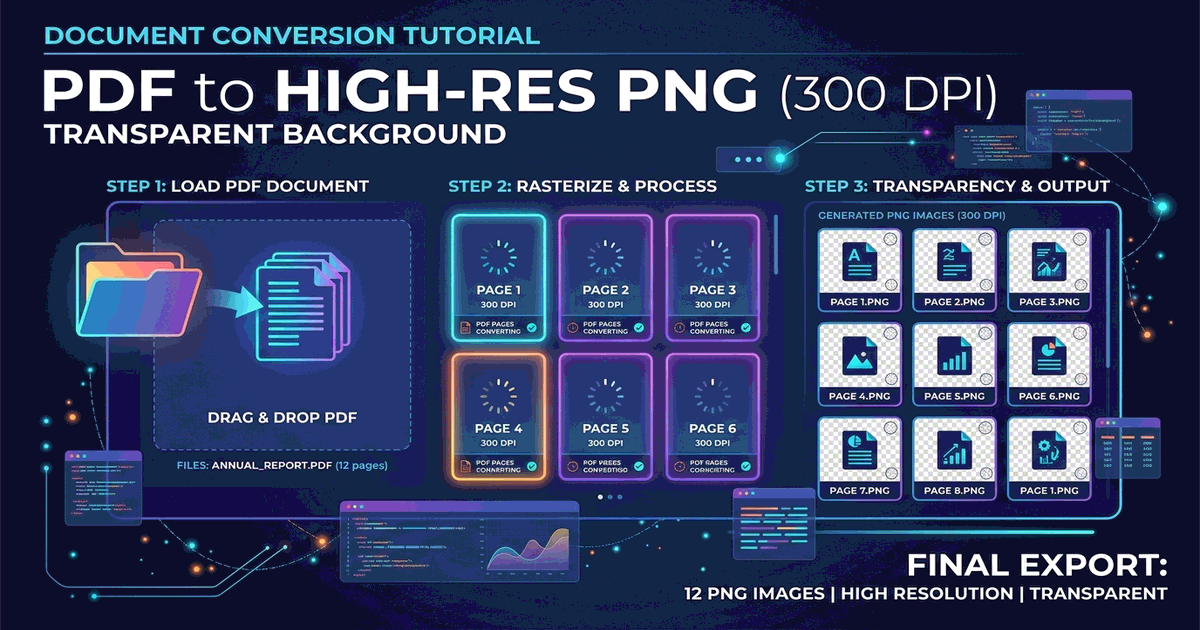
Portable Document Format (PDF) files are the universal medium for business contracts, presentation decks, academic papers, and architectural blueprints. However, embedding a PDF page directly into a website article, slide deck, social media post, or design mockup is notoriously difficult because web browsers treat PDFs as downloadable documents rather than inline visual graphics. Learning how to convert a pdf file to png allows you to extract crystal-clear, high-DPI raster images with lossless typography and clean transparent elements.
Why Choose PNG Over JPG When Converting from PDF?
While JPG is ideal for continuous-tone photographs, PDF pages primarily consist of sharp vector typography, high-contrast diagrams, tables, and brand logos. Converting a PDF containing black text on a white background into a compressed JPEG introduces noticeable "mosquito noise" and fuzzy gray compression halos around letters.
PNG utilizes lossless deflate compression. Every typographic edge, fine line chart, and solid color block is preserved with pixel-perfect accuracy. Furthermore, if your PDF features a graphic with transparent backgrounds (such as a brand mark or vector seal), exporting as PNG retains that alpha transparency, whereas JPG forces a solid background.
| Resolution (DPI) | Typical 8.5x11 Page Size | Visual Sharpness | Recommended Application |
|---|---|---|---|
| 72 DPI (Screen) | 612 x 792 pixels | Low; text appears soft when zoomed | Quick email thumbnail previews |
| 150 DPI (Web Standard) | 1275 x 1650 pixels | Sharp on standard and Retina laptop screens | Blog post graphics, presentation slide inserts |
| 300 DPI (High Resolution) | 2550 x 3300 pixels | Razor sharp; zero pixelation | Fine art physical reprinting, legal exhibits |
Method 1: Instant Browser Conversion with PhotoQuill (Client-Side)
Converting sensitive documents—such as financial statements, medical records, or signed non-disclosure agreements—through random cloud converters exposes your private data to security vulnerabilities. PhotoQuill executes PDF rasterization and PNG encoding directly inside your local browser memory via WebAssembly:
- Open the PhotoQuill Online Editor in your web browser.
- Drag and drop your PDF document onto the application canvas, or select File → Open.
- In the import dialog, select the page you wish to render and set your target resolution (select 300 DPI for maximum clarity).
- If you only need a portion of the page (such as an infographic or signature block), use the Crop tool to frame the relevant section. See our tutorial on how to crop photos cleanly.
- Click File → Export As → PNG.
- Save your lossless, high-DPI image directly to your local computer.
Method 2: Converting PDF to PNG on macOS via Preview
Mac users possess a powerful built-in tool for converting PDF documents without downloading additional utilities:
- Double-click your PDF file to open it in the default macOS Preview app.
- Select the specific page you want to convert in the left thumbnail sidebar.
- Navigate to File → Export.
- In the Format dropdown menu, select PNG.
- Set the Resolution field to
300pixels/inch to prevent blurry typography. - Click Save. macOS renders the selected page as an independent PNG graphic immediately.
Method 3: Taking High-Resolution Screenshots of PDF Pages
If you only need an excerpt from a PDF (such as a chart or diagram) and are working on Windows 10 or 11:
Open your PDF in any viewer and zoom in to 200% so text renders at maximum size. Press Win + Shift + S to activate the Windows Snipping Tool, drag a selection box around your graphic, and paste it directly into PhotoQuill to trim and export as a clean PNG.
Managing Transparent vs White Backgrounds
Many digital PDFs have no explicit background fill layer; PDF viewers simply display them against white by default. When exporting such documents to PNG, the background can emerge as fully transparent.
If you want a solid white backdrop behind your document text, create a new layer in PhotoQuill, fill it with pure white using the Paint Bucket tool (`#ffffff`), and move it behind your rendered document layer before exporting. Learn more in our guide on converting PNG formats and transparency management.