How to Curve Text in Photoshop: Warp & Path Techniques
Curved text is a staple of vintage emblems, sports badges, stickers, and modern logos. Rather than placing individual letters by hand, Photoshop gives you two accurate workflows: the rapid Warp Text tool for arched typography, and vector paths for full circular badges. Here is how to master both methods while keeping your fonts crisp and fully editable.
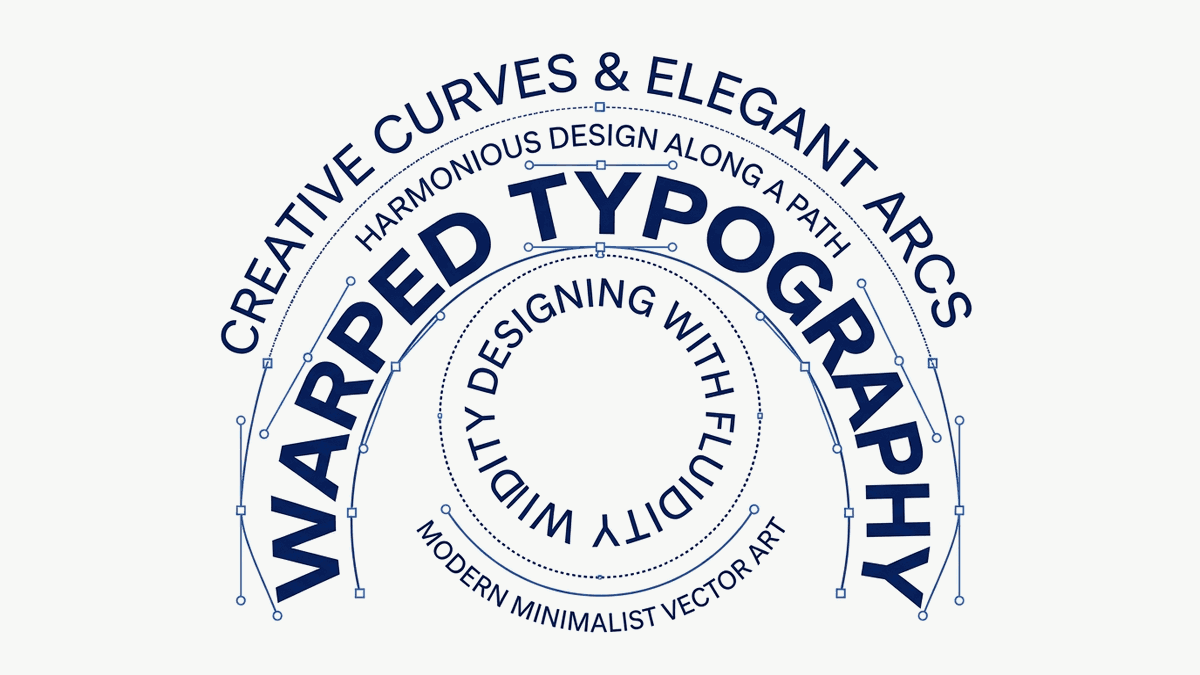
Method 1: Warp Text Tool (Quickest for Arches & Banners)
The Warp Text engine is built directly into Photoshop's Type Tool. It bends typography along mathematical curves without altering font vector outlines or destroying live editable characters.
To use this method, select the Horizontal Type Tool by pressing T. Click on your canvas and enter your copy. In the top tool options bar, look for the Create Warped Text icon (depicted as a letter T resting over a curved arc).
Clicking this icon launches the Warp Text dialog box, offering several dynamic distortion styles:
- Arc: Distorts both the top and bottom baselines equally, creating an organic curve.
- Arch: Keeps vertical letter stems straight while curving the upper baseline, ideal for varsity athletic lettering.
- Arc Upper / Arc Lower: Restricts the bend to a single edge while keeping the opposite side completely horizontal.
- Flag & Wave: Produces flowing serpentine text ribbons for banners and badges.
Method 2: Typing Along Vector Paths (Best for Circular Badges)
When you need text following the exact 360-degree perimeter of a circle or a complex wavy stroke, the Warp Text tool will distort character proportions. The professional solution is attaching type directly to a vector path.
Binding Typography to a Circular Shape
- Select the Ellipse Tool (
U) from the toolbar. - In the top options bar, change the tool mode dropdown from Shape to Path.
- Hold
Shift + Alt(Windows) orShift + Option(Mac) and drag on the canvas to draw a balanced circular path from the center out. - Switch to the Type Tool (
T) and move your cursor over the path line. The cursor changes from a standard I-beam inside a square to an I-beam crossed by a squiggly line. - Click once on the path line and type your text. The letters flow along the curve of the circle automatically.
If you need to change your letter styling or match branding colors, review our tutorial on changing colors of objects in Photoshop for detailed color adjustments.
Aligning, Flipping, and Centering Text on Paths
After typing along a circular path, text often begins at an awkward angle or appears inverted at the bottom of the circle. Photoshop uses boundary brackets to control path alignment.
Select the Path Selection Tool by pressing A (the black arrow icon). When you hover over the text on your path, the cursor displays small arrows pointing left or right:
- Repositioning: Click and drag the small start or end bracket along the perimeter to center the phrase at the top or bottom of your emblem.
- Flipping Inside vs Outside: Drag your cursor across the path toward the center of the circle to flip the text inside the circle. Drag back outward to return it to the outer boundary.
When assembling logo compositions or preparing product designs, remember to frame your canvas cleanly by cropping images with precision before final export.
Step-by-Step: How to Curve and Style Text in PhotoQuill
PhotoQuill allows designers to format vector text layers, apply transformations, and arrange typography directly in modern web browsers.
Create a Text Layer
Click the Text Tool (T) in the left sidebar and click anywhere on your canvas to enter your headline or slogan.
Adjust Font, Size, and Tracking
In the top properties bar, pick your desired font weight, size, and letter spacing (tracking) to prevent letters from colliding when curved.
Apply Warp Curvature Preset
Click the Warp Text button in the options bar. Select Arc from the Style menu and adjust the Bend slider to set your desired curve percentage.
Position and Export Vector Art
Switch to the Move Tool (V) to drag your arched typography into place. Export your design as a high-res transparent PNG via File > Export As.
Frequently Asked Questions
T) and click the Create Warped Text icon in the top options bar. Select Arc from the dropdown and move the Bend slider.