How to Edit Text in Photoshop
Typography brings life to photo composites and banner designs. Learn how to edit text layers, customize fonts, adjust tracking and leading, and apply non-destructive styling in Photoshop and PhotoQuill.
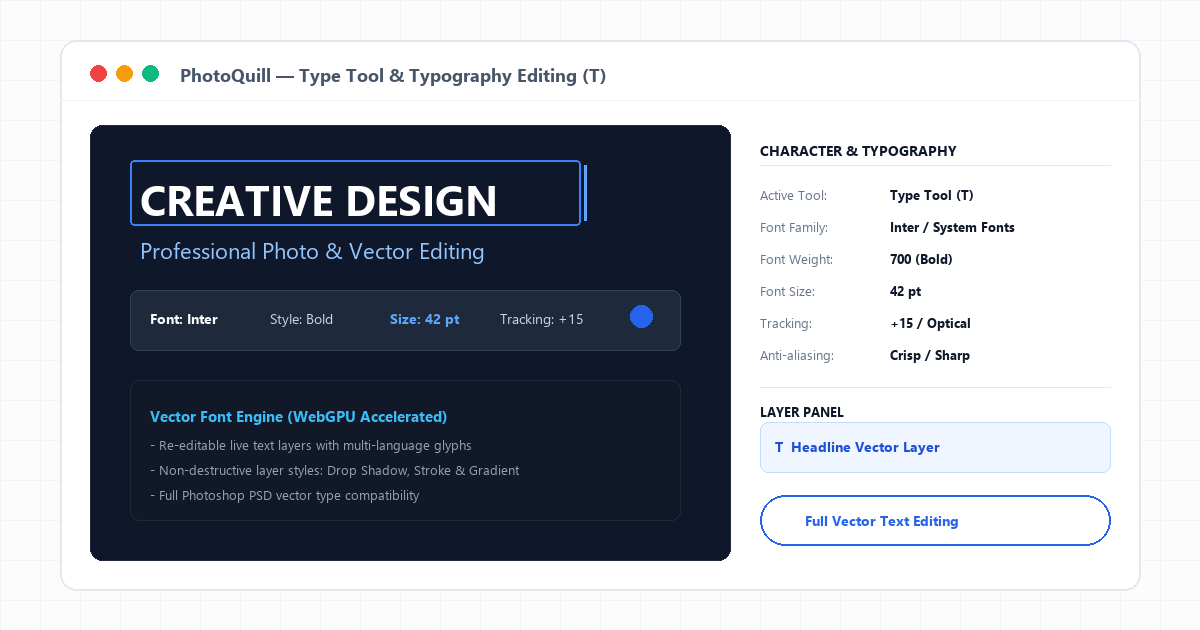
Point Text vs. Paragraph Box Text
When working with text in digital photo editors, understanding how text containers behave prevents unexpected layout overflows. There are two primary types of text layers:
- Point Text: Created by clicking once on the canvas and typing. The line continues indefinitely without wrapping unless you hit Enter. Point text is ideal for titles, slogans, price tags, and logo marks.
- Paragraph (Area) Text: Created by clicking and dragging a rectangular boundary box with the Type Tool. Text automatically wraps at the right boundary margin. If you resize the container handles, sentences reflow cleanly without distorting letter shapes.
To convert between the two modes, right-click the text layer in your Layers panel and choose Convert to Paragraph Text or Convert to Point Text.
Adjusting Fonts, Tracking, and Leading
Professional typography relies on optical spacing controls to ensure titles read legibly over complex photo backgrounds.
Key Type Formatting Parameters
| Parameter | Keyboard or Panel Control | Visual Impact | Best Practice |
|---|---|---|---|
| Font Weight | Options Bar Dropdown | Light, Regular, Semi-Bold, Bold | Use heavy bold weights for text overlaid on busy photo backgrounds |
| Tracking | Character Panel (VA icon) | Expands or tightens space across all characters | Add +50 to +100 tracking to all-caps headings for an editorial feel |
| Leading | Character Panel (A/A icon) | Vertical distance between consecutive baselines | Set leading 120% to 140% of font size for body paragraph readability |
| Anti-Aliasing | Options Bar (aa icon) | Sharp, Crisp, Strong, Smooth | Select Crisp or Smooth to eliminate jagged font pixelation |
If you wish to create circular emblems or wavy header titles, check out our guide on how to curve text in Photoshop.
Styling Text Non-Destructively with Layer Styles
Beginners often make the mistake of rasterizing text to paint shadows or borders. Rasterizing destroys vector glyph outlines, permanently preventing you from fixing typos or altering font choices later.
The professional solution is applying Layer Styles. Double-click the empty space next to your layer name in the Layers panel to launch the Layer Style window:
- Stroke: Adds a solid or gradient border around each letter. To create punchy stickers, check our text outlining tutorial.
- Drop Shadow: Casts a soft shadow behind your letters, separating them clearly from high-contrast photo elements underneath.
- Color Overlay: Changes the color of the entire text layer without requiring you to highlight individual words with the Type tool.
Step-by-Step: How to Edit Text in PhotoQuill
Select the Type Tool
Press T on your keyboard or click the Horizontal Type Tool (letter T icon) in the left-hand toolbar.
Click on Your Existing Text
Move your cursor over the letters on your canvas. When the dashed box around the cursor vanishes, click once to insert the active cursor.
Type or Highlight Characters
Type to insert words or use Backspace to delete. Press Ctrl+A to highlight the whole text block for formatting changes.
Customize Font, Size, and Color
In the top options bar, pick your desired font family from the dropdown, adjust font size (e.g. 48 pt), and click the color swatch to pick a new hex code.
Commit Changes
Press Ctrl+Enter (Cmd+Return on Mac) or click the checkmark button in the options bar. Your vector text layer remains fully editable.