How to Combine Layers in Photoshop: Merge, Group, and Stamp Methods
As your photo editing projects grow in complexity, your Layers panel can quickly become overcrowded with dozens of adjustment layers, type elements, masks, and cutouts. Knowing how to combine layers in photoshop is essential for organizing your workspace, boosting software performance, and preparing master files for export without sacrificing future editability.
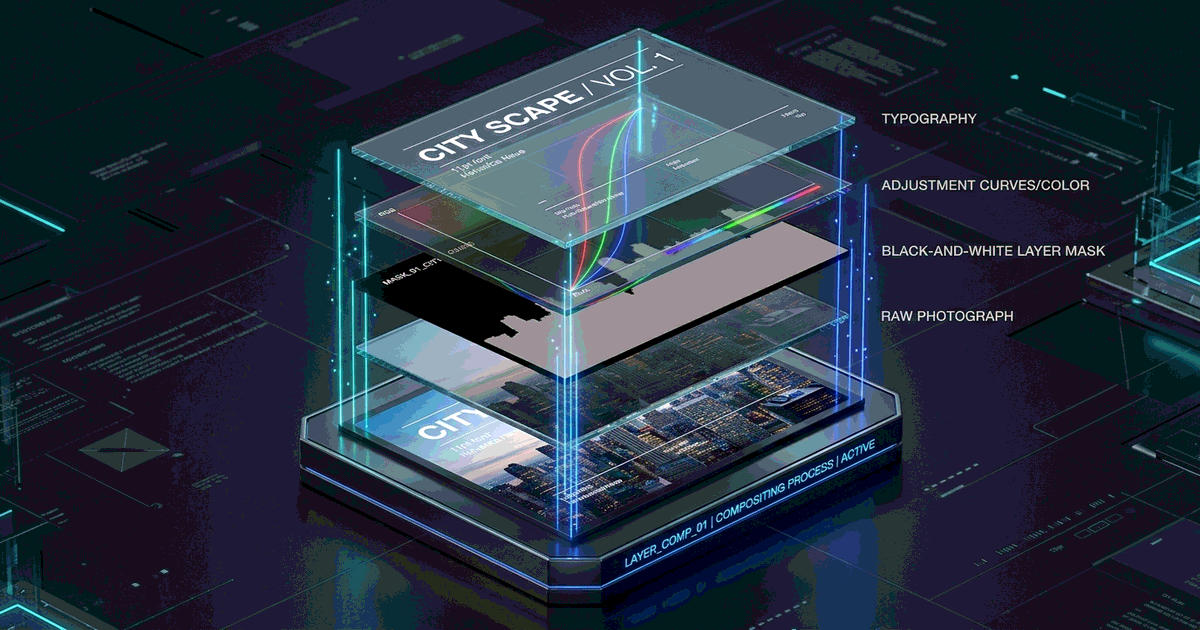
Method 1: Merge Selected Layers (Shortcut: Ctrl + E / Cmd + E)
Merging combines two or more highlighted layers into a single unified bitmap layer:
- In the Layers panel (press
F7if hidden), hold Ctrl (Cmd on Mac) and click the layers you want to combine. - To select a contiguous stack of layers, click the top layer, hold Shift, and click the bottom layer.
- Press Ctrl + E (Cmd + E on Mac), or right-click the selected layers and choose Merge Layers.
- Important note: Merging layers bakes text and adjustments into raw pixels, removing individual layer editability.
Method 2: Grouping Layers (Shortcut: Ctrl + G / Cmd + G) — 100% Non-Destructive
If you want to declutter your workspace while keeping all individual layers completely editable:
- Select the relevant layers in your panel.
- Press Ctrl + G (Cmd + G on Mac) or click the small folder icon at the bottom of the panel.
- Name your folder (e.g., Retouching, Text & Logos, or Color Grading).
- You can now toggle visibility, apply masks, or add opacity adjustments to the entire group at once while keeping every single underlying layer intact.
Method 3: Stamp Visible (The Secret Pro Shortcut: Ctrl + Alt + Shift + E)
Often referred to as the power shortcut among professional retouchers, Stamp Visible creates a brand-new flattened copy of everything visible placed at the top of your stack, leaving all your original layers beneath completely untouched:
- Click to highlight the uppermost layer in your Layers stack.
- Press Ctrl + Alt + Shift + E on Windows (or Cmd + Option + Shift + E on Mac).
- A consolidated composite layer appears instantly. You can now apply Camera Raw filters, sharpen, or liquefy without flattening your master file.
Layer Combination Methods Comparison
| Operation | Keyboard Shortcut | Reversibility | File Size Impact |
|---|---|---|---|
| Merge Layers | Ctrl + E / Cmd + E |
Destructive (Bakes pixels together) | Reduces memory consumption |
| Group Layers (Folder) | Ctrl + G / Cmd + G |
100% Non-Destructive | Zero file size reduction |
| Stamp Visible | Ctrl + Alt + Shift + E |
Non-Destructive (Creates new top layer) | Slightly increases file size |
| Flatten Image | Layer → Flatten Image | Permanent (Discards hidden layers) | Smallest possible file footprint |
Manage Layers Effortlessly in PhotoQuill
Looking for a rapid photo editor that handles full layer hierarchies, grouping, and blending directly in your browser? PhotoQuill gives you instant layer workflows without loading times or monthly fees. Check out related tutorials on how to merge layers in Photoshop, how to make a clipping mask, and how to blend two images in Photoshop.
Edit Layers Free in PhotoQuill →Frequently Asked Questions
Merging layers consolidates only the specific layers you select, preserving other layers in your project. Flattening an image merges every visible layer into a single locked background layer and discards all hidden layers.
No. Once you close and reopen a file where layers were merged into pixels, the operation cannot be undone. Always keep a backup copy with intact layers before merging.
Stamp Visible (Ctrl+Alt+Shift+E) takes a snapshot of all visible layers and creates a single consolidated layer at the top of your stack without altering the layers underneath.
Merge Down is disabled if your bottom-most layer is locked, if you are attempting to merge an adjustment layer into an incompatible layer type, or if no layer is currently selected.
Yes. PhotoQuill supports opening, editing, and saving layered PSD files directly in your web browser.