How to Merge Layers in Photoshop (Free Web Guide)
As your design project grows, your Layers panel can quickly become chaotic. Merging layers is critical for organizing your workspace, applying global effects, and optimizing your final file size.
Understanding Merging vs. Flattening
Merging combines specific selected layers into one, while flattening compresses the entire document into a single background layer, destroying all transparency.
Methods for Combining Layers
Follow these exact steps to execute the operation flawlessly.
Merge Down
Select a layer and press Ctrl + E (Windows) or Cmd + E (Mac). This merges the selected layer with the one directly below it.
Merge Selected Layers
Hold Shift or Ctrl/Cmd to select multiple specific layers. Right-click and choose Merge Layers (or press Ctrl/Cmd + E). Only the selected layers will be combined.
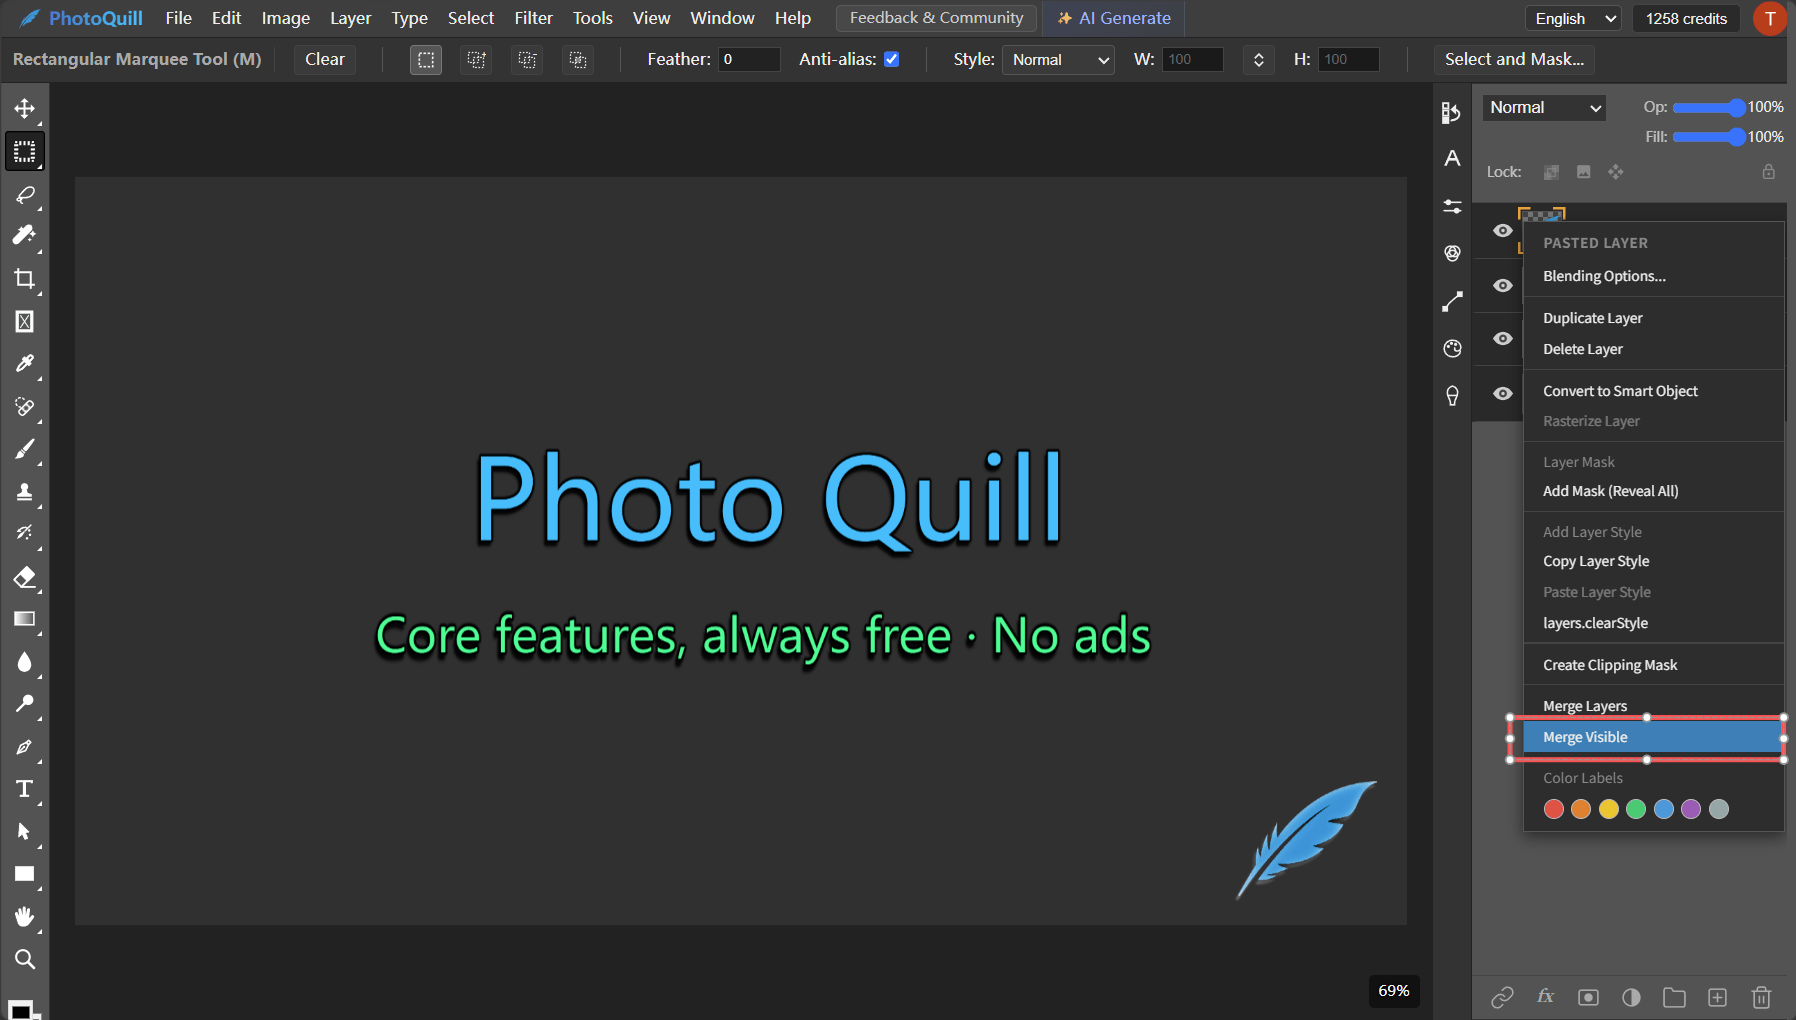
Merge Visible
Hide any layers you want to keep separate by clicking the eye icon. Then press Shift + Ctrl + E (Windows) or Shift + Cmd + E (Mac) to merge all currently visible layers into one.
Flatten Image
Go to Layer > Flatten Image. Use this only when you are completely finished, as it permanently flattens everything and removes alpha transparency.
Do it Instantly in Your Browser
Need to quickly merge elements but don't have access to your Photoshop desktop app? PhotoQuill supports full layer management. Open your PSD file directly in the browser, select your layers, and hit Ctrl+E. It’s 100% free, private, and processes instantly without uploading your files.