How to Add a Drop Shadow in Photoshop: Realistic Styling Guide
Drop shadows provide depth and visual separation between foreground subjects, text headings, and complex backgrounds. Done correctly, a subtle shadow grounds an isolated subject naturally; done poorly, harsh dark outlines look artificial and dated. Here is how to configure Photoshop's Layer Style engine for natural depth, how to build perspective ground shadows, and how to replicate the workflow in PhotoQuill.
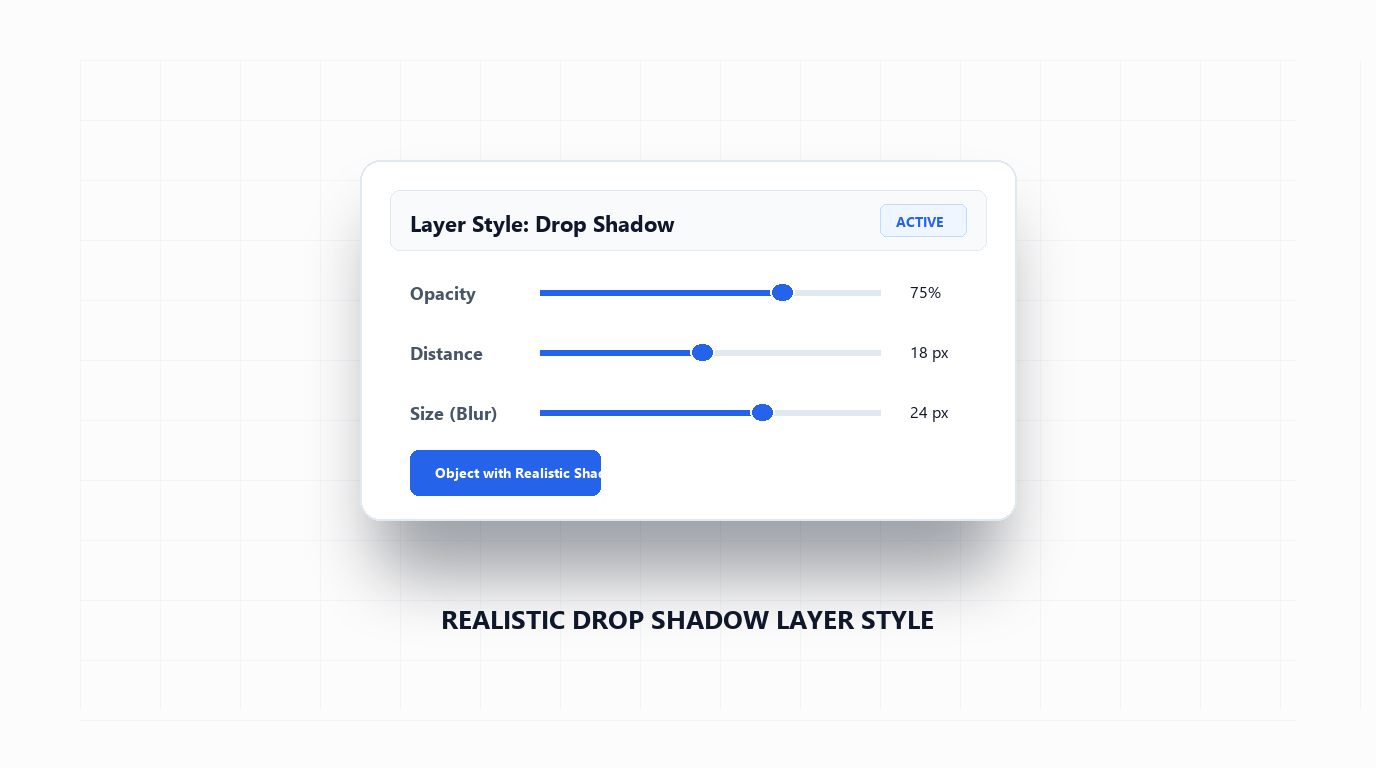
Accessing and Configuring the Drop Shadow Layer Style
Drop shadows are managed through Photoshop's non-destructive Layer Styles system. This means the shadow updates dynamically whenever you erase, move, or transform your layer pixels.
To access the controls, highlight your target layer in the Layers panel, then either double-click the empty space to the right of the layer name or click the fx icon at the bottom of the panel and choose Drop Shadow.
The dialog displays six core parameters that govern shadow behavior:
| Setting | Recommended Starting Value | Visual Impact on the Subject |
|---|---|---|
| Blend Mode | Multiply | Blends shadow pixels naturally into background textures |
| Opacity | 30% – 50% | Controls intensity; lower values look far more natural |
| Angle | Matches scene light (e.g. 120°) | Defines the direction where light hits the subject |
| Distance | 10px – 25px | Dictates elevation; larger distances suggest floating objects |
| Spread | 0% – 5% | Hardness of the shadow core; keep low to avoid comic-book lines |
| Size | 15px – 40px | Gaussian blur radius; larger sizes simulate soft ambient light |
#000000) for shadows unless your background is pure white. Click the color swatch in the dialog and pick a deep, saturated tone sampled directly from your background scene.
Creating Realistic Cast Ground Shadows vs Floating Drop Shadows
A standard drop shadow creates the impression of an object floating parallel in front of a flat wall. However, product photographs and cutout characters usually stand on a horizontal ground plane, requiring a perspective cast shadow.
After isolating your product using standard workflows like removing backgrounds in Photoshop, follow this technique to turn an automatic style into a realistic ground shadow:
Splitting Shadows into Independent Layers
- Apply a basic Drop Shadow layer style to your cutout subject.
- In the Layers panel, right-click the word Drop Shadow directly beneath your layer.
- Select Create Layer from the context menu. Photoshop bakes the drop shadow into a separate raster layer positioned underneath your artwork.
- Select the new shadow layer and press
Ctrl + T(orCmd + T). - Hold
Ctrl(orCmd) and drag the top-center handle downward and sideways to stretch the shadow flat onto the floor in perspective. - Apply a subtle blur gradient with Filter > Blur > Gaussian Blur so the shadow grows softer as it gets further from the object base.
Using blend modes such as Multiply or Soft Light ensures your cast shadow harmonizes with underlying floorboards or tabletop grains, just like blending photos in Photoshop.
Pro Techniques: Noise and Contours for Realistic Texture
Digital drop shadows can look artificially smooth on photographed backdrops with real camera grain. Two lesser-known options in the Drop Shadow dialog fix this issue immediately:
- Adding Noise (2% – 5%): Introducing a touch of noise creates subtle grain across the feathered shadow boundary, matching high-ISO photographs and avoiding digital banding.
- Contour Curves: The Contour dropdown changes how the blur falls off. While the default linear curve works for most tasks, subtle S-curves can mimic the penumbra and umbra transitions of physical studio lighting.
Remember that you can stack multiple drop shadows inside modern Photoshop by clicking the plus (+) icon next to the Drop Shadow tab, combining a sharp, dark contact shadow near the base with a broad, soft ambient wash further out.
Step-by-Step: How to Add Drop Shadows in PhotoQuill
PhotoQuill provides real-time layer effects with GPU acceleration in your browser. Follow these steps to elevate graphics with zero software installation.
Select Your Object Layer
In PhotoQuill's right sidebar, click the cutout object, icon, or text layer you want to elevate.
Open Layer Styles
Click the fx icon at the base of the Layers panel or double-click your layer to open the Layer Styles dialog.
Configure Drop Shadow Parameters
Check the Drop Shadow checkbox. Adjust Opacity to 40%, set Distance to 15px, and set Size (blur) to 25px for soft, realistic falloff.
Save and Export
Click OK to confirm. Export your finished composition via File > Export As in PNG or JPG format.