How to Add Fonts to Photoshop and Online Photo Editors: Complete Guide
Typography is the visual voice of any graphic project. Whether designing promotional YouTube thumbnails, vintage event flyers, luxury wedding invitations, or modern brand logos, the standard system fonts bundled with your operating system—such as Arial, Times New Roman, or Calibri—rarely convey the bespoke personality your creative vision demands. Learning how to add fonts to photoshop and browser-based photo editors allows you to expand your typographical toolkit with thousands of free and premium typefaces in seconds.
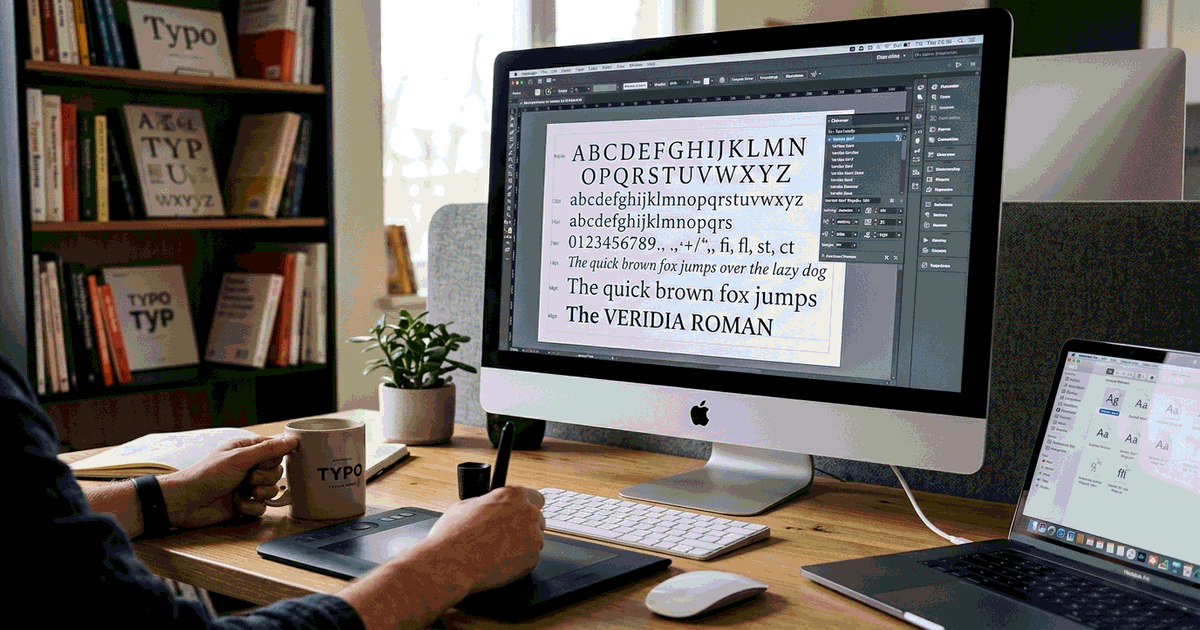
How Fonts Work Across Operating Systems and Design Applications
A common misconception among beginner designers is that fonts are installed directly into Photoshop or a specific graphic application. In reality, traditional desktop graphic software does not manage an independent font repository. Instead, software relies on your operating system's central font registry.
When you install a TrueType (`.ttf`) or OpenType (`.otf`) font file into Windows or macOS, the font becomes instantly available across every design application running on that machine, including photo editors, word processors, and video suites.
Web-based image editors operate with even greater flexibility. While they can access system-installed typefaces via the browser Font Access API, modern online editors like PhotoQuill also permit direct local font loading, allowing you to drop a raw font file straight into the canvas without requiring system-level administrator privileges.
| Font File Format | File Extension | Key Advantages | Recommended Application |
|---|---|---|---|
| OpenType (OTF) | .otf |
Advanced typographic ligatures, stylistic alternates, small caps | Professional graphic design, branding & logo work |
| TrueType (TTF) | .ttf |
High hinting precision on low-DPI computer screens | General digital typography & legacy software compatibility |
| Web Open Font (WOFF) | .woff / .woff2 |
High compression designed for fast website loading | Modern website stylesheets & browser-based photo editing |
Method 1: Installing Fonts on Windows 10 and Windows 11
Installing custom typography on a Windows PC takes less than a minute:
- Download your font package (usually packaged as a
.zipfile from reputable font libraries). - Right-click the ZIP archive and select Extract All. You cannot install a font while it remains locked inside a compressed archive.
- Open the extracted folder to locate the
.otfor.ttffont files. - Right-click the font file and select Install for all users (requires administrator access). This ensures the font registers across all local system accounts.
- If your photo editing software is currently open, restart the program to force it to refresh its active font cache.
Method 2: Installing Fonts on macOS via Font Book
Mac users can install and manage custom typography using the built-in Font Book utility:
- Download and unzip your font package in Finder.
- Double-click the
.otfor.ttffont file. - A preview window from Font Book opens displaying sample characters across various sizes.
- Click the blue Install button at the bottom of the preview dialog.
- Font Book validates the typeface for corrupt glyph tables and activates it across all macOS applications immediately.
Method 3: Loading Local Fonts in PhotoQuill (No Installation Needed)
If you are working on a managed school computer, a corporate laptop without admin installation rights, or a Chromebook, you can load custom fonts directly into your browser:
- Open the PhotoQuill Online Workspace.
- Select the Horizontal Type Tool (shortcut T) from the left toolbar.
- In the top options bar, click the current font family dropdown menu.
- Click the Load Font button located at the top of the font list.
- Select your downloaded
.otf,.ttf, or.wofffile from your computer. - The font renders instantly in your current project without modifying system settings or requiring application reboots.
3 Essential Typography Styling Tips for Photo Projects
Elevate your visual typography by applying these professional styling principles:
1. Kerning and Letter Spacing (Tracking)
Display fonts and all-caps headlines often suffer from uneven spacing between specific letter pairs (such as "AV" or "WA"). Adjusting manual kerning tightens awkward gaps, giving hero titles cohesive polish.
2. Font Pairing Rules
Avoid cluttering a design with five contrasting fonts. A proven visual formula is pairing a distinct, character-rich display serif or bold sans-serif for titles with a neutral, clean sans-serif (such as Inter, Roboto, or Open Sans) for subheads and body copy.
3. Text Layer Effects (Drop Shadows and Strokes)
When placing typography over detailed photographic backgrounds, text can blend into busy textures. Add a subtle dark drop shadow or a semi-transparent gradient scrim behind your text layer to maintain effortless legibility. For layer techniques, explore our tutorial on combining and grouping layers.