How to Sharpen an Image in Photoshop: 3 Pro Methods
Digital cameras, smartphone sensors, and web compression inevitably introduce softness into photos. Sharpening increases local acutance—the contrast along object boundaries—making eyes sparkle, textures pop, and architectural lines crisp. However, over-sharpening produces ugly white halos and amplifies background noise. Here is how to sharpen photographs cleanly using three proven Photoshop techniques, plus browser-based sharpening in PhotoQuill.
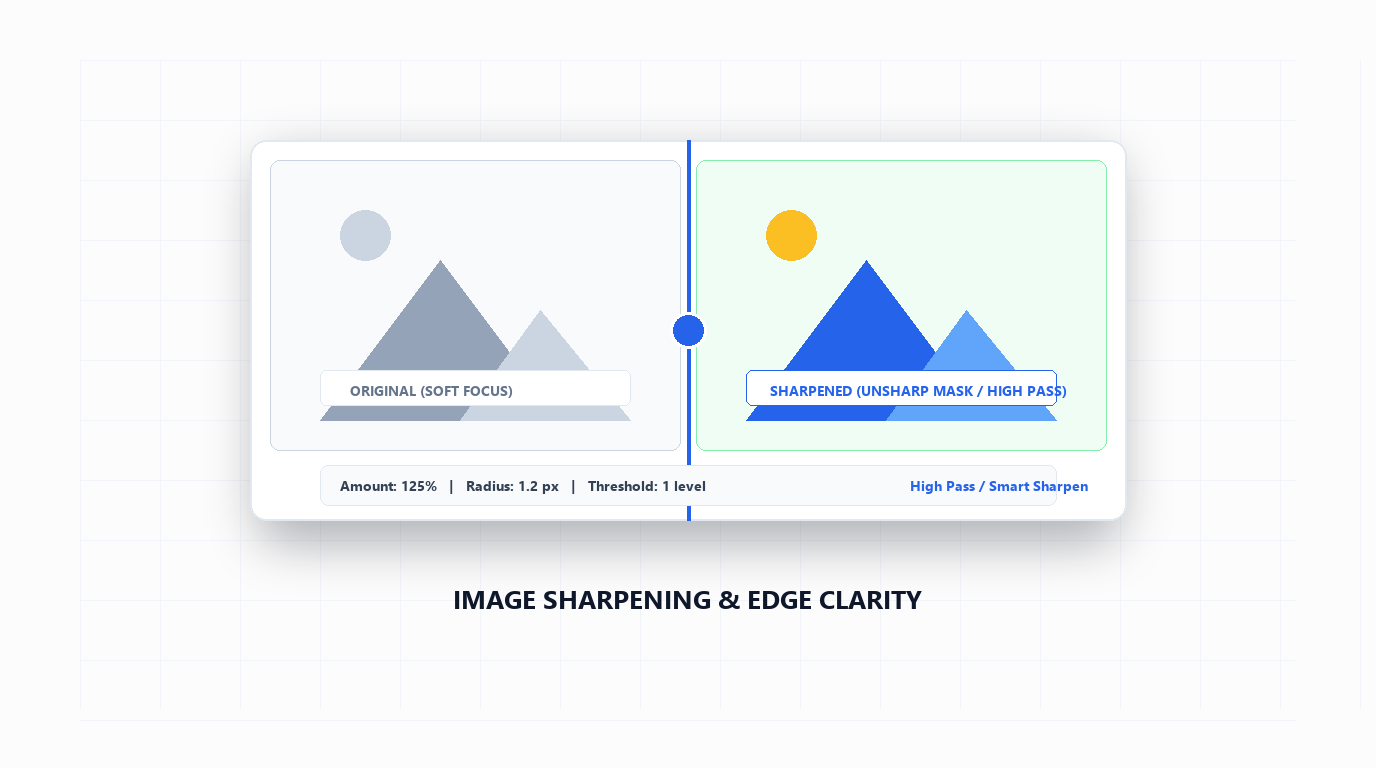
The Science of Sharpening: Preventing White Halo Artifacts
Sharpening does not create missing focus or invent new image resolution; it increases contrast along adjacent light and dark pixels. When light and dark edges are exaggerated, the human eye interprets the transition as crisper focus.
When you push sharpening sliders too far, bright white lines (called halos) appear along high-contrast borders like hair strands, mountain silhouettes, and text logos. To prevent halos, remember two fundamental rules:
- Keep Radius Small: Radius controls the width of the edge border being enhanced. For web photographs, keep Radius between
0.8pxand2.0px. Anything above 3px risks obvious cartoon outlines. - Sharpen at Final Output Scale: Resampling an image scrambles sharpened pixels. Always complete resizing images in Photoshop to your target dimensions before applying output sharpening.
| Sharpening Method | Workflow Complexity | Noise Control | Best Applied To |
|---|---|---|---|
| High Pass Filter | Low (Layer + Blend Mode) | Superior (Affects only distinct contours) | Portraits, studio product photography, architectural graphics |
| Smart Sharpen | Medium (Dedicated dialog) | High (Built-in noise reduction slider) | Landscape shots, slight camera shake, macro photography |
| Unsharp Mask | Low (Legacy slider dialog) | Moderate (Uses Threshold control) | Quick web prep, high-contrast graphic art |
Method 1: High Pass Filter with Blend Modes (The Industry Standard)
Professional retouchers favor the High Pass method because it isolates edge detail onto a neutral 50% gray layer. You can adjust the sharpening intensity at any time simply by changing layer opacity.
Non-Destructive Edge Sharpening
- Select your base image layer and press
Ctrl + J(Windows) orCmd + J(Mac) to duplicate it. Name this layer Sharpening. - With the duplicate layer active, go to Filter > Other > High Pass.
- The canvas turns gray. Adjust the Radius slider between
1.0and2.5pixels. Stop sliding the moment fine outlines of your subject become clearly visible through the gray. Click OK. - In the Layers panel, change the layer blend mode from Normal to Overlay (for punchy clarity) or Soft Light (for subtle, natural enhancement).
- Lower the layer Opacity to 60% – 80% to dial in the exact intensity you want.
Method 2: Smart Sharpen Filter (Advanced Blur Removal)
Smart Sharpen is Photoshop's most capable direct filter, specifically engineered to distinguish between image textures and camera sensor noise. If you are developing RAW sensor files, pair this with our guide on opening and editing RAW files for optimal dynamic range.
To run the filter, convert your layer into a Smart Object by choosing Filter > Convert for Smart Filters. Then go to Filter > Sharpen > Smart Sharpen:
- Amount: Sets the strength of edge contrast. A value between
100%and150%works best for standard photography. - Radius: Keep set between
1.0pxand1.5pxfor clean sharpness without clipping. - Reduce Noise: Increase this slider (typically
10%to20%) to prevent sharpening from turning smooth skies or skin into grainy speckles. - Remove Dropdown: Set to Lens Blur for photographic clarity, or Motion Blur if slight camera panning occurred.
Step-by-Step: How to Sharpen Photos in PhotoQuill
PhotoQuill includes instant WebGPU-powered sharpening and clarity enhancement directly in your browser. Follow these steps to restore crisp definition without installing heavy software.
Load Your Photo
Drag and drop your image into PhotoQuill's browser workspace, or select File > Open from the top navigation bar.
Duplicate for Non-Destructive Editing
Select your base layer in the Layers panel and press Ctrl + J (or Cmd + J) to create a working copy.
Apply Sharpen Filter
Go to Filter > Sharpen in the top menu. Adjust the clarity and radius sliders while viewing the real-time split preview to inspect eyelash, fabric, and edge definition.
Export High-Definition Image
Confirm the filter. Navigate to File > Export As and select PNG or JPG at 100% quality to download your sharpened output.