How to Convert HEIC to JPG on iPhone: Fast Native and Online Methods
Since iOS 11, Apple devices capture photographs using the High Efficiency Image Container (HEIC) format by default. While HEIC is technologically impressive—cutting storage consumption in half while supporting deeper color dynamic ranges—it remains a frequent source of frustration when sharing pictures outside the Apple ecosystem. Windows computers, older smart TVs, online job portals, and real estate upload systems routinely display error messages when fed a .heic file. Learning how to convert heic to jpg on iphone eliminates compatibility hurdles in seconds without downloading ad-filled apps.
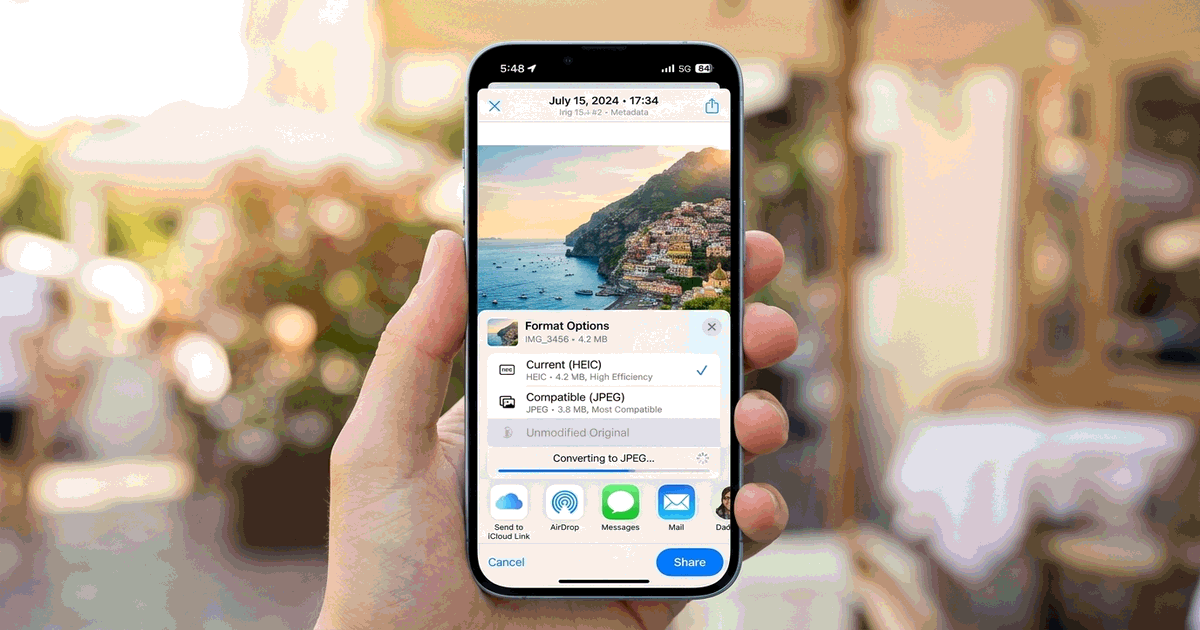
Why Does Apple Use HEIC, and Why Convert to JPG?
Apple adopted HEIC to resolve mobile device storage bottlenecks. High-resolution smartphone cameras take 12-megapixel to 48-megapixel images that would rapidly fill available device storage if stored exclusively as uncompressed JPEGs. HEIC utilizes modern HEVC video-style compression algorithms, delivering identical visual sharpness at roughly half the byte payload.
However, the global computing infrastructure runs on JPEG. When submitting photographs for official documents, attaching proof-of-purchase receipts to insurance claims, or uploading listing photos to e-commerce marketplaces, JPEG remains the universal standard. Converting HEIC to JPG ensures that any recipient on any device can view your photo instantly.
| Comparison Feature | Apple HEIC Format | Standard JPEG / JPG |
|---|---|---|
| Storage Efficiency | 50% smaller file footprint | Larger file size for equivalent visual quality |
| Windows / PC Support | Requires paid HEVC codec from Microsoft Store | Native support across 100% of Windows versions |
| Web & Portal Uploads | Frequently rejected by upload forms | Universal industry acceptance |
| Color Bit-Depth | Supports up to 16-bit color channels | Standard 8-bit color channels |
Method 1: The Native Files App Trick (Zero Apps Required)
iOS contains a built-in conversion mechanism hidden within its native system apps. You can convert dozens of HEIC photos into JPGs in under ten seconds without installing anything from the App Store:
- Open the Photos app on your iPhone.
- Tap Select in the top-right corner and choose the photos you want to convert.
- Tap the Share button in the bottom-left corner and select Copy Photos from the action sheet.
- Open the built-in Files app on your iPhone.
- Navigate to On My iPhone (or create a new folder called "Converted JPEGs").
- Press and hold any blank area on the screen until the contextual menu appears, then tap Paste.
- iOS automatically transcode the copied HEIC files and saves them as standard .jpeg files.
Method 2: Convert in Mobile Safari Using PhotoQuill (100% Private)
If you need to crop, adjust, or compress your photo before saving it as a clean JPG, you can process it directly in mobile Safari:
- Open Safari and visit PhotoQuill Online Editor.
- Tap the central canvas, choose Photo Library, and pick your HEIC image.
- PhotoQuill decodes the image instantly in local browser memory.
- Apply any desired adjustments, such as rotating or cropping. For composition tips, see our guide on how to crop photos cleanly.
- Tap File → Export As → JPG, adjust quality, and save your new file directly to your camera roll or downloads.
Method 3: Configure iPhone Camera to Take JPGs by Default
If you are tired of converting files and prefer your iPhone camera to capture standard JPEGs automatically from now on:
- Open the Settings app on your iPhone.
- Scroll down and tap Camera.
- Tap Formats at the top of the menu.
- Change the selection from High Efficiency to Most Compatible.
- From this moment on, your iPhone camera will shoot and save all standard photographs as native JPEGs. (Note: 4K at 60fps and cinematic video modes still require High Efficiency).
Method 4: Automatic Conversion When Transferring to Mac or PC
If your main difficulty occurs when plugging your iPhone into a Windows PC or Mac via USB cable, iOS includes a setting that converts images on the fly during transfer:
Go to Settings → Photos. Scroll to the very bottom to the section titled Transfer to Mac or PC. Change the setting from Keep Originals to Automatic. When connected via USB, your iPhone will automatically present JPG copies to the connected computer.
For users managing files on desktop Apple computers, check out our companion tutorial on how to convert HEIC to JPG on Mac.