How to Change WebP to JPG: Complete Browser and Desktop Guide
The WebP image format has become ubiquitous across the modern internet, chosen by web developers for its superior compression ratios and lightweight bandwidth footprint. However, when you right-click and save an image from the web, encountering a .webp file frequently disrupts traditional workflows: legacy image viewers fail to open them, desktop publishing tools reject them, and email clients struggle with embedded previews. Learning how to change webp to jpg provides immediate universal compatibility across every operating system, mobile device, and graphic application.
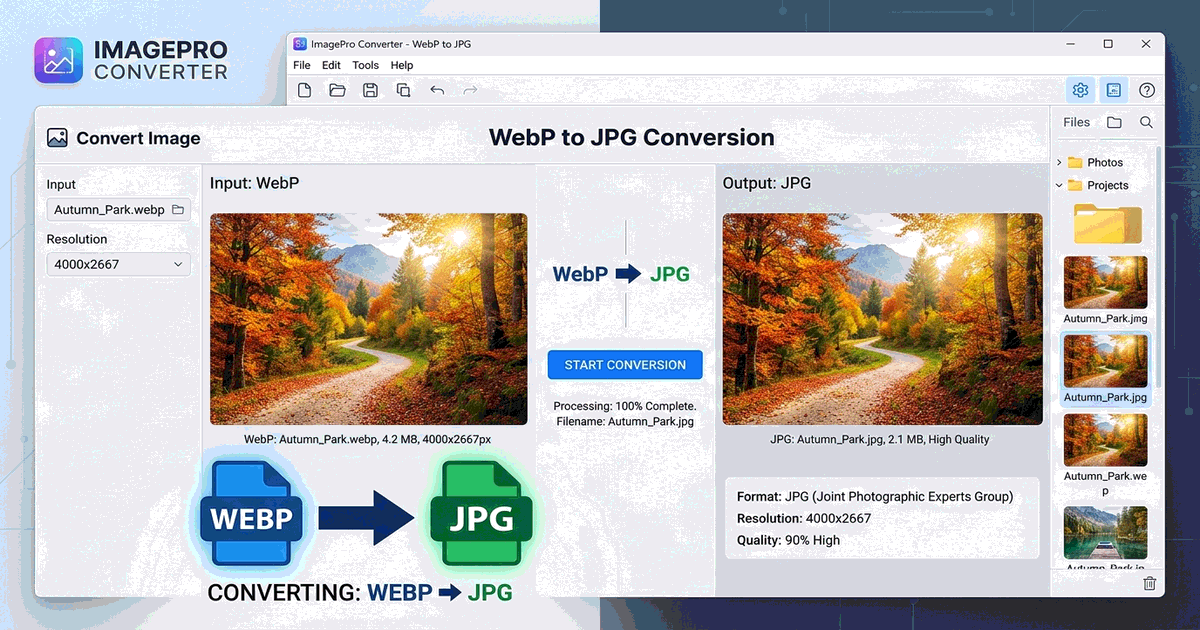
Why Convert WebP to JPG? Universal Compatibility vs Bandwidth
WebP was engineered specifically for web browsers, offering both lossy and lossless compression alongside alpha channel transparency. In contrast, JPEG remains the universal bedrock of digital imaging, supported by every hardware digital camera, television screen, printer kiosk, and desktop operating system developed since 1992.
Many legacy desktop publishing programs, older office presentation tools, and commercial e-commerce platforms (such as Amazon and eBay) mandate standard JPG format for product catalog compliance. When submitting photos for government IDs, passport applications, or school submissions, upload portals routinely reject .webp extensions outright.
Converting WebP to JPG unlocks unrestricted sharing across communication tools like email attachments, text messaging, and print shops, eliminating the dreaded "Unsupported File Format" dialogue box permanently.
| Feature Comparison | WebP Format | JPEG / JPG Format |
|---|---|---|
| Software Compatibility | Modern web browsers & recent software (post-2020) | Universal across 100% of devices and platforms |
| Compression Efficiency | 25% to 35% smaller file sizes for equivalent web quality | Slightly larger file size, but highly optimized |
| Alpha Transparency | Supported (Transparent cutouts permitted) | Not supported (Transparent pixels render as solid white) |
| Print Shop Readiness | Poor (Commercial print drivers often reject WebP) | Industry standard for CMYK and photographic printing |
Method 1: Instant Client-Side Conversion with PhotoQuill (Zero Uploads)
Traditional online converter websites require you to upload your personal pictures to their remote servers, which raises privacy concerns and exposes personal photos to third-party data collection. PhotoQuill executes image decoding and re-encoding locally in your browser memory using client-side WebAssembly, ensuring your photos never leave your device:
- Navigate to the PhotoQuill Online Photo Editor in any desktop or mobile browser.
- Drag and drop your
.webpfile directly onto the workspace canvas, or click File → Open to browse your hard drive. - If you need to resize or crop the composition, adjust your settings using the toolbar before exporting. For cropping tips, see our tutorial on how to crop in photo editors.
- Click File → Export As → JPG.
- Adjust the JPEG quality slider between 85% and 92% to preserve visual fidelity while minimizing file weight, then click Save to download your file instantly.
Method 2: Native Conversion on macOS via Preview and Finder
Mac users running macOS Big Sur, Monterey, Ventura, or Sonoma can convert WebP files without opening any third-party software using native system tools.
To convert using macOS Finder Quick Actions, right-click the WebP file in Finder, navigate to Quick Actions → Convert Image, select JPEG from the format dropdown, choose your desired output size (Actual Size recommended), and click Convert to JPEG.
Alternatively, open the file in the native Preview application, click File → Export, set the format dropdown to JPEG, adjust the quality slider to your preferred balance, and save the file to your destination folder. For Apple users managing mobile photo formats, check our guide on converting HEIC to JPG on Mac.
Method 3: Native Conversion on Windows 10 and 11 via Paint
Windows users can convert WebP files natively using the built-in Microsoft Paint application without installing extra codecs:
- Right-click your
.webpfile in Windows File Explorer and select Open with → Paint. - Once the image loads on the Paint canvas, click the File menu in the upper-left corner.
- Hover over Save as, then click JPEG picture from the submenu.
- Choose your destination folder, enter a file name, and click Save. Windows re-encodes the image into standard JPG format instantly.
Managing Transparent Backgrounds During Conversion
Because WebP supports transparent alpha channels while standard JPG does not, converting a transparent graphic (such as a logo, sticker, or cutout product shot) requires an automatic background fill. By default, image conversion encoders replace transparent pixels with pure solid white.
If you intend to preserve transparency for overlays or website graphics, converting to PNG is the superior path. Read our comprehensive instructions on converting PNG to JPG and transparency management to understand how different formats handle cutouts.