How to Blur a Photo: Professional Bokeh and Privacy Concealment Guide
Blurring is one of the most versatile techniques in photography and graphic design. When used creatively, a soft background blur simulates expensive wide-aperture camera lenses (bokeh), drawing the viewer's gaze straight to your subject. When used functionally, targeted blur protects privacy by masking sensitive credentials, street signs, or license plates. Here is how to blur a photo with professional polish.
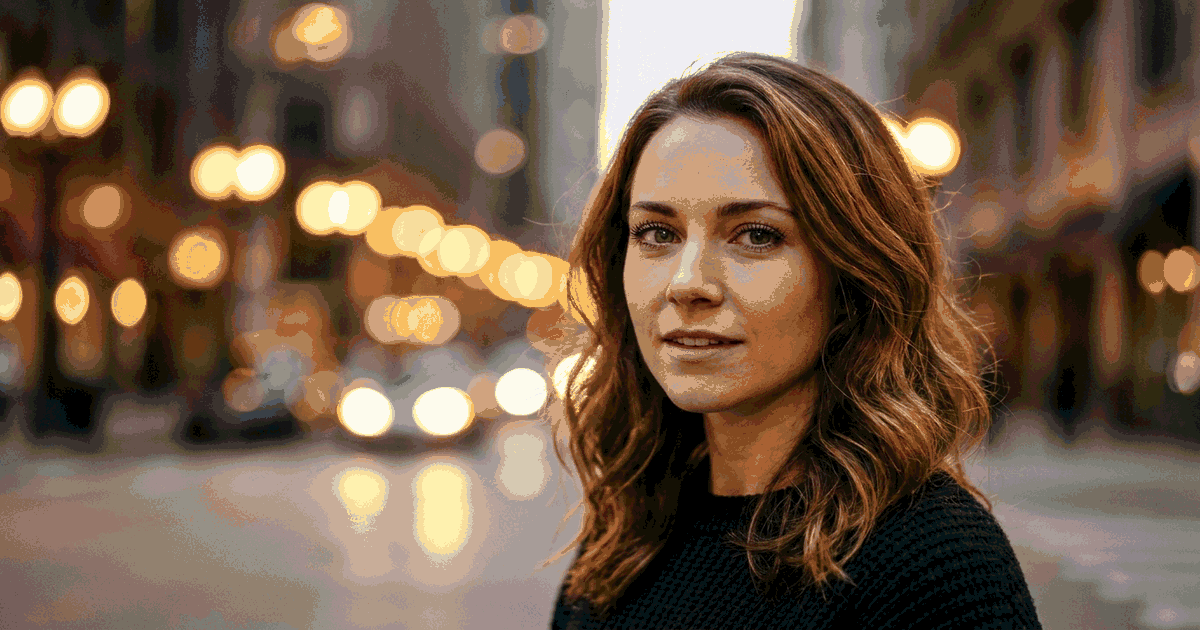
Technique 1: Creating Realistic Background Bokeh (Depth of Field)
If your portrait looks busy due to cluttered backgrounds, creating an artificial depth of field elevates the shot:
- Open your photo in your editor and duplicate the background layer by pressing Ctrl + J (Cmd + J on Mac).
- Select the subject using the Quick Selection Tool (
W) or click Select Subject. - To ensure smooth edges, click Select → Modify → Feather and set radius to 2-3 pixels.
- Invert your selection by pressing Ctrl + Shift + I (Cmd + Shift + I on Mac) so the background is targeted while your subject is protected.
- Navigate to Filter → Blur → Gaussian Blur.
- Adjust the Radius slider between 12px and 25px until the background becomes soft and creamy while maintaining your subject's crisp outline.
Technique 2: Privacy Blurring for Faces, License Plates & Documents
When sharing receipts, screenshots, or street photos containing identifiable personal details:
- Select the Rectangular Marquee Tool (shortcut
M) or Lasso Tool (shortcutL). - Draw a tight box around the credit card number, house address, or license plate you want to obscure.
- Go to Filter → Blur → Gaussian Blur and drag the slider up to 35-50 pixels until numbers are completely illegible.
- Alternatively, use Filter → Pixelate → Mosaic with a Cell Size of 15 to give the masked area an authentic privacy pixelation aesthetic.
Understanding the 4 Common Blur Types
| Blur Algorithm | Visual Effect | Ideal Use Case |
|---|---|---|
| Gaussian Blur | Smooth, uniform bell-curve pixel blending | Cinematic background bokeh, soft glow vignettes |
| Lens Blur / Depth Map | Simulates optical aperture diaphragms and specular highlights | High-end portrait retouching and 3D depth simulations |
| Motion Blur | Directional linear streaking along a set angle | Simulating high-speed sports, moving cars, running athletes |
| Mosaic / Pixelate | Divides area into solid block clusters | Security masking, confidential documents, ID cards |
Method 3: Blur Photos Instantly Online with PhotoQuill
You don't need complex desktop software just to soften a backdrop or censor a photo. PhotoQuill runs right inside your web browser:
Drop your file onto the canvas, apply non-destructive blur filters, adjust feathering, and export cleanly without uploading private images to remote servers. Check out our complementary guide on how to blur background in Photoshop and learn how to feather edges.
Blur Photos Free in PhotoQuill →Frequently Asked Questions
Gaussian Blur provides a smooth look, but Lens Blur or Depth of Field simulation creates authentic optical bokeh discs from specular light sources.
Before applying blur, expand your selection slightly (Select > Modify > Expand by 3-5px) and use Content-Aware Fill on the background layer behind the subject cut-out to prevent fringe bleeding.
Once blurred and saved as a flattened JPG, original pixel data is permanently mathematically averaged and cannot be reversed by standard viewers.
Use the Marquee or Lasso selection tool to isolate only the target area before clicking your blur filter.
Yes. PhotoQuill works smoothly on mobile and desktop browsers with touch-friendly controls.