How to Clear Scratch Disk in Photoshop (Free Web Guide)
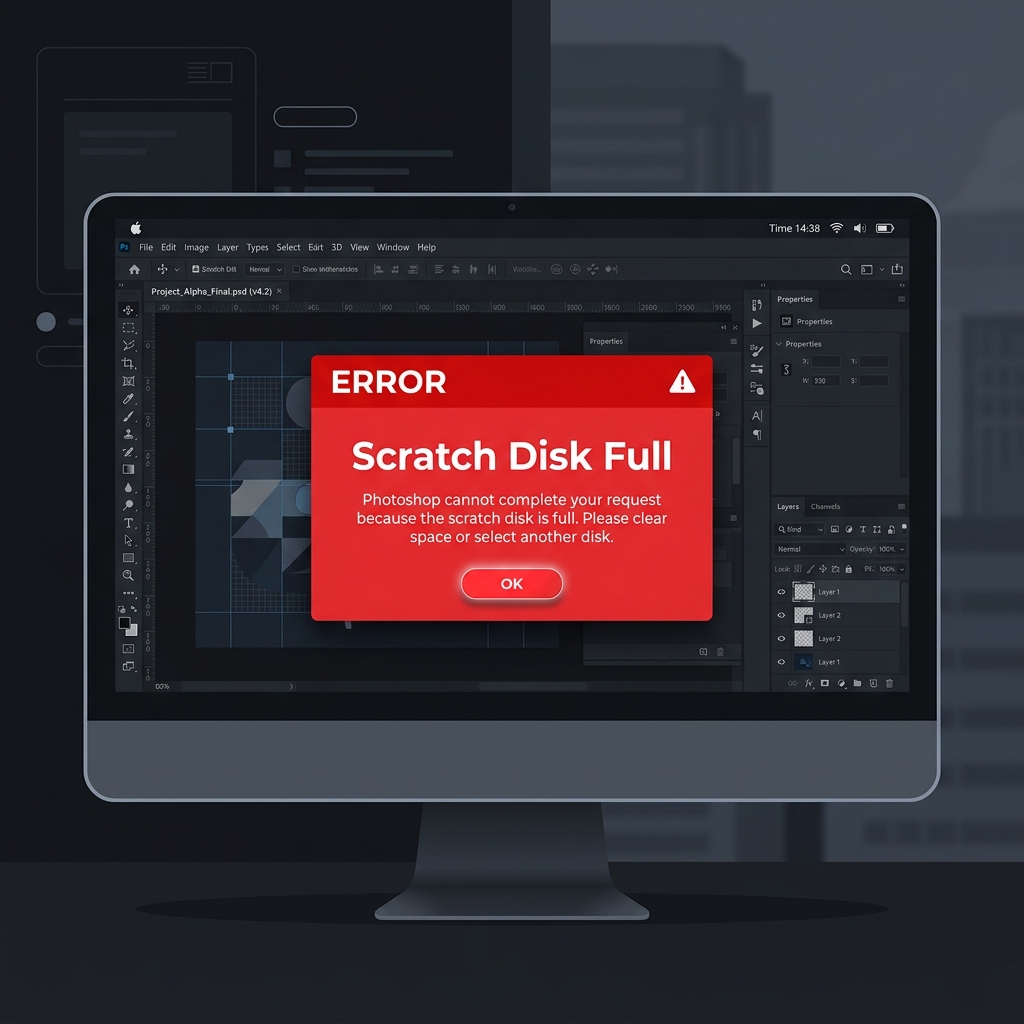
The 'Scratch disks are full' error is arguably the most frustrating notification in Photoshop. It happens when Photoshop runs out of memory and hard drive space to store temporary project files. We’ll show you how to fix this, and introduce you to a modern editor that never eats your hard drive space.
Why Does the Scratch Disk Error Happen?
Photoshop is a heavy desktop application. When working on large files, it writes massive temporary cache files to your hard drive (the scratch disk). If your C: drive only has a few gigabytes of free space left, Photoshop will completely freeze and lock you out from saving your work until you free up space.
How to Clear It in Photoshop
Follow these exact steps to execute the operation flawlessly.
Purge Cache
Open Photoshop. Go to Edit > Purge > All. This deletes the clipboard and history cache. Note: You cannot undo any previous actions after doing this.
Change Scratch Disk Preference
Go to Edit > Preferences > Scratch Disks (Windows) or Photoshop > Preferences > Scratch Disks (Mac). Check the box next to another hard drive that has more free space.
Delete Temp Files Manually
If Photoshop won't even open, you must manually delete files. Go to your local Temp folder (Windows: %temp%) and delete files starting with '~PST' or 'Photoshop Temp'.
The Permanent Fix: Use a WebGPU Editor
What if you didn't have to dedicate 50GB of your hard drive just to edit a photo? PhotoQuill is a 100% free, WebGPU-powered Photoshop alternative. It runs entirely inside your browser. Because it doesn't install massive local caches, you will never see a Scratch Disk Full error again. You can open huge PSD files instantly without deleting your personal files.