Best Free Photo Editing Software for Beginners 2026
Learning complex layers, masks, and adjustment curves takes months. PhotoQuill lets you type what you want to change, replacing steep learning curves with text prompts.
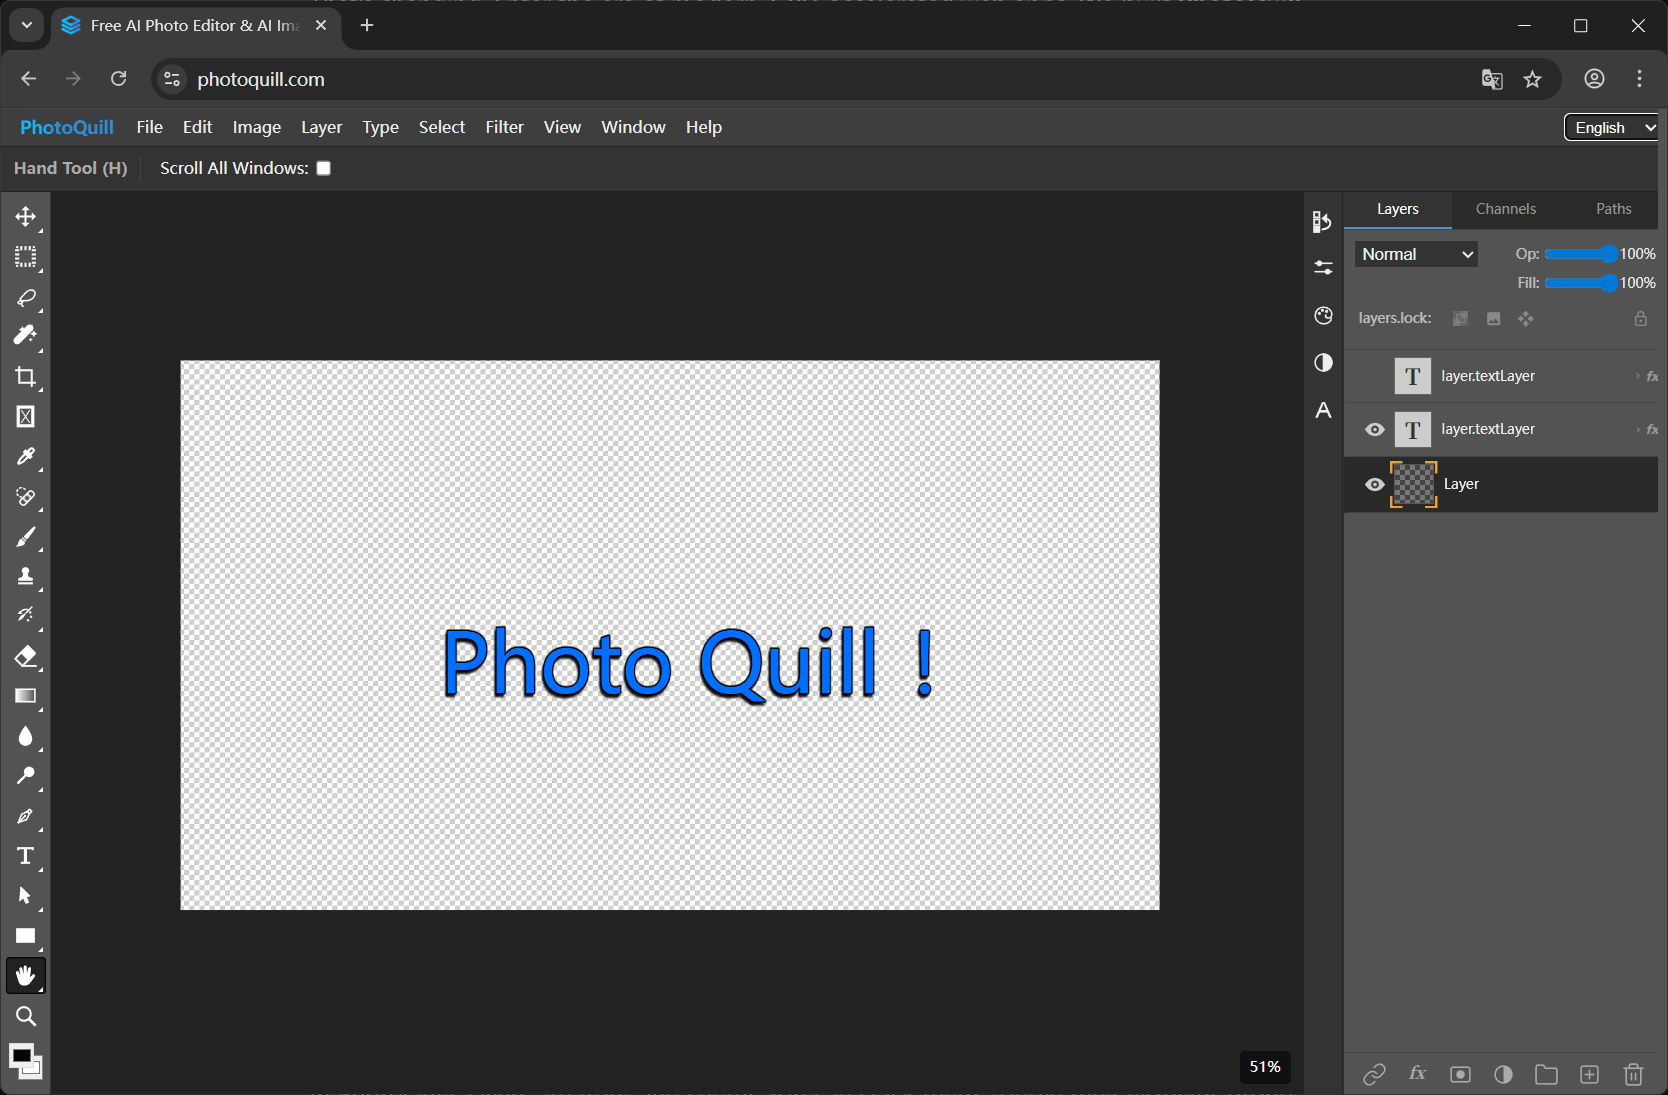
The Problem with Traditional Photo Editors
When starting out, most people face a difficult choice. They either pay expensive monthly subscriptions for professional tools, or they settle for basic mobile apps that ruin image quality. Neither option serves a true beginner well in 2026.
Professional desktop programs present a dense interface filled with icons that make no sense to new users. You have to watch hours of video tutorials just to learn how to erase a background or change a shirt color.
We designed PhotoQuill to solve this. Instead of memorizing 50 different keyboard shortcuts, you tell the AI what you want to achieve. For a deeper look at how this compares to legacy tools, read our free online Photoshop alternative breakdown.
Key Features You Actually Need
As a beginner, you don't need 100 different brush types. You need tools that fix common photo problems quickly.
| Tool | Free Tier | AI Generation | No Download | PSD Support |
|---|---|---|---|---|
| PhotoQuill | ✓ Full access | ✓ Text-to-image | ✓ Browser only | ✓ Full layers |
| Canva | Limited templates | Paid only | ✓ | ✗ |
| GIMP | ✓ Open source | ✗ | ✗ Desktop app | Partial |
| Photopea | Ad-supported | ✗ | ✓ | ✓ |
- AI Object Removal: Erase power lines, trash cans, or tourists from your vacation photos. The AI fills the gap naturally.
- Text-to-Image Generation: Need a specific background for a product? Type your concept and the engine generates it from scratch.
- Format Compatibility: Open standard JPG and PNG files, plus complex PSD formats without losing layer data.
Step-by-Step: How to Do This in PhotoQuill
Let's look at the exact steps to open the editor and make your first AI-powered change.
Launch the Editor
Open PhotoQuill in your browser. Drag your photo from your computer directly onto the empty canvas area to open it.
Open the AI Dialog
Click AI Generate in the top navigation bar. This opens the Simple AI Photo Generator & Editor popup over your image.
Type Your Request
In the text field, describe what you want. For example, type a golden retriever sitting on the grass to generate a new element, or use the selection tools first to specify an area.
Apply to Canvas
Click the Generate button. After the image appears in the dialog, click Add Layer to place it onto your main project. You can now move and scale it just like any regular image layer.
If you want to dive deeper into layer management after generating your image, check out our guide on how to use Photoshop style tools for basic layer organization.